Camera
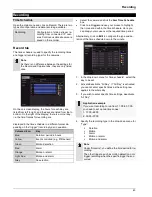
WPS
WPS allows you to quickly and easily establish the Wi-Fi
connection between your camera and the recorder.
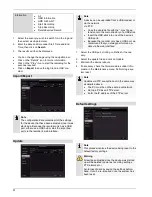
1. Press ‘WPS’
2. A pop-up window with more precise instructions will
appear.
3. Hold down the WPS button on your camera for
10 seconds
4. Wait until the timer on the WPS button has expired.
5. Please wait up to two minutes until the camera has
successfully established a connection with the re-
corder.
6. Click on Refresh and connect the camera manually
or by using the Quick Add function.
Warning
Only start a new WPS set-up for the next camera
once the timer for the previous WPS set-up has
expired.
Note
If the installation via WPS function was not
properly functioning for a camera, the alternative
ist to connect the camera with a network-cable
with on of the three LAN-Ports of the recorder.
Use then a PC to gain access of the Webinterface
of the camera. There you can setup the WiFi-con-
nection to the recorder manually in the Configura-
tion -> advanced settings -> network -> WiFI
menu.
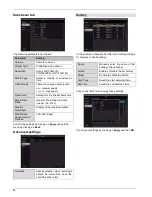
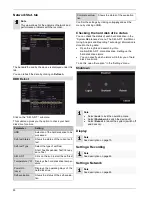
IP Camera Import/Export tab
Here you can export and import all camera settings and
configured camera lists from/to an external data storage
device.
Click on
Import
to import a camera list from a data stor-
age device.
Click on
Export
to export a list of all saved cameras to
an external data storage device.
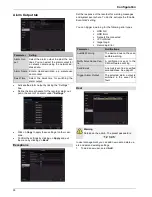
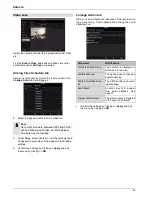
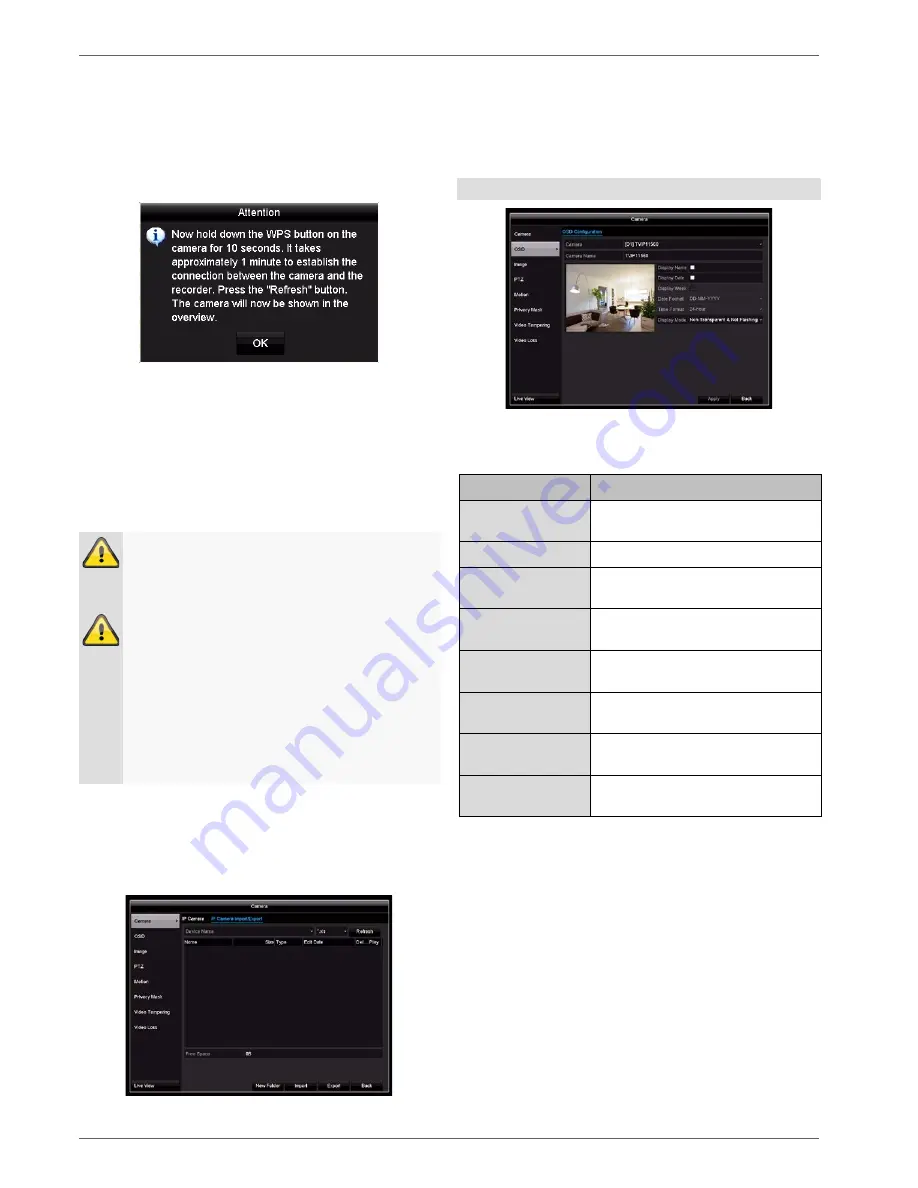
OSD
Select the camera channel to be processed under “Cam-
era”.
Parameter
Setting
Camera
Select the camera channel to be
processed
Name
Allocation of camera name
Display Name
Activate/deactivate display of
camera name in the live view
Display Date
Activate/deactivate display of date
in the live view
Display Week
Display the calendar week for the
playback search
Date Format
Select the display format for the
date of the playback search
Time Format
Select the display format for the
time of the playback search
Display Mode
Settings for displaying the camera
name and date
38

