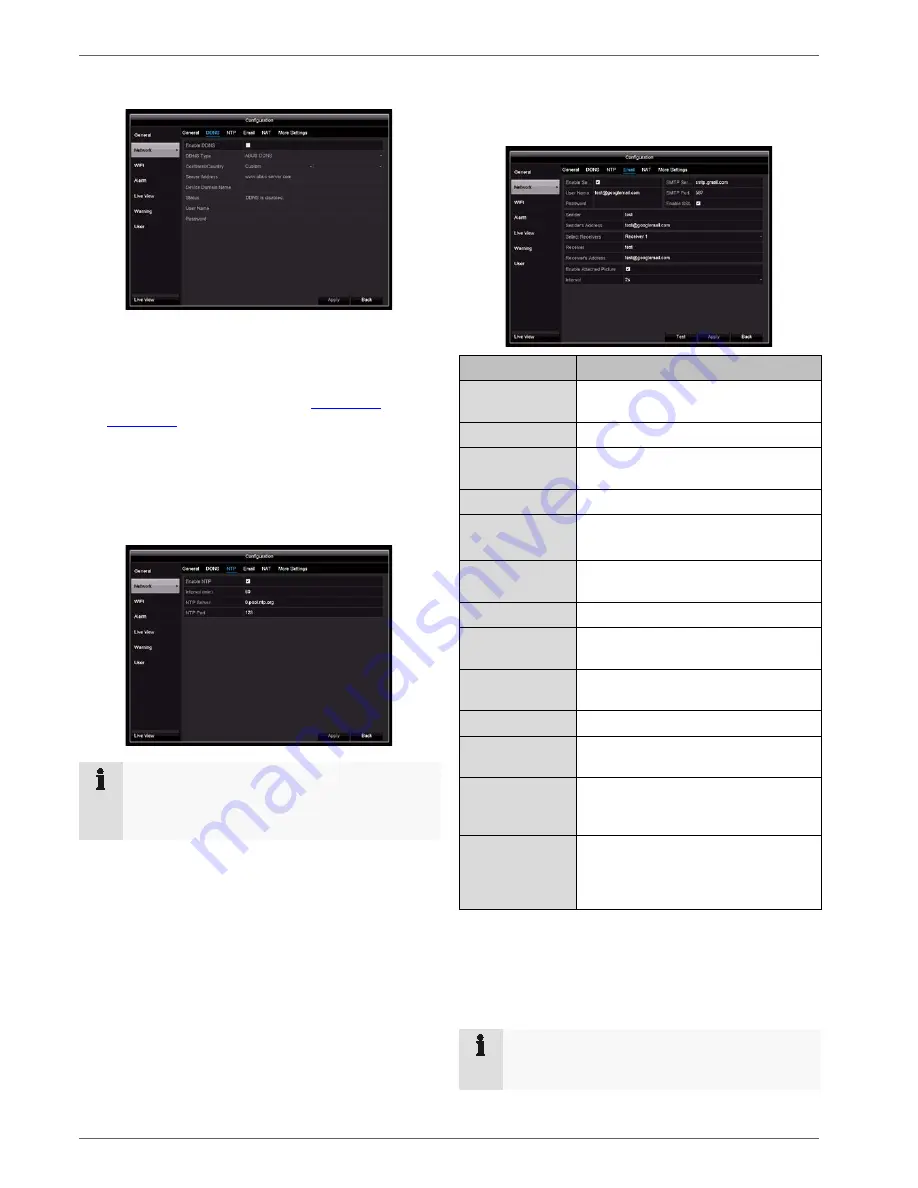
Configuration
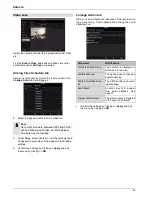
DDNS tab
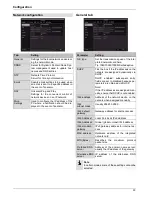
1. To be able to use the ABUS DDNS function, you first
need to set up an account at www.abus-server.com.
Please read the FAQs on this topic on the website.
2. Tick the “Enable DDNS” box. Then select “DynDNS”
as the DDNS type and enter the
www.abus-
server.com
IP address in the “Server Address” field.
3. Apply the data by clicking on
Apply
. The IP address
of your internet connection is now updated on the
server every minute.
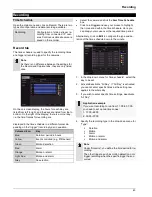
NTP tab
Note
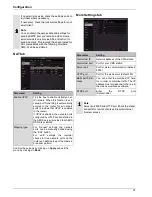
The recorder can synchronise the time with an ex-
ternal server. Several server addresses are availa-
ble on the internet for this purpose.
1. Tick the “Enable NTP” box and enter the interval af-
ter which synchronisation should be repeated. Enter
the IP address of the NTP server and the NTP port.
2. Apply the data by clicking on
Apply
.
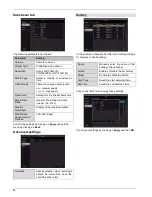
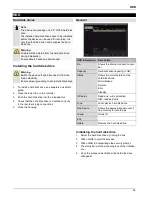
Email tab
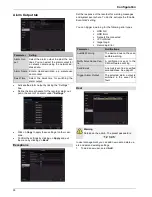
In the event of an alarm, the device can send a message
by email. Enter the email configuration here.
Parameter
Setting
Enable Server
Authentication
Tick the box when logged onto the in-
ternet provider’s server
User name
Email account with the provider
Password
Password used to protect the email
account
SMTP Server
SMTP server address of the provider
SMTP Port
Enter the SMTP port
(default: 25)
Enable SSL
Tick the box to enable email encryp-
tion
Sender
Name of the sender
Sender’s
Address
The email address linked to the email
account
Select
Receivers
Select three potential recipients for
the email
Receiver
Enter the name of the recipient here
Email address
Enter the email address of the recipi-
ent
Enable Attached
Picture
Tick the box if camera recordings
should also be sent with the email as
photo files
Interval
Select a trigger time of between two
and five seconds. The pictures will
only be sent if motion is detected dur-
ing the time frame defined.
1. Enter the parameters of the email notification.
2. Then click on
Test
to send a test email.
3. If you have entered everything correctly and have re-
ceived a confirmation email, click on
Apply
.
Note
The device will send an email to the specified re-
cipients.
31

