78
English
“Turn off the LED indicator”
Select this option to switch off the LED display on the network camera.
This prevents other persons knowing that the network camera is in operation.
“Time Zone”
Adjusts the time according to the selected time zone.
“Enable Daylight Saving Time”
Activates daylight saving time settings in the network camera. The daylight
saving time settings for every time zone are already saved in the network camera.
“Keep current date and time”
Choose this option if you wish to keep the current date and time of the
network camera. An internal realtime clock stores the date and time even after the system has been switched
off due to a power cut.
“Synchronise with computer time”
Synchronises the date and the time of the network camera with the local
computer. The read-only date and time of the PC are displayed following the update.
“Manual”
Sets the date and the time according to the administrator’s input. Note the date/time format when
entering in the respective fields.
“Automatic”
Synchronises the date and time with the NTP server via the Internet every time the network
camera is switched on. This is not possible if the respective time server cannot be reached.
“NTP server”
Assigns the IP address or the domain name of the time server. If you leave this text box empty,
the network camera is connected to the default time servers.
“DI and DO”
Sets the pre-defined state for the alarm input and relay output.
Do not forget to press
“Save”
in order for your changes to take effect.
6.2 Security
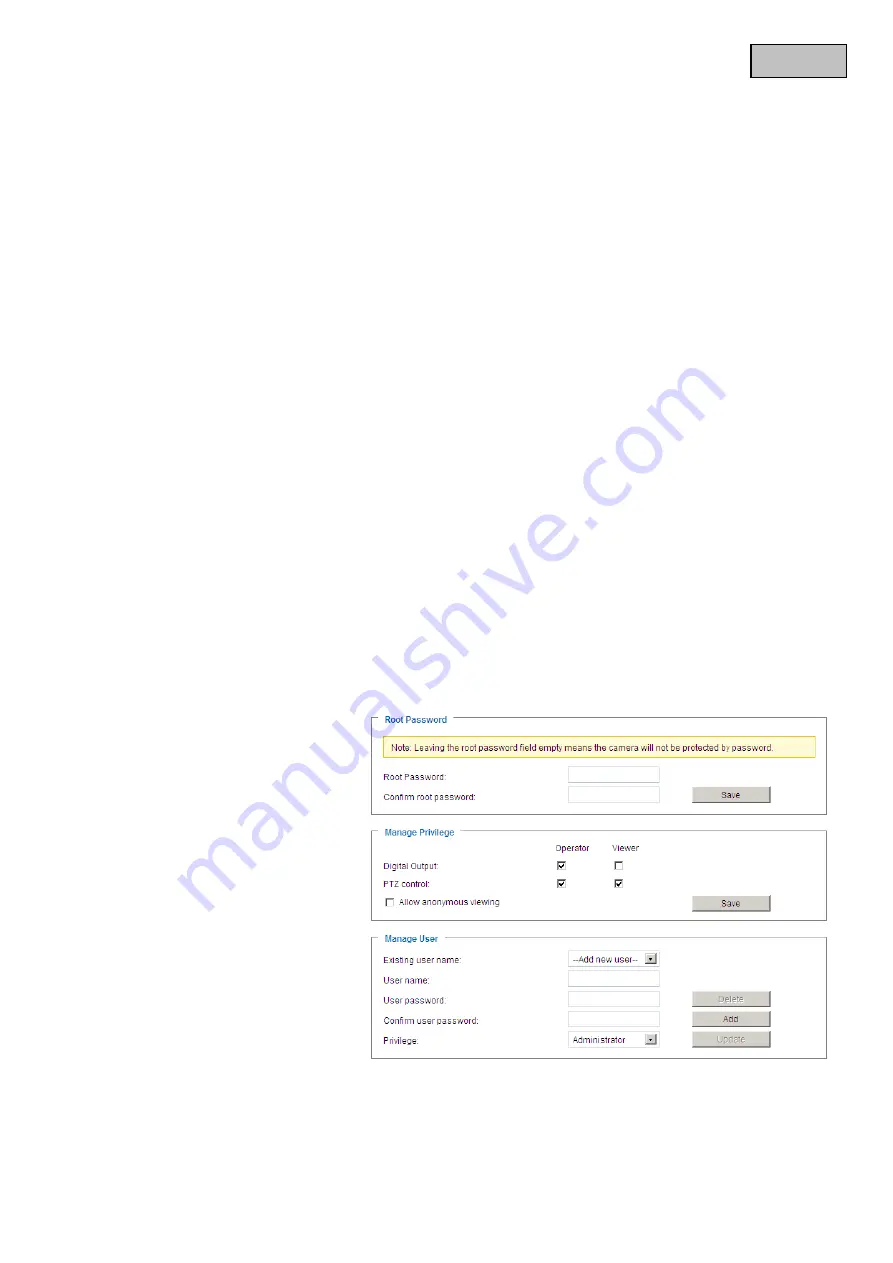
“Root Password”
Allows users to change the administrator password by entering a new password. For
security reasons, the passwords entered are shown as asterisks. After
“Save”
is clicked, the web browser
prompts the administrator to enter the new password for accessing the network camera.
“Add new user”
Enter the new user
name and password and click
“Add”
.
The new user is displayed on the list
of user names. Up to twenty user
accounts can be configured.
“Edit users”
Open the list of user
names, select the user that you wish
to edit, and change the required
values. To apply the changes,
click
“Update”
.
“Delete user”
Open the list of user names, select a user and click
“Delete”
, to delete this user from the list.


