Appendix B
SR7-8X
B-2
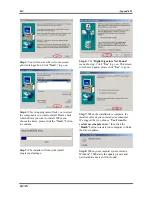
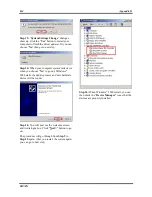
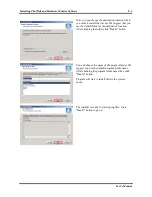
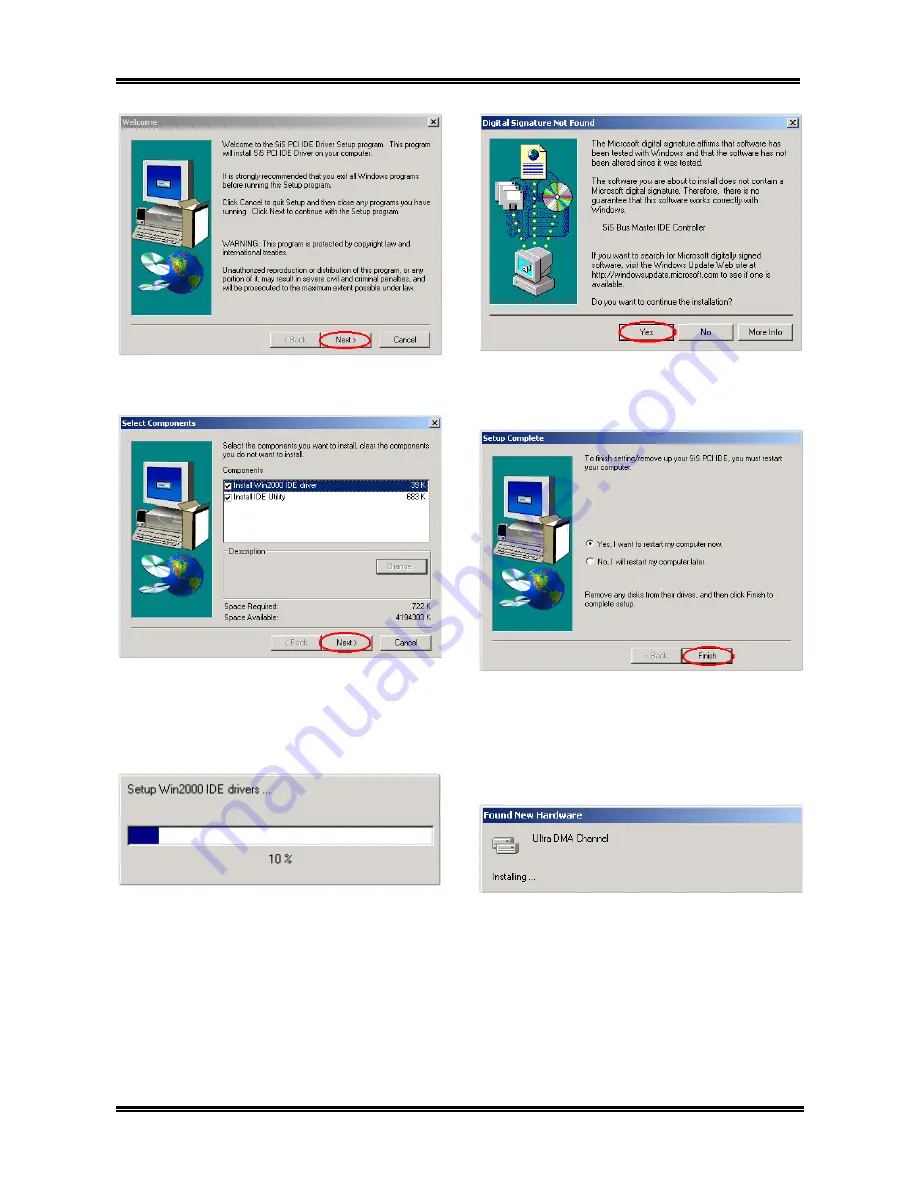
Step 3:
You will now see the welcome screen
and its dialogue box. Click “
Next>
” to go on.
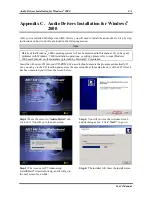
Step 4:
This setup program will ask you to select
the components you want to install. Please check
which drivers you want to install. When you
choose the items, please click the “
Next>
” button
to continue.
Step 5:
The installer will show the install
progress percentage.
Step 6:
The “
Digital Signature Not Found
”
menu show up. Click “
Yes
” to go on. This screen
will show up again, please click “
Yes
” to go on.
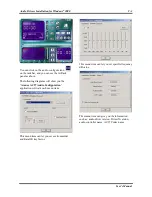
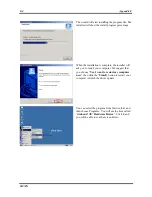
Step 7:
When the installation is complete, the
installer will ask you to restart your computer.
We suggest that you choose “
Yes, I want to
restart my computer now.
” then click the
“
Finish
” button to restart your computer to finish
the driver updates.
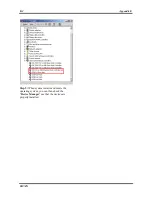
Step 8:
When your computer system restarts,
Windows
®
2000 starts the update process and
new hardware device will be found.
Содержание SR7-8X
Страница 2: ......
Страница 32: ...Chapter 2 SR7 8X 2 4 2 4 Layout Diagram for SR7 8X Figure 1 1 SR7 8X motherboard component location ...
Страница 82: ...Chapter 4 SR7 8X 4 34 ...
Страница 92: ...Appendix C SR7 8X C 4 ...
Страница 102: ...Appendix F SR7 8X F 6 ...
Страница 114: ...Appendix I SR7 8X I 4 ...


