Note/Illustration
Action
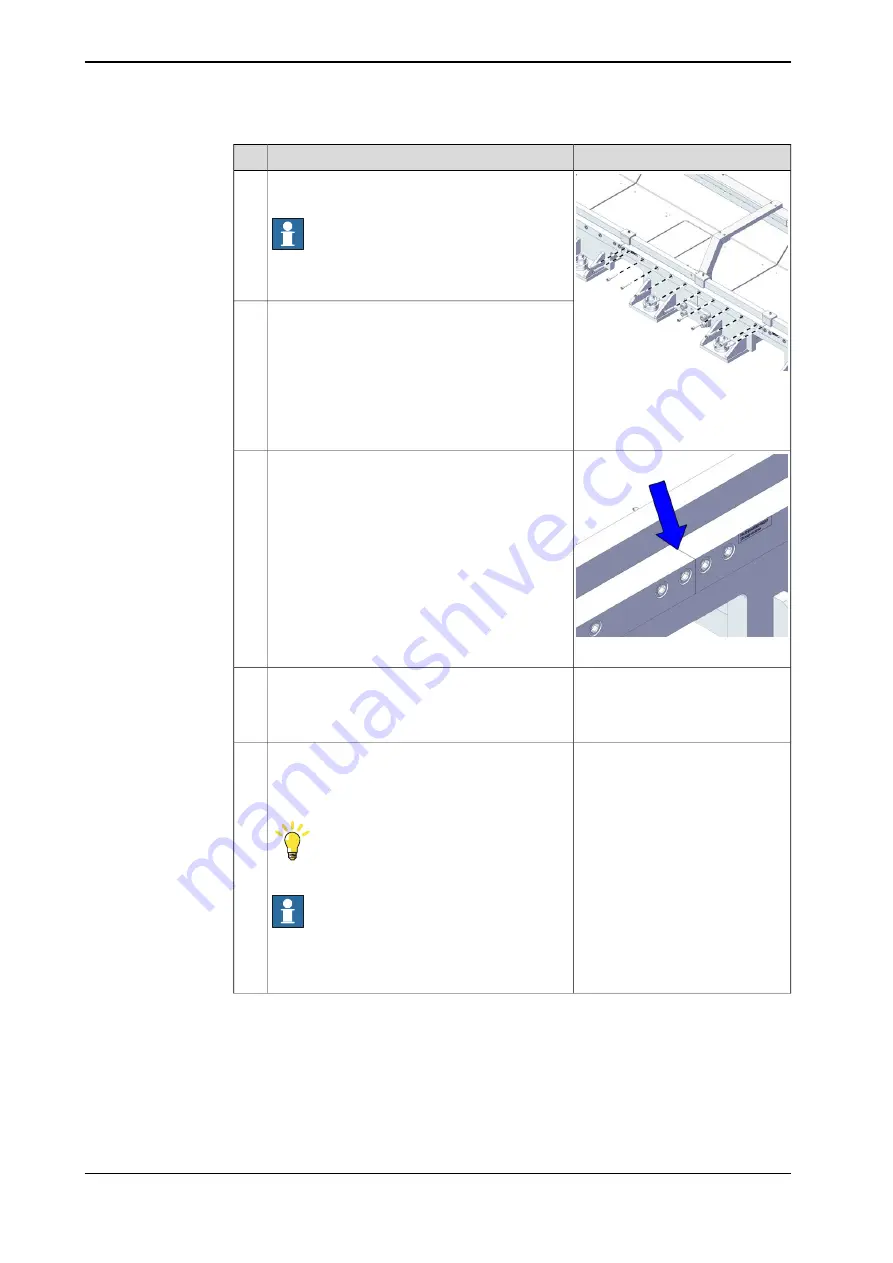
xx2200001178
Assemble the rail to the section with the rail
pressing tool.
Note
There should be no gap between the rail mounting
surface and the section mounting surface.
11
Tighten the rail with the mounting bolts.
12
Screws: ISO 4762 M12x55
Class12.9
Tightening torque: 128 Nm ±3%
xx2200001185
Visually check if the rails are seamlessly connec-
ted. If there is seam existed, push to adjust track
sections and ensure that the gap of seam is 0.2
mm.
13
When the levelling is satisfying, tighten all the
screws for the connecting plates after applying
Loctite 243 on their thread.
14
Tightening torque: 305 Nm
Slightly tighten the rail screws and finalize the
horizontal alignment of the IRT 710 as described
in
Geometric alignment of track motion IRT 710
.
Tip
All linear rails are preassembled on track sections.
15
Note
Use the rail pressing tool to make sure that the
rails are pushed against the side member mount-
ing surface.
Continues on next page
124
Product manual - IRT 710
3HKA00000186299-001 Revision: B
© Copyright 2023 ABB. All rights reserved.
3 Installation and commissioning
3.4.7.1 Assembling the sections
Continued
Содержание IRT 710
Страница 1: ...ROBOTICS Product manual IRT 710 ...
Страница 2: ...Trace back information Workspace Systems version a40 Checked in 2023 10 18 Skribenta version 5 5 019 ...
Страница 14: ...This page is intentionally left blank ...
Страница 58: ...This page is intentionally left blank ...
Страница 84: ...This page is intentionally left blank ...
Страница 360: ...This page is intentionally left blank ...
Страница 364: ...This page is intentionally left blank ...
Страница 378: ...This page is intentionally left blank ...
Страница 380: ...This page is intentionally left blank ...
Страница 383: ......


