41-001343-01 Rev 02, Release 3.2.2
6-35
For the 6739i
13
Use the keys as applicable while entering the password; then press
Done
(8 and 11-Line LCD
phones).
or
Press
Set
(3-Line LCD phones.
14
Press the
key to save your settings and exit from the IP Phone UI.
Aastra IP Phone UI
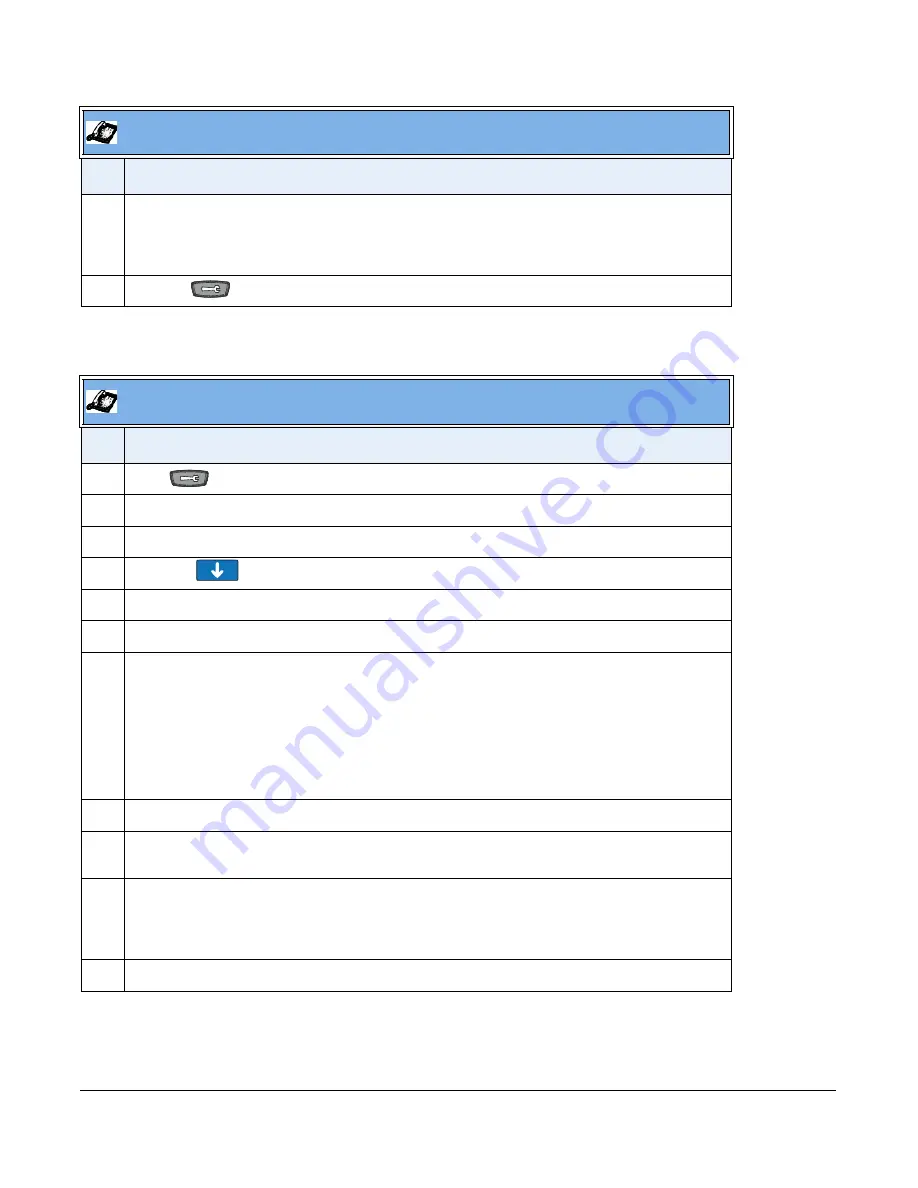
Step Action
1
Press
to
enter the Options List.
2
Press
Advanced
and enter your Administrator password using the pop-up keyboard.
3
Press
Network.
4
Press the
button to scroll to the next page.
5
Press
Ethernet & VLAN.
6
Press
802.1x Support.
7
Press
EAP Type
and select a value to set. Valid values are:
•
Disable
(Default)
•
EAP-MD5
(phone uses MD5 authentication)
•
EAP-TLS
(phone uses TLS authentication)
•
Note:
The 802.1x Protocol is disabled by default. If you select EAP-TLS authentication, you must use
the configuration files or the Aastra Web UI to configure the certificates and private key for the phone.
8
Press
EAP-TLS Settings
.
9
Press
Identity,
and then press the text box. A pop-up keyboard displays allowing you to enter a
username used for authenticating the phone.
10
Press
MD5
Password
, and then press the text box to enter the password used for authenticating the
phone.
Note:
You must restart the phone for the 802.1x authentication parameters to take affect.
11
Navigate to the
Options
screen and press
Restart
to restart the phone.
Aastra IP Phone UI
Step Action
Содержание 9000i Series
Страница 3: ......
Страница 17: ......
Страница 67: ......
Страница 163: ......
Страница 275: ...4 112 41 001343 01 Rev 02 Release 3 2 2 Aastra Web UI Step Action 1 Click on Advanced Settings Configuration Server...
Страница 334: ...41 001343 01 Rev 02 Release 3 2 2 5 57...
Страница 681: ......
Страница 687: ......
Страница 981: ......
Страница 985: ......
Страница 1016: ...41 001343 01 Rev 02 Release 3 2 2 C 31 prgkey5 line 1 list prgkey6 type list prgkey7 type list...
Страница 1017: ......
Страница 1021: ......
Страница 1025: ......
Страница 1037: ......


