Troubleshooting
Guide
22|
Page
5)
Slowly
re
‐
open
the
manual
gas
valve.
Check
to
see
that
there
are
no
gas
leaks.
6)
Open
some
of
the
fixtures
that
use
the
highest
flow
rate
to
activate.
7)
Check
the
inlet
gas
pressure.
Appropriate
pressures
are
listed
in
the
specification
page
at
the
front
of
this
manual.
PURGE
THE
GAS
LINE
OF
AIR:
1)
The
unit
should
not
be
running
during
this
procedure.
Turn
off
power
to
the
unit.
2)
Turn
the
gas
valve
to
the
off
position
(perpendicular
to
the
gas
line).
3)
Loosen
the
gas
line
on
the
unit
side
of
the
gas
valve
(at
a
flare
fitting
or
union).
4)
Next
open
the
gas
valve
very
slightly
until
you
can
smell
gas
by
wafting
the
air
towards
your
nose.
This
means
any
air
previously
in
the
gas
line
has
been
removed
and
only
gas
remains.
5)
Turn
gas
back
off
and
re
‐
tighten
gas
line.
6)
Turn
gas
back
on
and
check
for
leaks.
Spray
water
&
dish
soap
mixture
onto
fittings.
No
bubbles
means
there
are
no
leaks.
CHECKING
MANIFOLD
GAS
PRESSURE:
1)
Ensure
the
unit
is
not
in
operation.
2)
Remove
the
screw
off
the
manifold
port.
3)
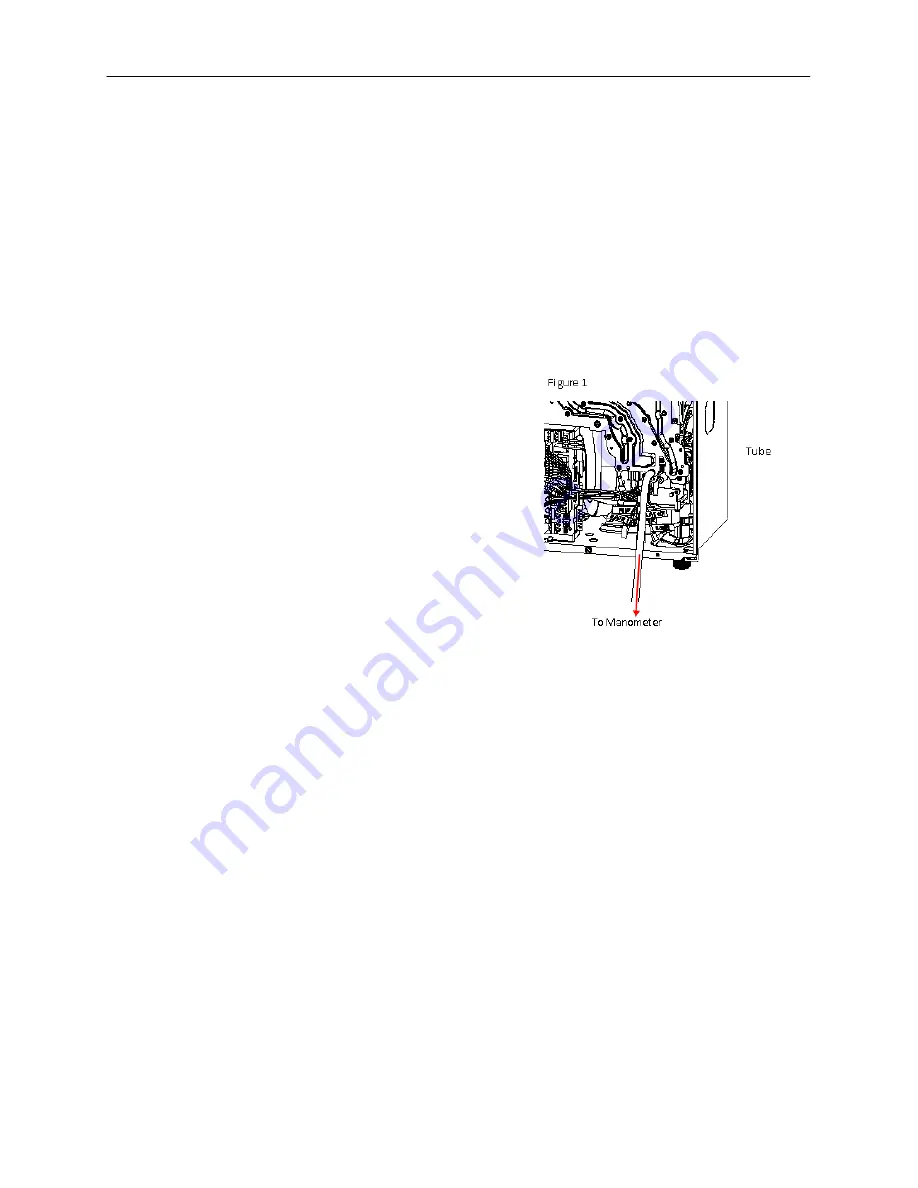
Connect
a
manometer
to
the
manifold
port
using
a
tube
(Figure
1).
Ensure
that
this
connection
is
secure
enough
to
prevent
gas
leak.
4)
Run
water
through
the
unit
to
activate
its
operation.
It
is
suggested
that
a
large
amount
of
flow
is
drawn
in
order
to
prevent
overheating
during
max
burn.
If
presence
of
a
gas
leak
is
detected,
immediately
shut
off
the
unit
and
inspect
the
tube/manifold
connection;
otherwise,
proceed
onto
the
next
step.
5)
To
check
the
manifold
gas
pressure
during
maximum
combustion,
press
and
hold
the
“
MAX
”
button
on
the
computer
board.
To
check
the
manifold
pressure
during
minimum
combustion,
press
and
hold
the
“
MIN
”
button
on
the
computer
board.
The
desired
pressures
are
listed
in
the
specification
table
at
the
beginning
of
this
manual.
6)
If
the
manifold
pressures
do
not
match
up
with
those
listed,
adjust
the
manifold
pressure
(see
the
following
procedure).
Figure
19


