Installation Manual
|
VISIX Network Camera
10225 Westmoor Drive, Suite 300, Westminster, CO 80021 | www.3xlogic.com | (877) 3XLOGIC
16
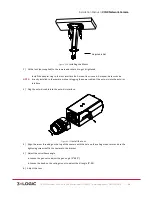
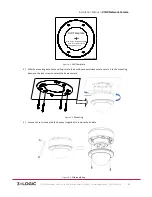
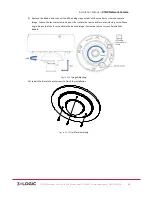
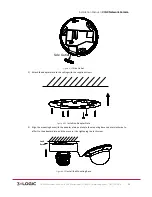
Figure 3-‐10
Installing the Mount
2)
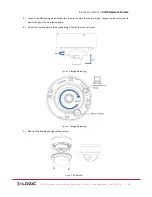
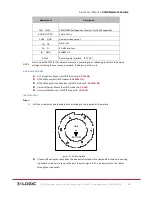
Fit the lens (not supplied) to the camera and rotate it to get it tightened.
NOTE:
Install the adapter ring to the lens interface if a C-‐mount lens is used. A manual-‐iris lens can be
directly installed to the camera without plugging the power cable of the auto-‐iris into the auto-‐iris
interface.
3)
Plug the auto-‐iris cable into the auto-‐iris interface.
Figure 3-‐11
Install the Lens
4)
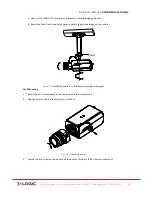
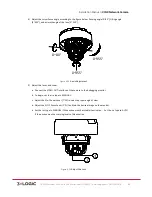
Align the screw threading on the top of the camera with the hole on the ceiling mount arm and use the
tightening screw to affix the camera to the bracket.
5)
Adjust the surveillance angle.
a.
Loosen the pan nut to adjust the pan angle [0°-‐360°].
b.
Loosen the knob on the ceiling mount to adjust the tilt angle [0°-‐90].
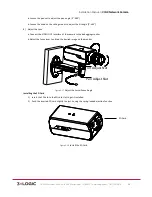
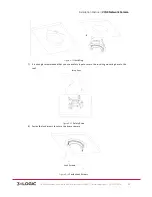
6) Adjust the Lens
Adjustable Nut


