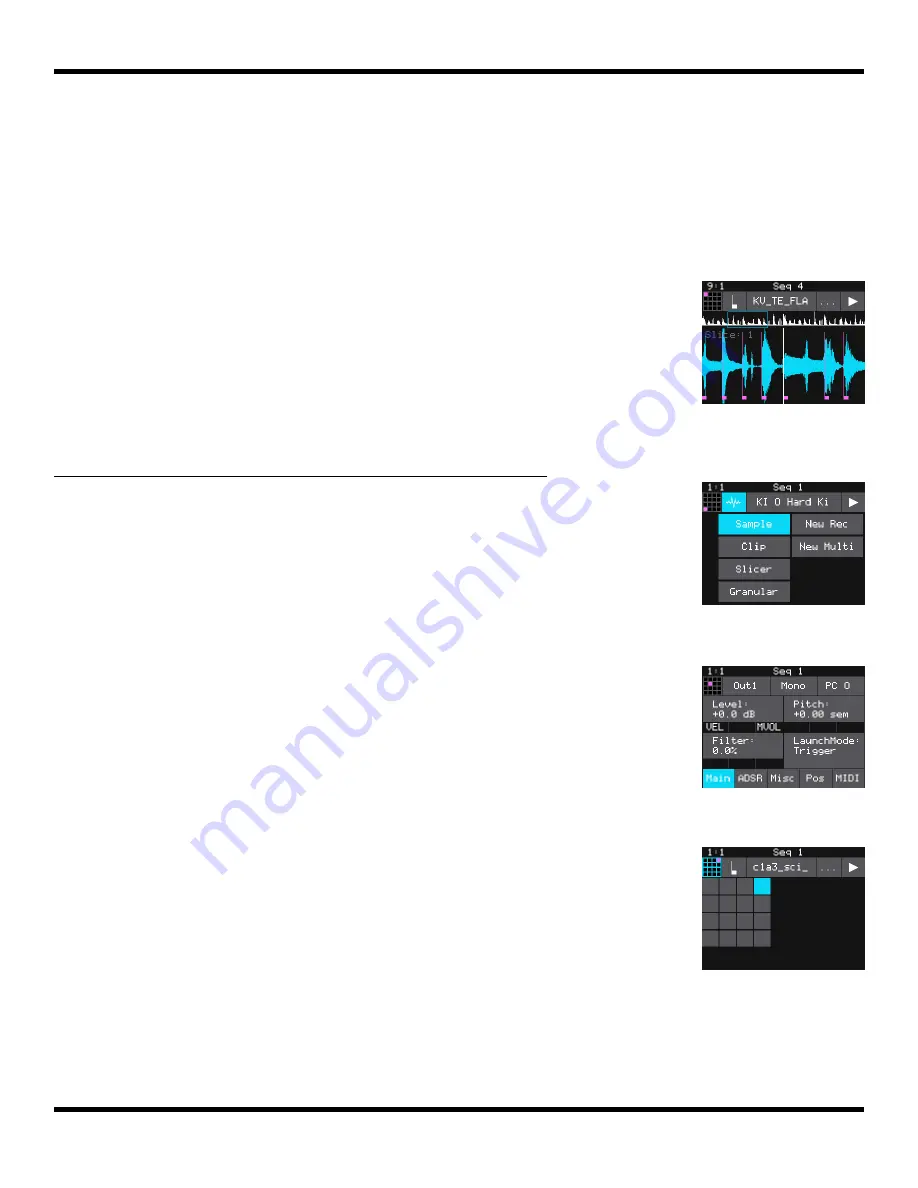
To Configure Pad Parameters and Choose a Pad Mode:
1.
Touch the icon immediately to the left of the WAV file
name at the top of the screen to display the Pad Mode
selector. Touch one of the options to set the Pad Mode. The
icon changes to represent the selected Pad Mode. See the
table at the beginning of this section for a description of
each of these modes.
2.
From the waveform screen, press the
INFO
button to
display the Pad Parameters Screen. Touch the buttons
across the bottom to access the different pages of pad
parameters. You can press
INFO
again to toggle between
the Pad Parameter screen and the Waveform screen.
3.
On the Main Pad Parameters page, there are four menu
items at the top, just below the measure and beat count.
The left most item is the grid icon and pad selector. Touch
this icon to change which pad you are editing. The pink
square in the grid indicates which pad you are currently
editing. The second menu item is the output selection
button (
Out1
in the example). Touch this menu item to
display the list of output options:
Pad Mode
Selector
Main Pad
Parameters
swipe to scroll along the length of the waveform. You can quickly jump to a different
section of a long waveform by touching that section of the wave in the top view.
If the pad is in Sample or Granular mode, the bottom waveform shows a pink bracket that
indicates the portion of the WAV file that will be played by this pad. Turn the top left knob
to adjust the start position, and the top right knob to adjust the length. If this pad uses
looping, a white bracket is displayed to show the loop points. Turn the bottom two knobs
to adjust the loop start and loop end points.
If the pad is a Slicer, you will see pink bars that indicate the position
of the slices. If a wav has slices embedded in it, you may also see
slices when the pad is in Clip mode.
WAV Screen
with Slice Points
Page 23 of 106
Copyright 1010music LLC 2021
Blackbox User Manual 1.7
Grid Pad
Selector
Содержание Blackbox
Страница 1: ...Blackbox User Manual 1 7 Mar 17 2021 ...


