Chapter 2 Hardware
WX3401-B0 User’s Guide
22
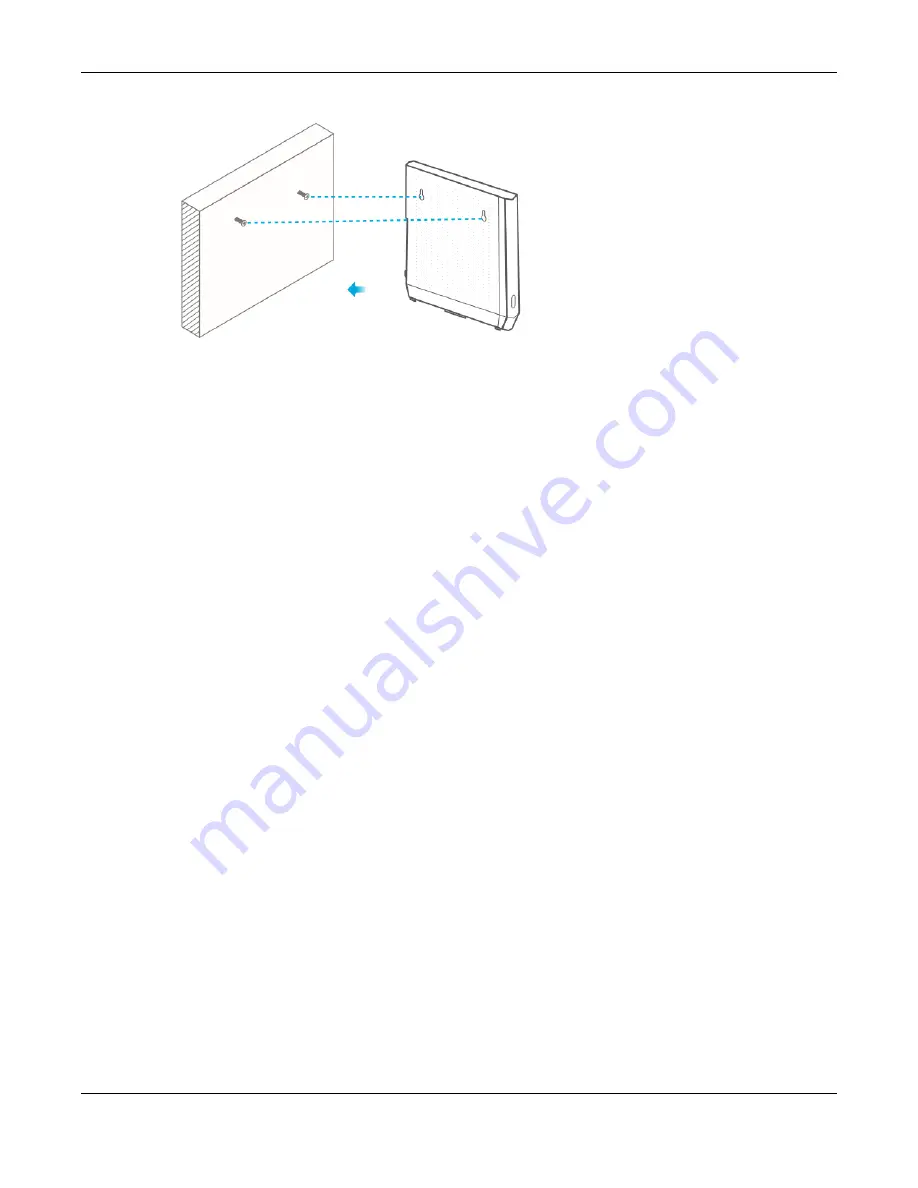
Figure 17
Wall Mounting Example
2.4 WPS Button
Your WX3401-B0 supports WiFi Protected Setup (WPS), which is an easy way to set up a secure wireless
network. WPS is an industry standard specification, defined by the Wi-Fi Alliance.
WPS allows you to quickly set up a wireless network with strong security, without having to configure
security settings manually. Each WPS connection works between two devices. Both devices must
support WPS (check each device’s documentation to make sure).
Depending on the devices you have, you can either press a button (recommended) on the device
itself, or in its web configurator. When WPS is activated on a device, it has two minutes to find another
device that also has WPS activated. Then, the two devices connect and set up a secure network by
themselves.
The
WPS
button is located at the front panel of the WX3401-B0.
2.4.1 Using the WPS Button
1
Make sure the power LED is on (not blinking).
2
Choose a mode
• APC mode
1. Press the WX3401-B0
WPS
button once. The WPS LED should start blinking.
2. Press the WPS button on the client within 2 minutes.
• AP Mode (Downlink Daisy Chain For MPro Mesh)
1. Press the
fi
rst WX3401-B0
WPS
button once.
2. Press the
WPS
button once on the downlink WX3401-B0 within 2 minutes of each other.
• Repeater mode (modem/router to the WX3401-B0)
1. Press the WPS button on the modem/router. Release it when the WPS LED blinks.
2. Press the WX3401-B0
WPS
button once within 2 minutes to copy the WiFi settings from your modem/
router to the WX3401-B0.
3. The Link LED lights up when the process is finished.
Summary of Contents for WX3401-BO
Page 10: ...10 PART I User s Guide ...
Page 26: ...Chapter 3 The Web Configurator WX3401 B0 User s Guide 26 Figure 20 Connection Status ...
Page 53: ...Chapter 4 Tutorials WX3401 B0 User s Guide 53 Successful connection ...
Page 72: ...72 PART II Technical Reference ...
Page 139: ...Chapter 16 Backup Restore WX3401 B0 User s Guide 139 Figure 75 Maintenance Reboot ...


