Spectrum Z™510 3D Printer Hardware Manual
Service Menu and Other Maintenance
www.3dpuser.com
45
10/2/07
All Rights Reserved
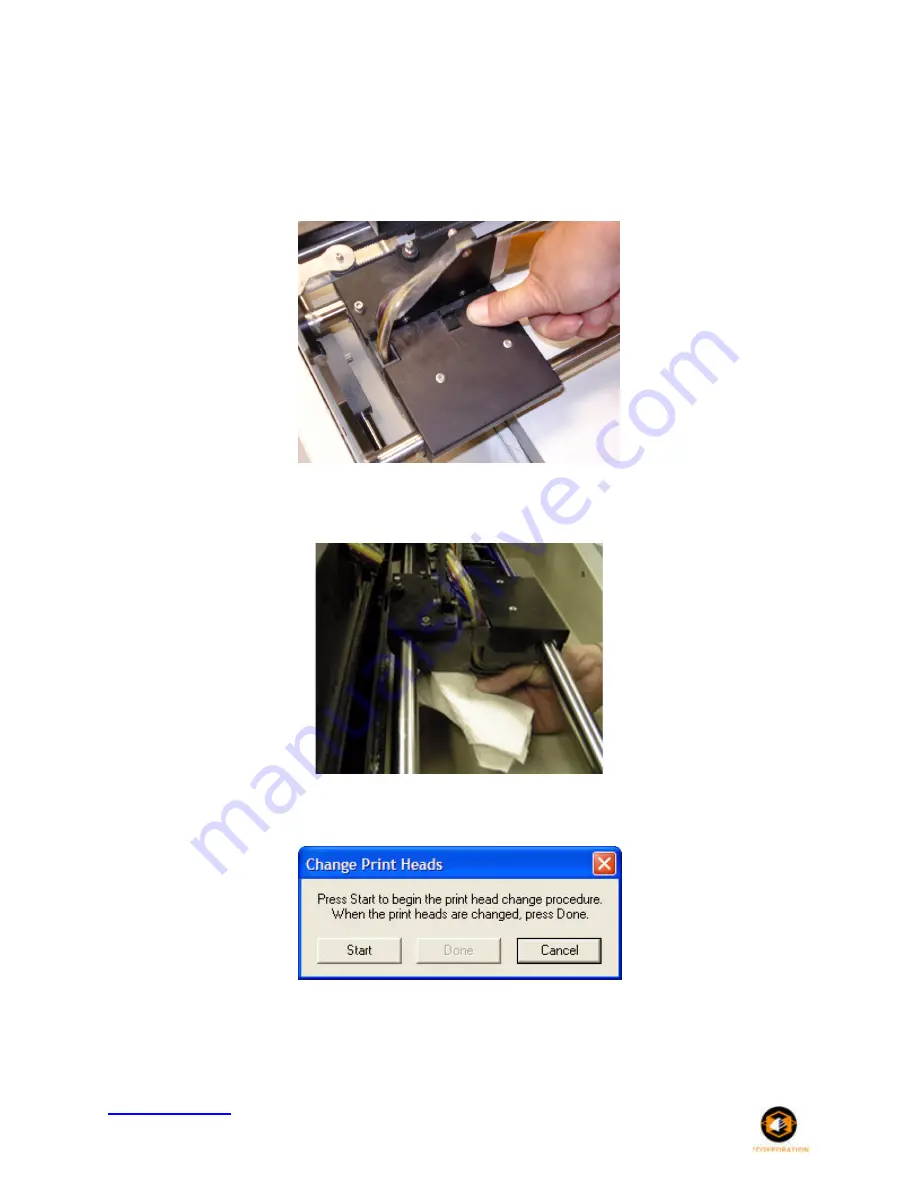
7. Re-insert a new print head(s) and press down. Press firmly on both ends of the print head to secure
into place.
8. Close the Carriage cover.
9. Using a moist paper towel, wipe the alignment window located on the bottom, left side of the Carriage.
Dry off with a dry paper towel and close the printer top cover.
10. Click
Done
on the
Change Print Heads
dialog.
11. Select
Service > Purge Print Heads
. You can choose to purge only a new print head or all of the print
heads. The printer will purge the print head(s) of all of its ink and replace it with binder.


