5. Inspection and servicing of basic engine parts
106
5.1.5
Cylinder bore
measurement
Especially clean head surface, cylinder bores and oil
holes, and check the below items after removing any
carbon deposit and bonding agent.
(a) Appearance inspection
Check if there is any discoloration or crack. If crack is
suspected, perform color check. Sufficiently clean the
oil holes and check they are not clogged.
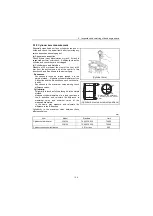
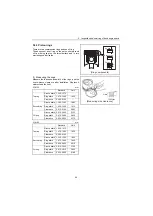
(b) Cylinder bore and distortion
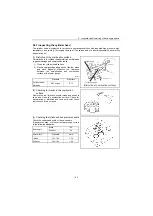
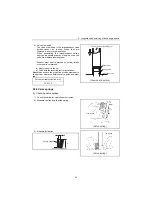
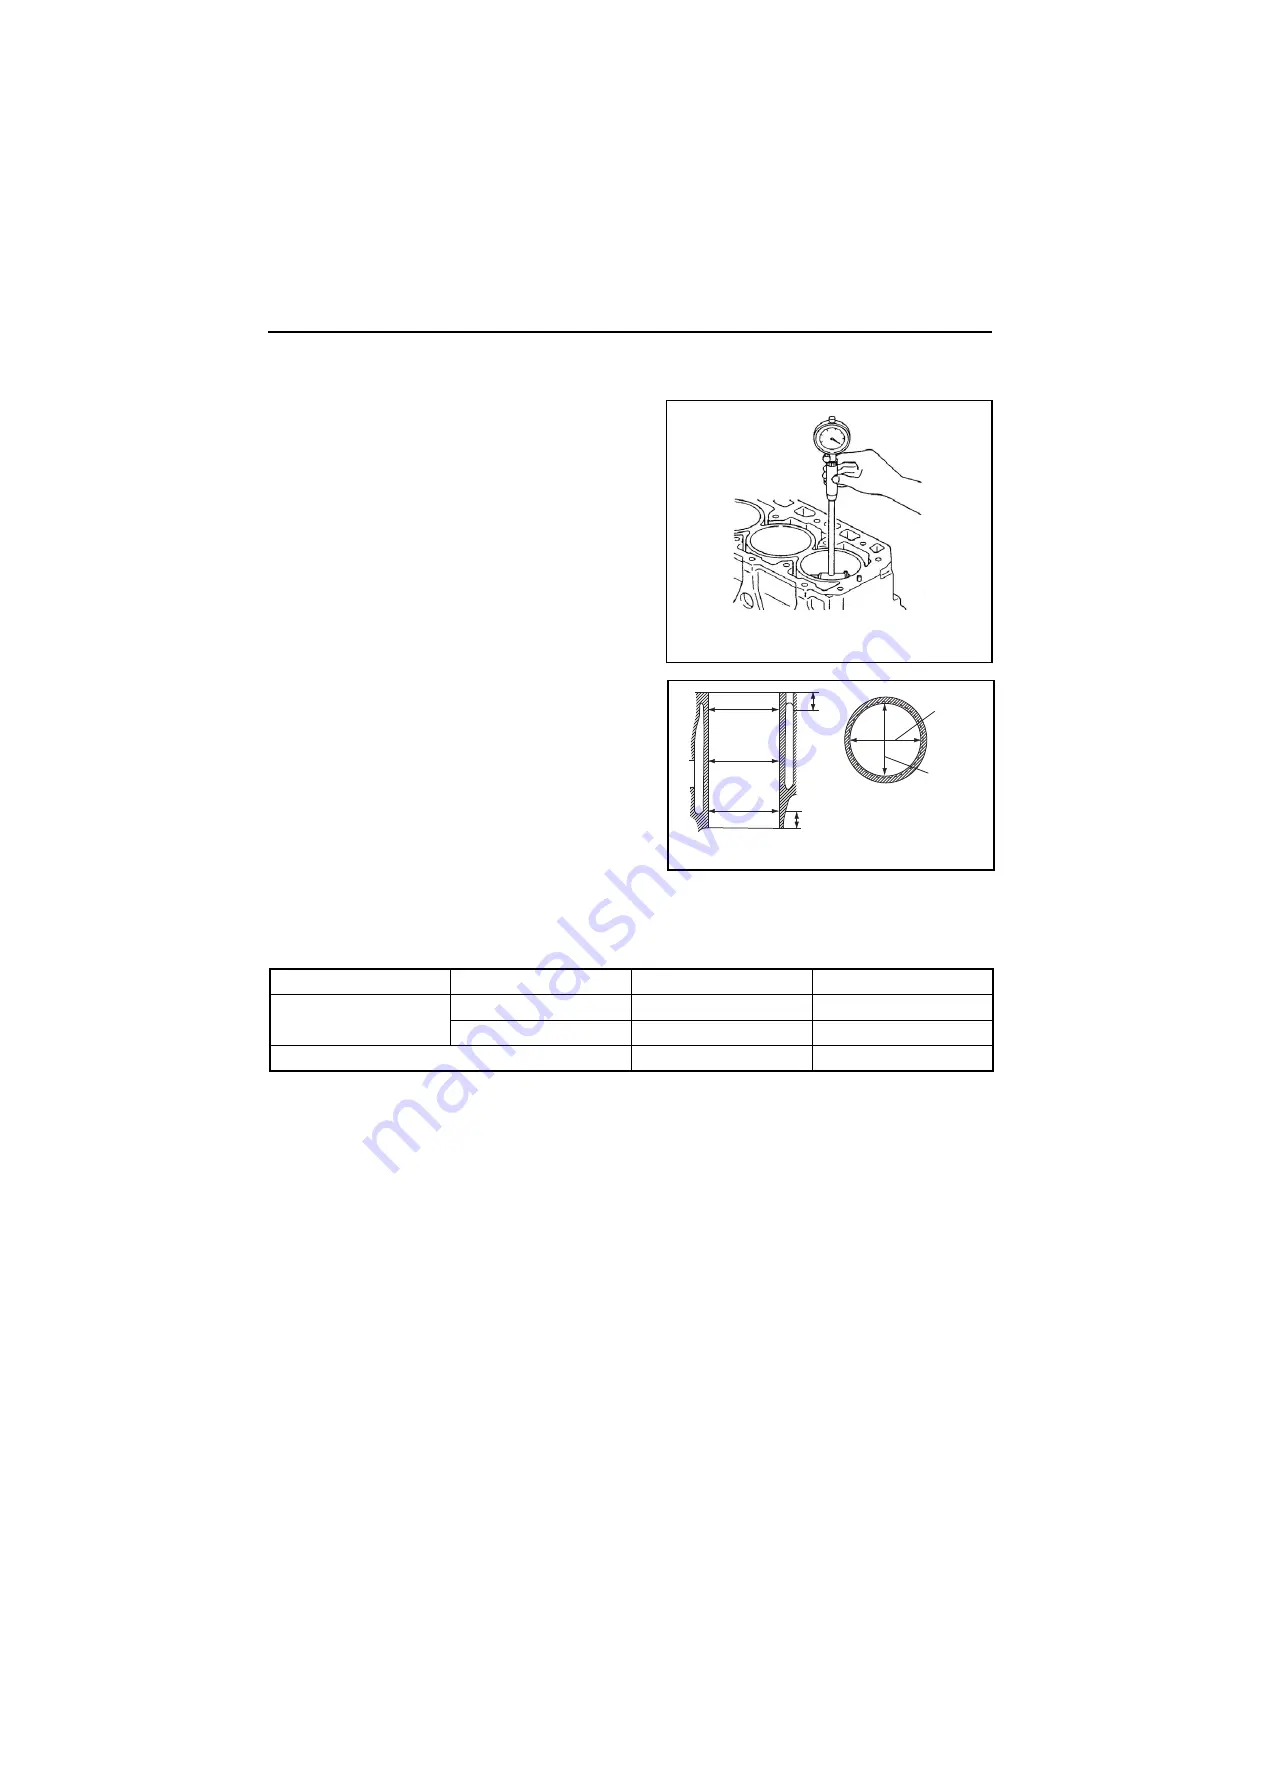
Measure at 20 mm below the crest of the liner, at 20
mm from the bottom end and at the center in two
directions A and B as shown in the below figure.
Roundness:
Roundness is found as follows though it is the
simple method.
Measure cylinder diameters of the
A direction and the B direction on each section of a,
b and c.
Roundness is the maximum value among those
difference values.
Cylindricity:
Cylindricity is found as follows though it is the simple
method.
Measure cylinder diameters of a, b and c sections in
the A direction, and calculate the difference in
maximum value and minimum value of the
measured diameters.
In the same way measure and calculate the
difference in the B direction.
Cylindricity is the maximum value between those
difference values.
mm
Item
Model
Standard
Limit
Cylinder bore diameter
3YM30
76.000-76.030
76.200
3YM20
70.000-70.030
70.200
Cylinder roundness /Inclination
0.01 or less
0.03
(Cylinder bore)
20 mm
A
B
Measure in two directions
A and B at points a, b and c.
a
b
c
20 mm
(Cylinder bore measurement positions)
Summary of Contents for 3YM20
Page 1: ...M9961 03E100 ...

