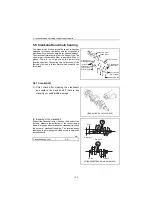
5. Inspection and servicing of basic engine parts
126
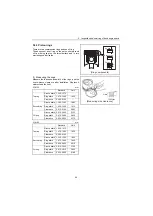
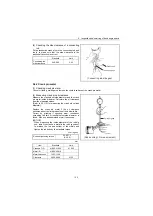
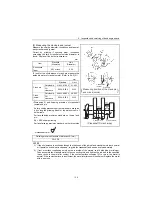
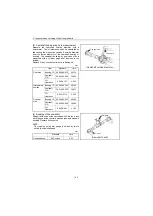
(3) Measuring the crank pin and journal
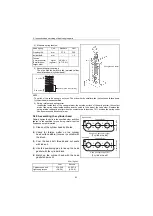
Measure the outside diameter, roundness and taper at
each crank pin and journal.
Correct by grinding if unevenly wear, roundness
exceeding the limit or insufficient outside diameter is
found. Replace if the defect is excessive.
To look for the oil clearance of crank pin, measure the
inside diameter of crank pin metal. (Refer to 5.4.2(2). )
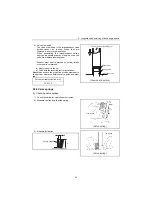
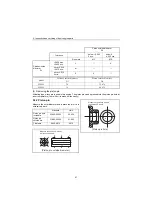
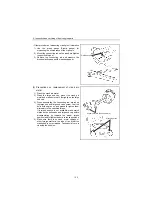
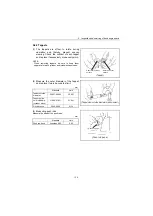
• Dimension R and finishing precision of crankshaft
journal and pin
As for grinding processing of journal and pin, machine
it by using the grinding wheel of the dimension R of
below table.
Surface finishing precision standard on journal and
pin:
Ry = 0.8S super polishing
Surface finishing precision standard on the thrust side
of crankshaft arm :
NOTICE:
1) lf the oil clearance is excessive though the thickness of the journal and crankpin metals are normal
or if partial uneven wear is observed, re-grind the crankshaft and use an oversized metals.
2) lf rust or surface roughening exists on the rear side of the metals, coat it with blue or minimum.
Then assemble the crankpin metal to the connecting rod, and tighten the rod bolt to the specified
torque to check the metal for contact. lf the contact surface occupies 75% or more, the metal is
normal. lf the contact surface is insufficient, the metal interference is insufficient. Replace the metal
with a new one.
mm
Item
Standard
(Diameter)
Limit
(Diameter)
Roundness
Taper
0.01 or less
0.02
mm
Standard
Limit
Crank pin
Outside dia.
41.952-41.962
41.902
Oil
clearance
0.020-0.058
0.120
Crank
journal
Outside dia.
46.952-46.962
46.902
Oil
clearance
0.020-0.050
0.120
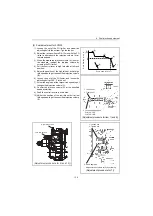
Finishing precision standard of dimension R (mm)
3.5+0.3/0
Crankshaft
journal
Crank pin
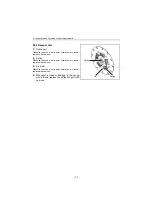
Measuring position of the crank pin
and crank journal
)
(
Super
polishing
Ry=0.8S
Super
polishing
Thrust
face
Crank Pin
(Crankshaft R machining)
Crank Journal
Ry=0.8S
R
R
R
R
R
1.6
Summary of Contents for 3YM20
Page 1: ...M9961 03E100 ...

