Control Surface Operation with the Pro Tools Remote Layer
201
02R96 Version 2—Owner’s Manual
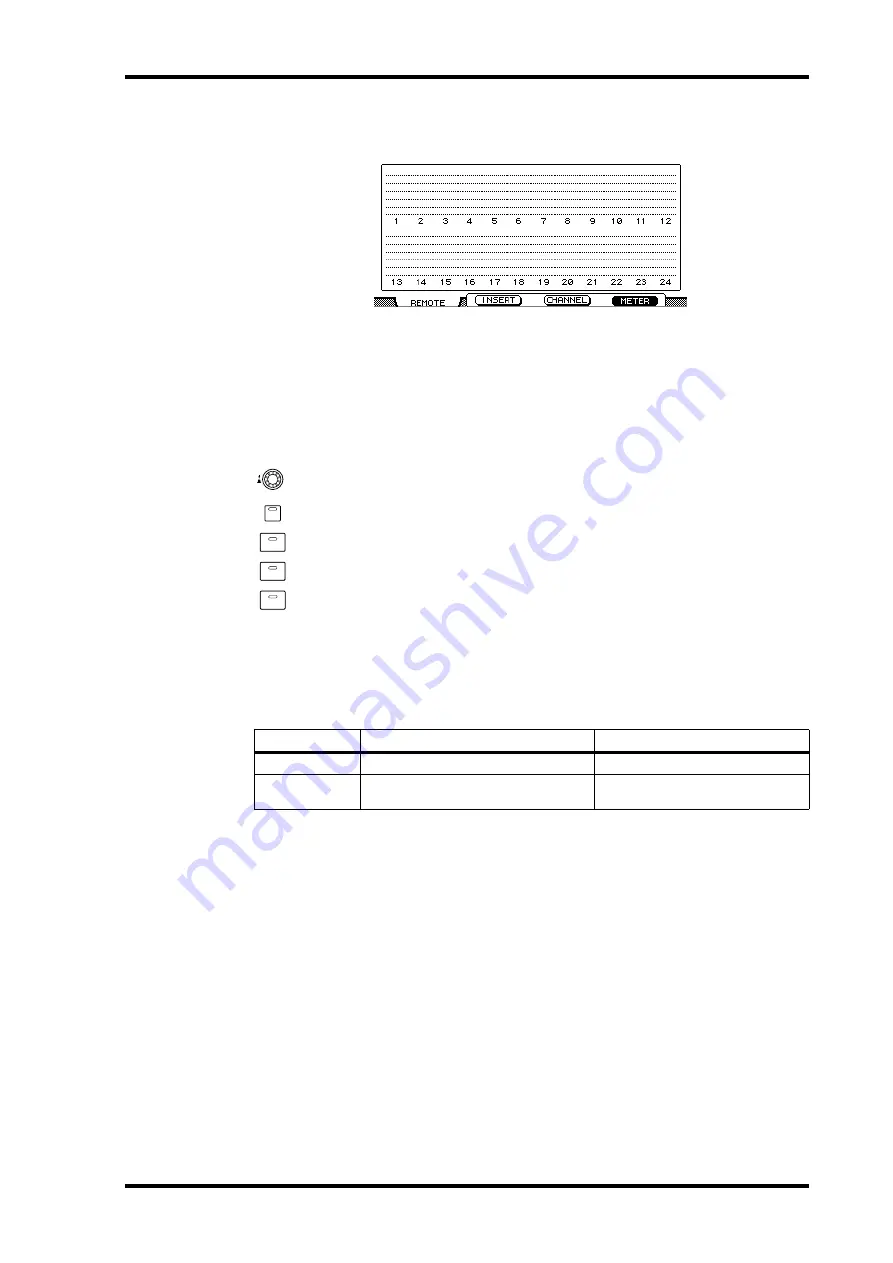
Meter Display Mode
Press the [F4] button to select this display mode.
In this display mode, stereo meters for each channel are displayed. The name of each chan-
nel is displayed below the meters. Automation mode settings, aux send destinations, and
aux send pre/post settings can also be displayed here. See “Viewing the Automation Mode”
on page 216, “Viewing Send Destinations” on page 210, and “Configuring Sends as Pre or
Post” on page 210 respectively for more information.
Channel Strips
02R96 channel strips correspond to Pro Tools channels from left to right, with the
leftmost Pro Tools channel being handled by 02R96 channel strip #1. You can
change the order of channel strips by dragging the channel select buttons in Pro
Tools, in which case the 02R96 automatically reorders its channel strips. By using
the USER DEFINED KEYS, Pro Tools channels can be scrolled in banks of 24 (see
page 206).
Encoders & Push-Switches
The Encoders are used to set pan and send levels. The Encoder push-switches are used to
reset send levels and panpots and to set sends to pre or post fader. Their exact operation
depends on the currently selected Encoder mode, as shown in the following table.
[AUTO] buttons
These buttons are used in conjunction with USER DEFINED KEYS [3–8] to set the Auto-
mation mode of each channel. See “Setting the Automation Mode” on page 216 for more
information.
[SEL] buttons
These buttons are used to select channels (see page 209) and to select inserts (see page 213).
[SOLO] buttons
These buttons are used to solo channels. See “Soloing Channels” on page 210 for more
information.
[ON] buttons
These buttons are used to mute channels. See “Muting Channels” on page 209 for more
information.
Encoder Mode
Encoder
Push-switches
[PAN]
[SEND LEVEL]
Reset send levels (see page 214)
ON
SOLO
SEL
AUTO


