36
Chapter 7. PC Connection
7. PC Connection
37
Chapter 7. PC Connection
E
n
gl
is
h
7. PC Connection
Requirements
Your computer must meet the following minimum re-
quirements:
Processor:
500 MHz for Windows 98 SE®
800 MHz for Windows 2000 · ME®
1 GHz for Windows XP®
RAM:
128 MB for Windows 98 SE · 2000 · ME®
192 MB for Windows XP®
Operating System:
Windows 98 SE · 2000 · ME · XP®
Free Hard Drive Space:
260 MB of free hard drive space for installation of
C S and P P.
USB Interface
You can connect your machine only to a PC (Microsoft
Windows® operating system). e machine is not com-
patible with Linux or Apple Macintosh®.
Æ
FIRST INSTALL THE SOFTWARE.
e
device may not be connected to the PC before
this. After the software installation, the PC must
be restarted,
only then
should you connect your
PC and the laser machine with a USB cable.
Installing the Software
On the installation CD included with your machine,
you will find the C Se and P P.
With the C Se, you can access the ad-
dress book of the machine from your computer and
add or edit entries. You can also alter your machine
settings as well as checking the toner level of the print
cartridge. With P P, you can scan and manage
documents.
e machine is registered as the default printer on
your computer. You can access it as you would any
other printer and use it to create black-and-white
print-outs.
Close all open programs and applications before begin-
ning the installation process. Place the installation CD
in the CD-ROM drive of your computer. e program
will start automatically. (If the program does not start
automatically, select the CD-ROM drive in the Win-
dows® Explorer and start the program S. with a
double-click.)
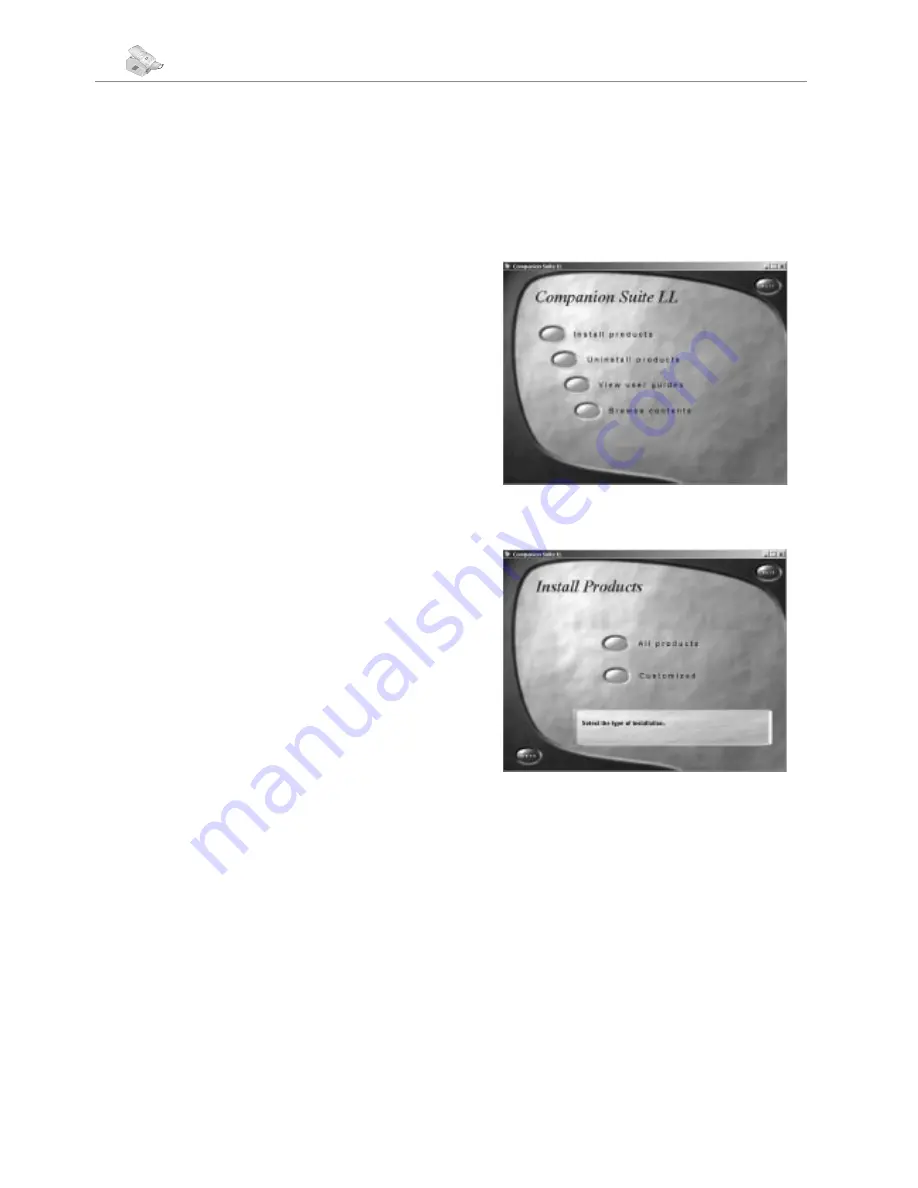
e C S window appears on the screen.
You can install or uninstall C S or load
the user manual for P P. Click on B
C to view the files on the installation CD. is
opens a Windows® Explorer window that shows the CD
contents.
Click on I P, and select A P
from the selection menu that follows.
¡
By selecting A P, you will install
the C S and P P, as
well as the drivers for the printer and scanner. If
you would like to install only certain components,
click on C, then select the components
that you would like to install.
Your computer will now prepare for the installation pro-
cess. en a window will appear on the screen in which
you may start the installation process. Click on N.
Summary of Contents for FaxCentre F110
Page 1: ...User Manual Manuel d utilisation Manual del usuario ...
Page 2: ......
Page 3: ...FRANÇAIS 51 ESPAÑOL 101 ENGLISH 4 ENGLISH 4 ...
Page 50: ......
Page 51: ...FRANÇAIS 51 ESPAÑOL 101 ENGLISH 4 ...
Page 91: ...8 Trucs et astuces 91 Chapitre 8 Trucs et astuces Français ...
Page 97: ...Annexe 97 ChapitreAnnexe Français ...
Page 100: ......
Page 101: ...FRANÇAIS 51 ESPAÑOL 101 ENGLISH 4 ...
Page 145: ...Anexo 145 CapítuloAnexo Español ...


