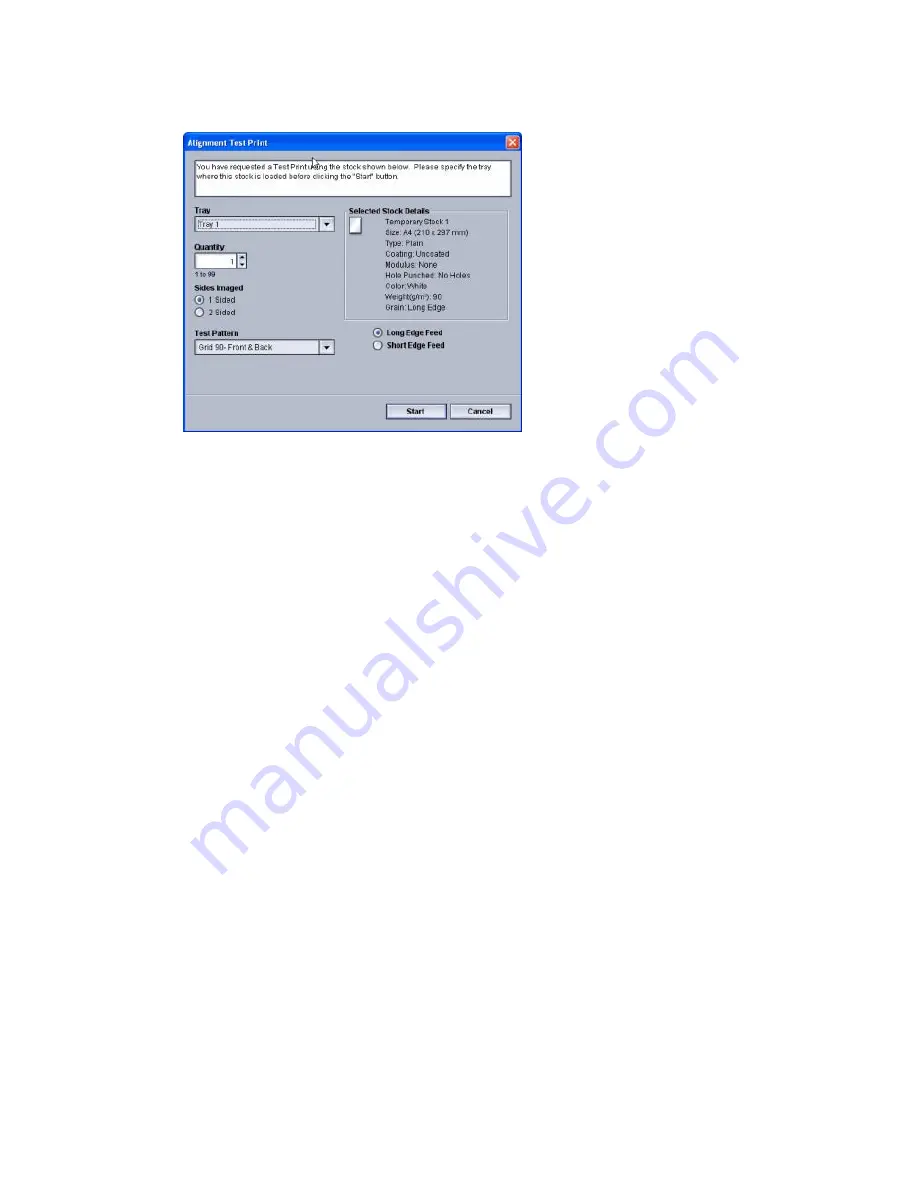
7. Select the Test Print button.
The Test Print window opens.
8. Select the desired Test Print options, including:
a) The desired paper tray
b) Print quantity
It is recommended that you select a quantity of 10 test prints in order to best
evaluate the printed output.
c) The desired test pattern, if necessary
d) Long Edge Feed or Short Edge Feed
9. Select Start.
The UI displays a message telling you the test print is in progress.
10. Retrieve your printed output.
Discard the first few prints as inconsistency tends to be greater with these first images.
11. Evaluate the test prints by holding your the output at eye level near a light source.
This allows you to see the registration marks for side 1, and side 2 (if 2 sided output
was selected).
a) If you determine that the alignment between side 1 and side 2 is unacceptable
and needs adjusting, repeat this procedure.
It may take multiple adjustments to the Alignment options and running test prints
before the printed output meets customer satisfaction.
b) Once the printed output is acceptable, continue to the next step.
12. If desired, select the another desired Alignment option and make the desired changes.
a) Run some test prints.
b) Evaluate the output.
6-11
Xerox
®
Color 800/1000 Press
System Administration Guide
Profiles


