M A - 5 Q C S P E C T R O P H O T O M E T E R
31
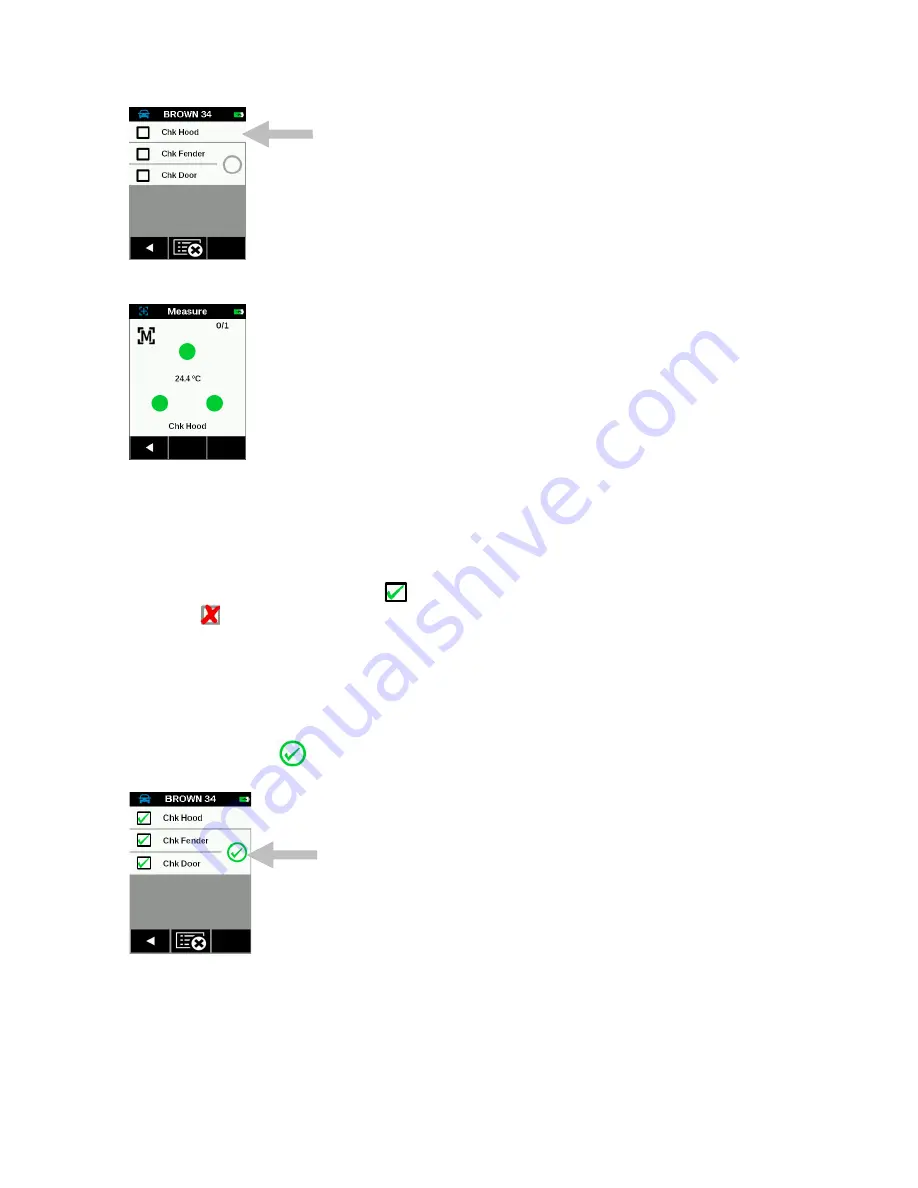
The instrument goes into measure mode
.
Position the instrument on the checkpoint area to measure as
explained in Instrument Positioning.
6. Hold the instrument steady and press a
Measure
button or tap the screen to initiate a measurement.
7. Continue with remaining areas for the checkpoint as required.
8. After the checkpoint is finished the instrument displays the results on the screen with color code (white:
unchecked, green: passed, yellow: narrow passed, red: failed). The indicator LED is lite for 2 seconds
(green: passed, red: failed). Tap the Right (
)
arrow at the button of the screen
or press the Measure
button to go to next unmeasured checkpoint.
9. A successful measurement displays a
icon next to the checkpoint. An unsuccessful measurement
displays a icon next to the checkpoint.
NOTE:
If desired, you can redo an unsuccessful checkpoint
measurement by taping the checkpoint and then tapping the “Remeasure” button. Measurement results
can also be viewed from this screen. Refer to the end of this section for the procedure.
10. Position the instrument on the checkpoint area to measure as explained in Instrument Positioning and
measure. Continue with remaining areas for the checkpoint as required.
11. Continue with remaining checkpoint measurements as required. After the checkpoint is finished the
instrument displays the data screen. Tap the
Left (◄) arrow at the bottom of the screen to return to the
job
checkpoint screen. A
icon appears on the screen
indicating
that the checkpoints Fender and Door
are compared to each other per the job template.
12. Continue with additional jobs or upload the job data to the software application for analysis.
Deleting Jobs
You can delete jobs from the selected template.


