M A - 5 Q C S P E C T R O P H O T O M E T E R
17
To change the data mode if required:
1. Tap the lock
icon at the bottom of the screen Data Mode screen to access the Enable List screen.
2. Tap
Yes
to confirm that you want to unlock the data mode options or
No
if you do not want to unlock the
options. After tapping Yes, the screen returns to the Data Mode screen showing an unlock
icon. This
indicates that you can now change the data mode.
3. Tap the desired data mode option to access the Change Data Mode, Data inconsistent screen.
4. Tap
Yes
to confirm that you want to change the data mode option.
Color Space
:
This option is used to select L*a*b* or L*C*h data type that is displayed.
Device Mode
This option is used to set the instrument to emulate other X-Rite instruments.
To access, tap the
Device Mode
icon and then tap
MA-5 (default) or MA94
.
Device Information
This option is used to view important instrument information such as hardware version, calibration
reference serial number, battery data, etc.
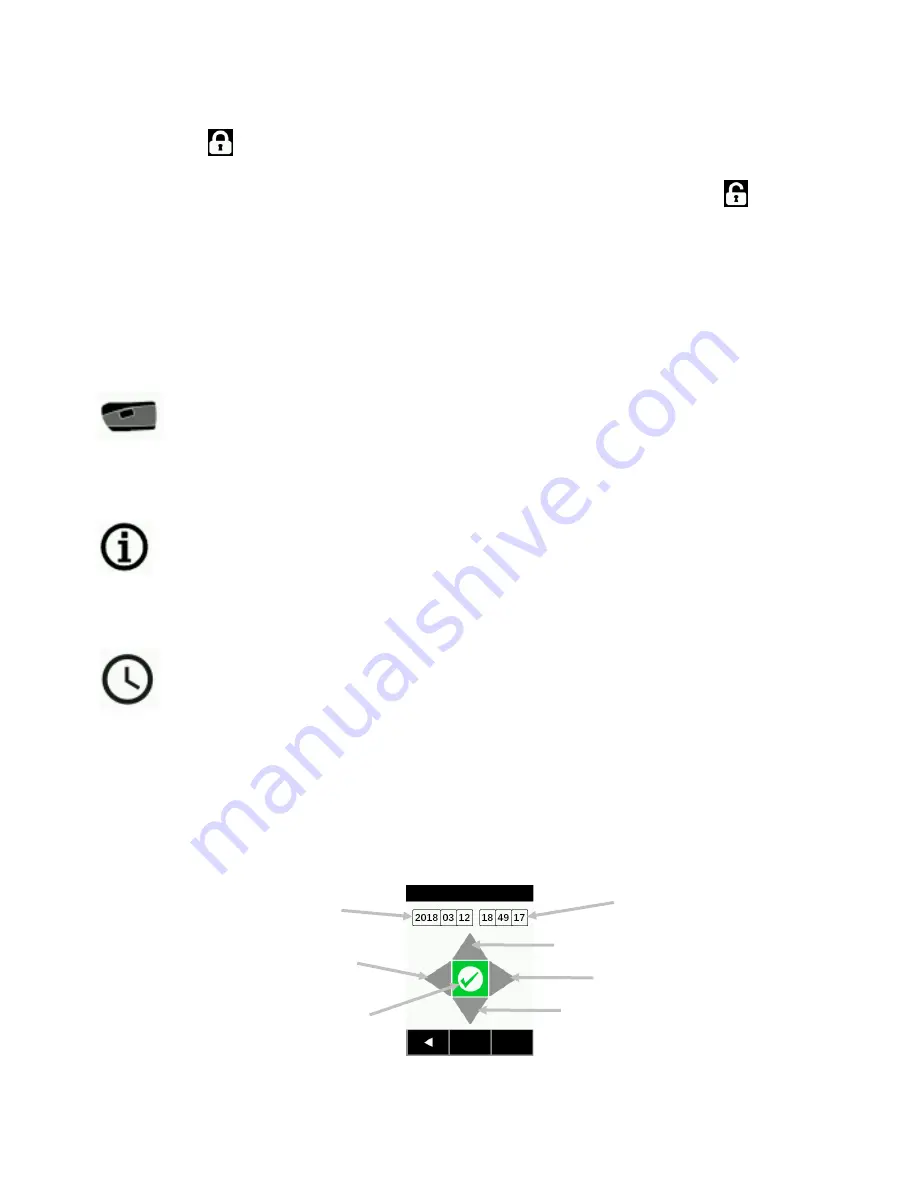
Date and Time
This option is used to adjust the timestamp clock for the instrument.
NOTE: It is more convenient to set the date and time using the corresponding function in the software or in the
utility tool.
1.
To access, tap
Date and Time.
The flashing value in the field is the current value that can be adjusted.
2.
Tap the
“Up”
arrow icon to increase the value.
3.
Tap the
“Down”
arrow icon to decrease the value.
4.
Tap the
“Left”
arrow icon to move the flashing field to the next field to the left.
5.
Tap the
“Right”
arrow icon to move the flashing field to the next field to the right.
6.
Tap the
“Checkmark”
in the center to save changes and exit the option.
Time fields
Up arrow icon
Right arrow icon
Date fields
Left arrow icon
Down arrow icon
Save and exit icon


