X - R i t e e X a c t ™ I n s t r u m e n t
55
9.
Continue with additional measurements or select a measurement screen icon to change color
option or standard.
Pass/Fail Measurement
A pass/fail indication displays for any standard that has a tolerances set. Refer to the software
application for information on setting tolerancing for standards.
Pass/fail is displayed differently based on each function and the tolerance types. In general, the
area next to the sample and standard name in the measurement results area will show the overall
pass/fail status icon.
If the current function displays a delta value which matches an active tolerance, it will also get a
colored circle next to it which indicates a particular tolerance passed/warning/failed status.
NOTE:
Pass/Fail Indication must be activated before a pass/fail measurement can be performed.
Refer to Settings in the Measurement Tool Setup section earlier in this manual for procedure.
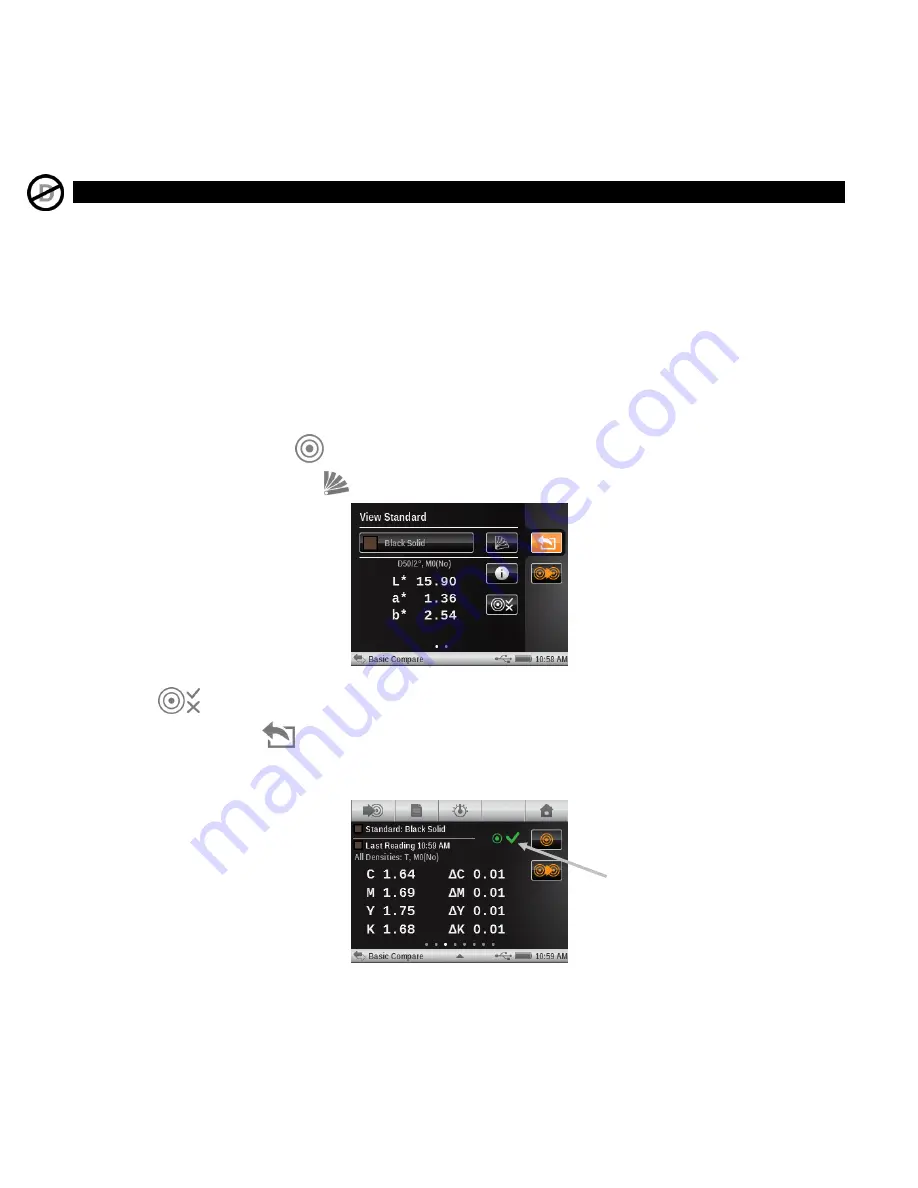
1.
Select the tool and function for the pass/fail measurement.
2.
Measure paper if required.
3.
Tap the Standard icon
to access the screen where a standard is selected from the library.
4.
Tap the Color Library icon
and select the standard from the library.
Note:
If you want to view the tolerance settings for the selected standard, tap the Tolerance
icon
.
5.
Tap the Back icon
to return to the measurement screen.
6.
Measure the sample to be compared.
7.
View pass/fail results for the measurement.
Pass/fail indication


