17
(4) Viewing the Photos and Videos
(4) Screen Navigation and Settings Overview
1
2
3
HDR
HDR
1/2
Resolution
Video Duration
Exposure
Video
A
1/2
Setup
Date
/
Time
Auto
Power
Off
Beep
Sound
Language
HDR
HDR
Resolution
Video Duration
Exposure
Video
1/2
HDR
1
/
2
HDR
视频
HDR
HDR
Resolution
Video Duration
Exposure
Video
1/2
HDR
720P 1280 X 720
WVGA 848 X 480
VGA 640 X 480
1080FHD 1920 X 1080
Video
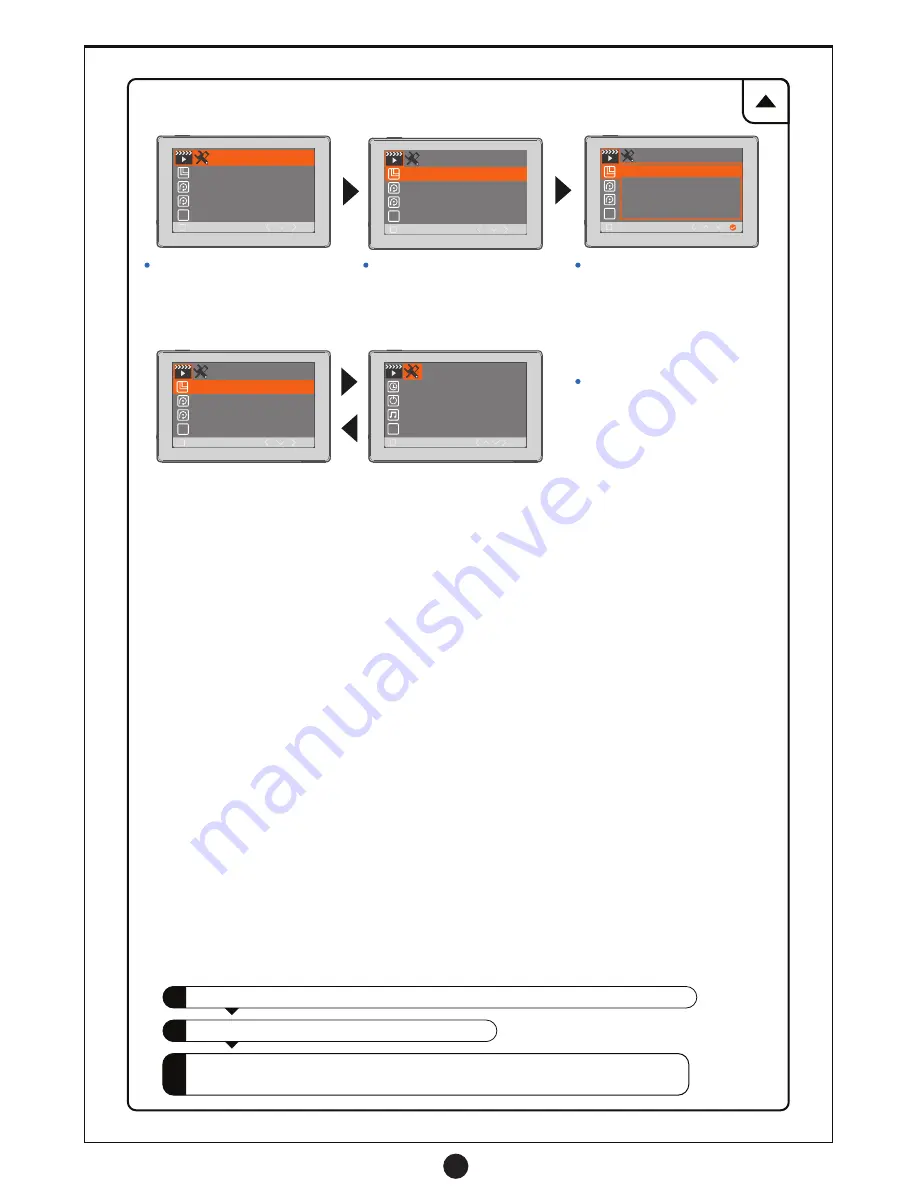
This is the starting screen for Video
Settings. In either Video or Stills mode
you can use the Gimbal Joystick to
navigate the menu and use R2 to
confirm selections.
Move the gimbal joystick up and
down to select sub-menu options
such as resolution, video duration,
exposure, HDR etc.
Move the gimbal joystick to the right
to enter the options for each sub-menu
option. Toggle the R2 switch to confirm
selection. Move the gimbal joystick to
the left to return back to previous menu.
Enter the Setup settings interface by
moving joystick to the left in Video or
Stills mode. Move the joystick to the
left again to go back to Video or Stills.
Remove memory card from camera and insert into memory card reader, connect to a computer.
Open the folder named “CARDV.” The folder named “MOVIE” contains video files taken, the
folder named “PHOTO” contains images taken with camera. Double click on any to view.
A new disk will appear on system, double click to open it.
Capture Mode
- Change options between taking a picture instantly or having a delay timer.
Resolution
- Choose between the different megapixel resolutions you want your photos taken in.
Sequence
- Toggle sequential numbering of image files on or off.
Quality
- Change the photo quality between Fine, Normal, and Economy. The better the quality, the larger the file size.
Sharpness
- Choose between Strong, Normal, and Soft photo sharpness.
White Balance
- Depending on lighting, choose between Auto, Daylight, Cloudy, Tungsten, and Fluorescent options.
Color
- Change between Color, Black & White, or Sepia color modes for photos taken.
ISO
- If images are dark or grainy adjust the ISO between Auto, 100, 200, or 400 settings.
Exposure
- Choose b or - exposure compensations depending on the lighting to make images lighter or darker.
Date Stamp
- Select Off, Date, or Date/Time to select what will be stamped on each image.
Resolution
- Choose between the different resolutions you want your videos recorded in.
Video Duration
- Choose between 3, 5, or 10 minutes for how long you want to record video each time you toggle the
R2 switch. Select Off if you want to manually toggle on/off recording with no time limits.
HDR
- Turn on High Dynamic Range to improve lighting in your videos making them more vibrant.
Exposure
- Choose b or - exposure compensations depending on the lighting to make videos lighter or darker.
Date Stamp
- Select on/off for date stamp on video files.
Date/Time
- Set the time, date, and month/day/year format options.
Language
- Choose your preferred language for the interface.
Format
- Format the memory card currently in the camera.
Default Setting
- Return all menu settings to their original default settings.
Version
- Check your current firmware.
Still Camera Settings :
Video Camera Settings :
General Setup Settings :
Summary of Contents for raptor
Page 1: ......


