16
Gimbal Control Joystick
Figure 2
The 3-axis stabilized gimbal provides a steady mobile platform for the integrated HD camera.
4
Gimbal & Camera
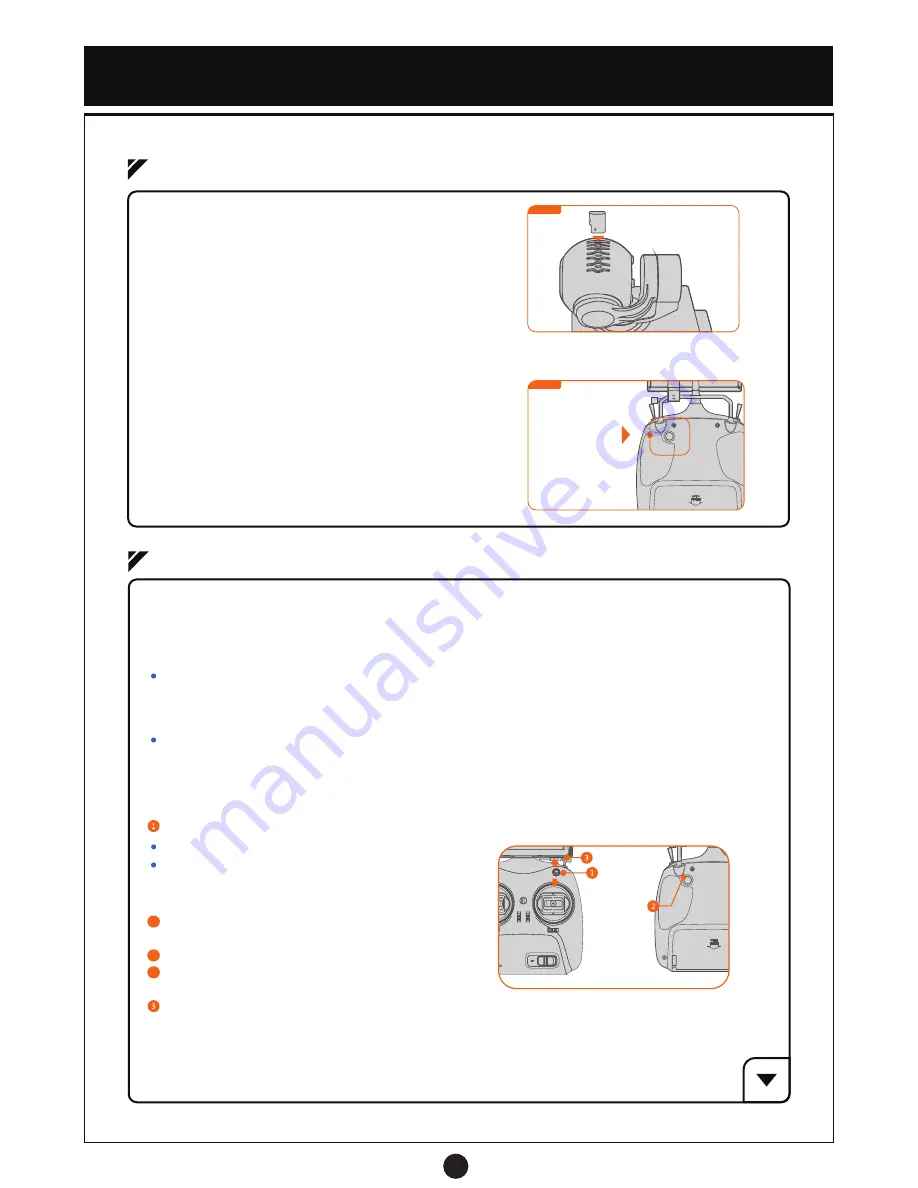
(1) Camera Memory Card
The camera stores high definition pictures and videos
to an installed memory card, the camera supports a
memory card size up to 64GB. A memory card over 8GB
and Class 10 is recommended for best performance.
Install the memory card as shown (Figure 1.)
(3) Camera Operation
Toggle the R1 switch to the Down Position, flip the R2 switch
once to take a single photo.
Toggle the R1 switch to the Up Position, flip R2 switch once
to start recording video.
Flip R2 switch again to stop recording.
(2) Gimbal Operation
The gimbal joystick is located on the back of the transmitter and controls the 2-axis (Up/Down & Left/Right)
movements of the camera (Figure 2). Each axis moves within a 90 degree radius.
4-1 Gimbal and Camera Operation
Figure 1
Figure 1
4-2 Camera Settings
Camera Mode Switch
Settings Interface Navigation
2
2
2
Gimbal Joystick
Control
Switch R2
Switch R1
(2) Camera Settings Via Transmitter and Live Feed Screen
R1 Up Position: Record Video Mode
R1 Down Position: Photo Capture Mode
Move Gimbal Joystick Up / Down: Select Submenu
Move Gimbal Joystick Right: Enter Submenu Options
Move Gimbal Joystick Left: Back / Toggle Menus
Toggle R2 switch: Select Button
Video Settings
(1) Choosing Video or Photo Settings
Enter Video Record Mode settings via toggling the R1 switch from the R1 Up Position to R1 Middle Position.
The gimbal joystick is used to choose menu options and settings while using R2 switch to confirm.
Photo Settings
Enter Photo Capture Mode settings via toggling the R1 switch from the R1 Down Position to R1 Middle Position.
The gimbal joystick is used to choose menu options and settings while using R2 switch to confirm.
Photo and Video settings are changed separately and depend on what mode you toggle from.
Summary of Contents for raptor
Page 1: ......


