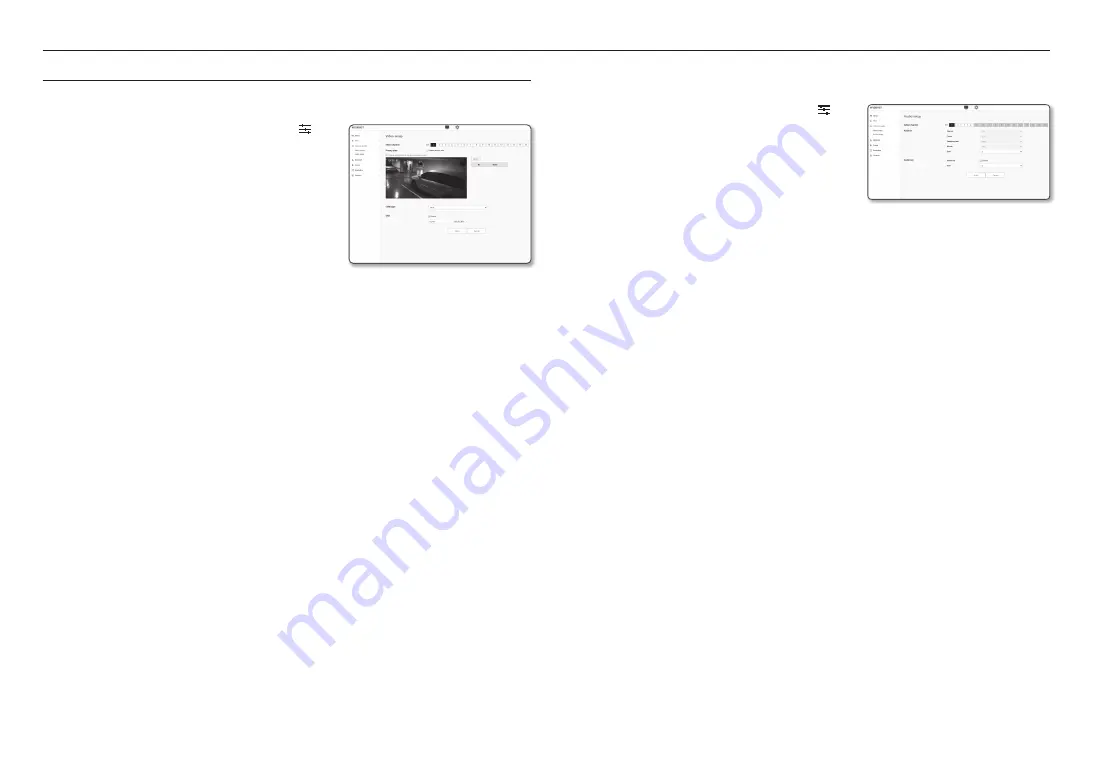
setup screen
30_
setup screen
VIDEO & AUDIO SETUP
Video setup
1.
From the Setup menu, select the <
Video & Audio ( )
>
tab.
2.
Click <
Video setup
>.
3.
Select the channel to set.
4.
Specify the privacy zone.
5.
When done, click [
Apply
].
•
CVBS type: Select NTSC or PAL.
•
OSD: You can enter and display a camera name on the
video that is up to 17 characters. (a-z, A-Z, 0-9, -, ).
To set the privacy zone
You can specify a certain area of the camera video to be protected for your privacy.
1.
Select the <
Enable Privacy area
> checkbox.
2.
Click [
OK
].
3.
Click and drag over the video to select an area.
4.
Enter the name and select the color, and then click [
OK
].
5.
If you want to delete a name in the list, select it and click [
Delete
].
Audio setup
You can set the input/output value of the audio connected to the encoder.
1.
From the Setup menu, select the <
Video & Audio ( )
>
tab.
2.
Click <
Audio setup
>.
3.
Select the channel to set.
4.
Set the audio input value.
•
Source : Input audio.
- Line : Connect the cable to the audio device.
•
Codec : Audio codec to use.
- G.711 : A audio codec standard, it uses 64 Kbps PCM (Pulse Code Modulation) encoding.
ITU standard audio codec that is adequate for digital voice transfer in PSTN network or through a
PBX.
•
Sampling rate : Refers to the number of times of sampling when digitalizing an analog soundtrack. The
higher this value is, the better the sound quality is.
•
Bitrate : Set the compression ratio based on the bit rate.
•
Gain : Specify the audio input amplification.
J
`
Sound quality deterioration or howling may occur if the loudness of the sound source or gain value were set excessively.
5.
Set the audio output level.
•
Enable : Sets whether to use audio output.
•
Gain : Specify the audio output amplification.
6.
When done, click [
Apply
].


