81
WPS-100-DVR-8CH Installation and Users Manual
© 2012 Wirepath Surveillance
9.2.9 SOFTWARE UPGRADE
On occasion it may be necessary to update the DVR’s software to take advantage of new features
· Use the Software Upgrade icon to open the Software Upgrade dialog box. The current software version of
the connected DVR(s) will be displayed in the Upgrade Status field.
· To upgrade a DVR, select the DVR and corresponding upgrade file and then click the Start button to begin
the software upgrade process. The Upgrade status will be updated according to progress.
· The upgrade process may take several minutes and will require the DVR to reboot to complete the process
· The software upgrade can be done over the internet or from a local network connection. The update may
take more than 10 minutes if done over the internet depending on the network speed.
! Note: If updating from a software version below 7.75.53, the following steps must be performed be-
fore accessing the DVR from IE.
IE Plugin Interface Upgrade
The IE Plugin interface
MUST
be updated to ensure it can access the latest DVR software features.
1. Update the DVR software following the instructions listed above.
2. Download the
Remove_WPS_IE_Plugin
file from the SnapAV website. This file is also located in the
software update zip file.
3.
Reboot
each computer that will be used to access or configure the updated DVR.
4. When the computer restarts,
Do Not Open IE
. Run the
Remove_WPS_IE_Plugin
file.
5. Open IE and access the updated Wirepath DVR. Perform Step 2, 3and 4 for all computers that
will be used to access the DVR.
6. IE may initially block installation of the DVR Plugin. If so, review the prompt and allow the Plugin to
be installed.
7. If prompted, allow installation of the C++ Distributable Package and IEPlugin.cab packages.
8. When Plugin installation is complete, log in to and configure the DVR as usual.
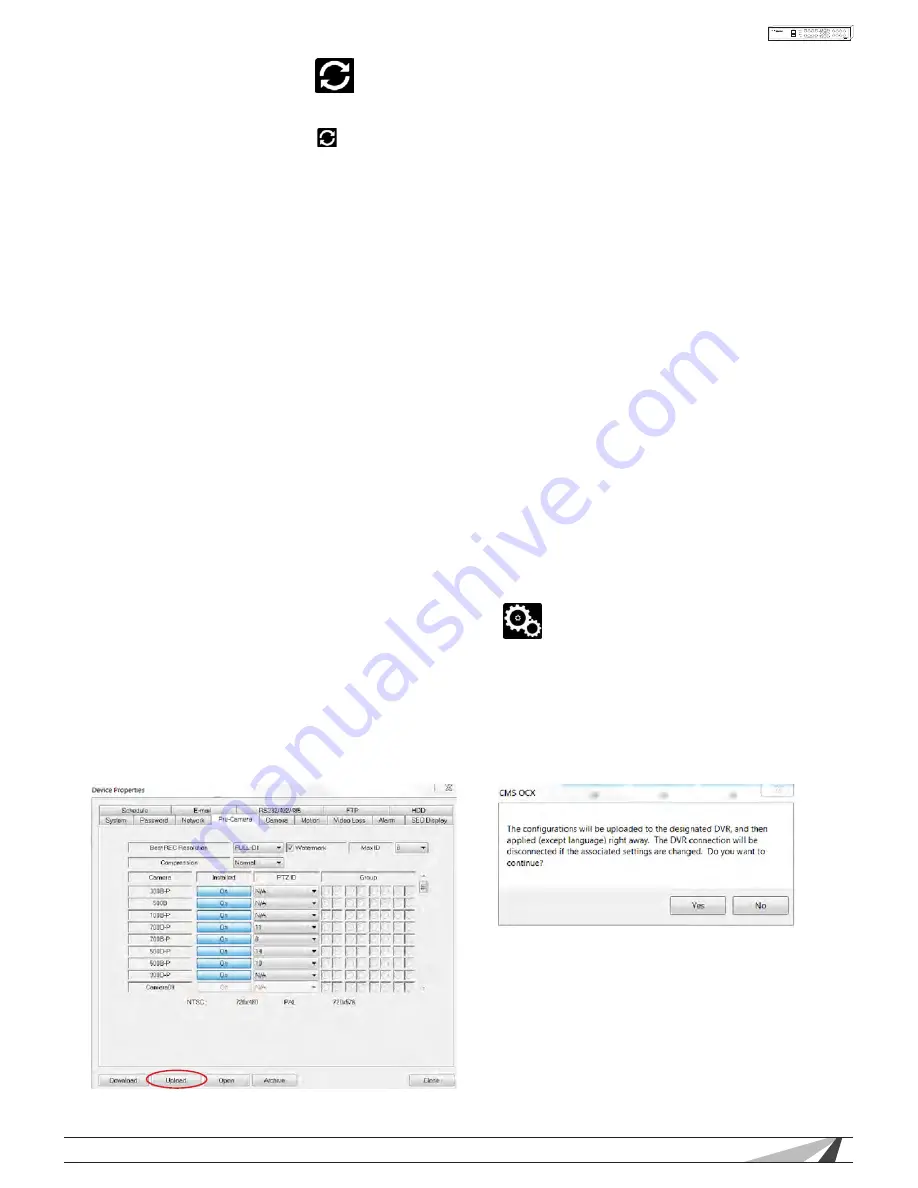
9.3 PC CONFIGURATION OF DEVICE PROPERTIES
Once initially setup, most options of the DVR can be configured remotely. The following sections highlight
the options found in the menus. They have been purposely designed to be similar to the setup menus when us-
ing the OSD menu from the VGA or BNC output of the DVR. Once changes have been made they must
be uploaded to the DVR.
• To save the settings, click on the Upload button.
• Select Yes to confirm the changes
when asked to continue


