75
WPS-100-DVR-8CH Installation and Users Manual
© 2012 Wirepath Surveillance
5. AUDIO IN
Use the microphone in the PC to send audio to the DVR. An amplifier and speaker must
be attached to the Audio Out connection of the DVR to use this function.
6. ARCHIVE MENU
Select this icon to save and backup files.
7. SNAPSHOT
Select this icon to take a Snapshot of the screen being viewed. A pop-up window will
allow this snapshot to be saved to the local PC.
8. AUDIO BROADCAST
Similar to the Audio In function, use this feature to broadcast audio to multiple
DVRs simultaneously.
9. FULL SCREEN
Expand the user interface to fill the entire display.
10. FULL VIDEO
Expand the video window to fill the entire display.
11. NAME OF SELECTED DVR
The name of the connected DVR is displayed in this box. Change the connected DVR
or connect to multiple DVRs simultaneously to mix and match camera views.
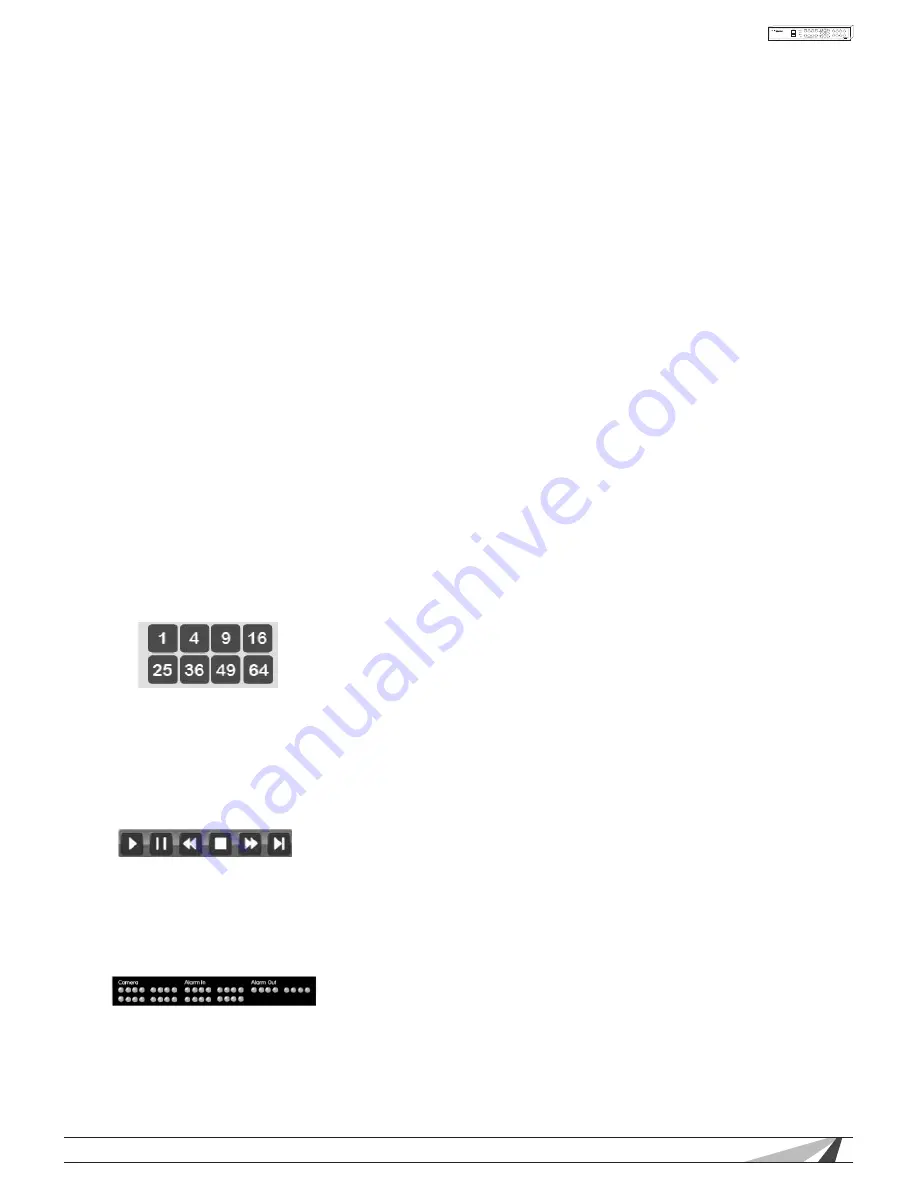
9.2.3 SPLIT-WINDOW PANEL
Use these icons to select the number of cameras viewed on the display.
• 4 AND 9 SPLIT WINDOW ICONS
Left-click and hold the mouse over the 4 or 9 split-window icon
to toggle to additional pages of cameras.
9.2.4 PLAYBACK PANEL
This panel includes Fast Forward, Fast Reverse, Step Forward, Play, Pause, Stop and Copy.
Fast Forward and Fast Reverse will playback video at 2X, 4X, 8X, 16X, and 32X speeds.
• FORWARD AND REVERSE ICONS
Left-click and hold the mouse over the forward or reverse icons
to display a pop-up menu to change the speed. Options include
X2, X4, X8, X16, X32 and X64.
9.2.5 STATUS PANEL
• CAMERA STATUS
Motion indicators for cameras 1-16 (this DVR supports the first 8)
- GREEN indicates normal status
- RED indicates motion
Click on any of these icons to select the corresponding camera to be displayed in the focus window


