53
to automatically reset the timer to 00:00 and start counting up. The
manual timer controls operate the same when the Auto button is lit.
To manually start the timer, press the S/S button. The button lights to
indicate the timer is running. The timer begins counting up from the
displayed time. If the timer reaches 59:59 the timer rolls over to 00:00
again and continues counting.
To stop the timer, press the lit S/S button (its LED goes out). The
elapsed time is displayed on the timer. Pressing S/S again will start the
timer from the displayed time.
To reset the timer to 00:00, while it is running or stopped, press the RST
button.
To view elapsed time—while the timer keeps running, tap the HLD (Hold)
button. It lights up indicating the displayed time is being held. Tap the
HLD button again (its LED goes out) to return to displaying the running
timer time.
The timer can automatically be reset to 00:00 and start counting up
when a fader channel, whose source is set for Timer Restart, is turned on.
To use this feature, press the Auto button to light it up. To turn off Auto,
press it again to turn off its LED. Which sources have the Timer Restart
option enabled is a console configuration setting.
Console Event Controls
EMX supports four Console Events. Each console event can setup the
console for a specific show, day part, or activity by changing channel
sources and bus assignments, monitor sources, and turning Advanced
Channel Features on or off. Each event can be renamed (their default
names are Event 1 - Event 4) to better identify its purpose.
Press the Take button to take a previously saved console event. This
lights up the Take button, activates the Event Selector, and switches the
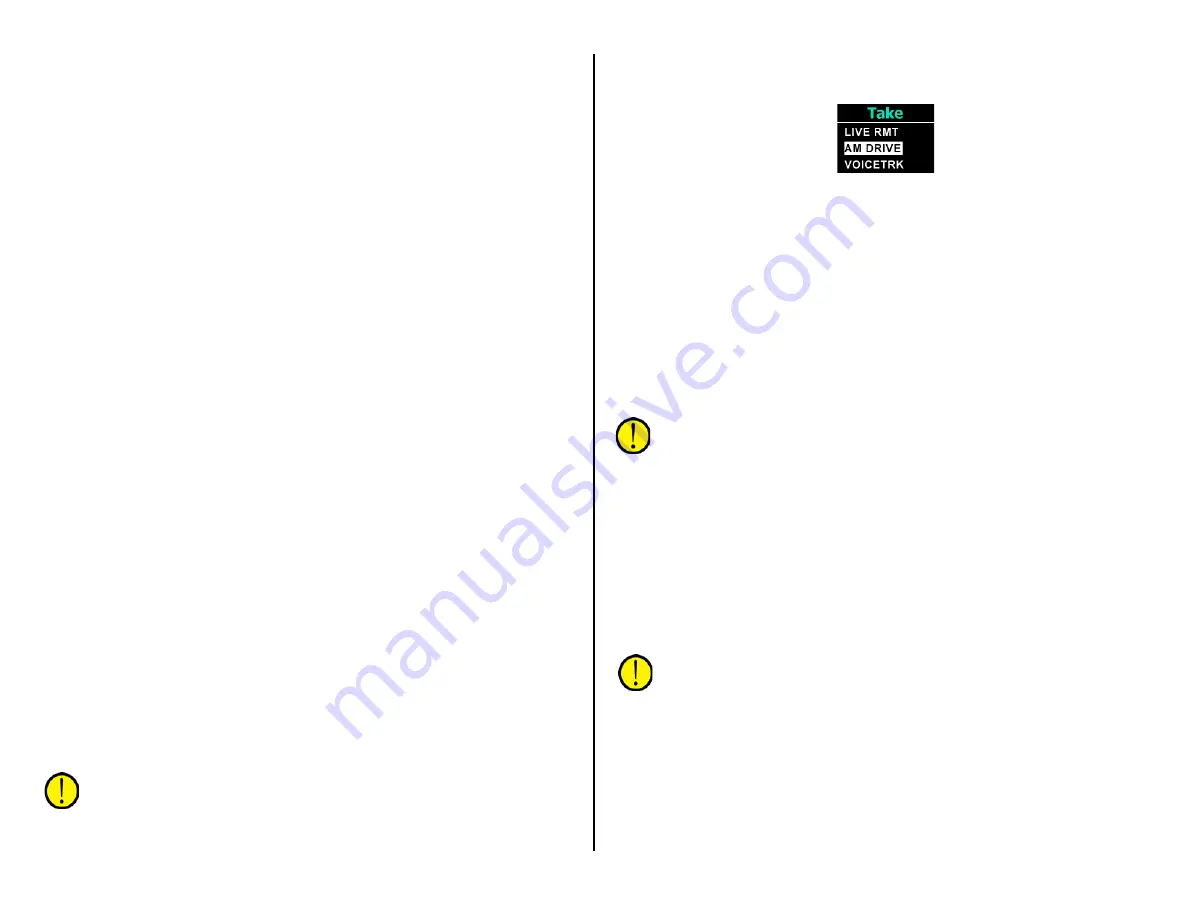
Meter Display to show the four event names (Figure 4-11). Rotate the
event selector to highlight an event. Press Take again to update the
console settings previously saved in that event. The event name is then
shown in green above the white line in the Meter Display.
Press the Save button to save the current console settings to an event.
This lights up the Save button, activates the event selector and switches
the Meter Display to show the four event names. Use the event selector to
highlight an event name. Press Save again to save the current console
settings to the highlighted event—overwriting any previously saved event.
The saved event name is then shown in the Meter Display.
Note: The Save and Take functions auto-cancel after 20 seconds if
no event controls are subsequently touched. If the Save button is
pressed, but does not light, that indicates it’s been locked out from
board operator use (which would indicate engineering has already
setup and saved the console events). If the Take button also
doesn’t light when pressed, that indicates console events are not
being used.
Figure 4-11 Meter Display when Taking an Event
Here’s a typical example of how the four console events might be
assigned. Your engineering dept. should supply a list of what show or day
part is assigned to each console event:
•
EVENT 1 – Console set for a single board operator who takes
phone calls and records call-in requests/contest winners
•
EVENT 2 – Console set for a regularly-scheduled live remote
•
EVENT 3 – Morning show setup with multiple mics and multiple
live remotes (traffic, news, weather, remote hosts or guests)
•
EVENT 4 – Sets the console for voice tracking while the console
continues broadcasting the air signal
Note: Fader channels that are on when an event is taken maintain
their existing channel settings when an event is taken. Once those
channels are all turned off, retake the event to update those
channels’ settings.
Advanced Channel Features
Each EMX fader channel has these Advanced Channel Features:
•
Ability to change/set the channel Mode
•
Ability to adjust the channel Pan or balance
•
Ability to adjust channel Equalization & Dynamics
•
Ability to set Aux 1 bus on/off and adjust send level
•
Ability to set Aux 2 bus on/off and adjust send level
Note: The Advanced Channel Features are access-controlled by
engineering, so not all features may be available. In fact, for an
on-air console most features may be disabled to avoid any
“accidental changes” whereas in a production room, or other non-
air studio, all features may be enabled.
The Advanced Channel Features are accessed by “double-clicking” a
channel encoder (rapidly tap it twice). The channel features appear in the
order listed above when all features are enabled. If the channel’s display
does not change when the channel encoder is double-clicked, then all of
the advanced channel features are disabled from board operator access.
Summary of Contents for EMX
Page 4: ...4 ...


