Part Number: 4604223 — Rev:0
Gas/Electric Clamshell Grill
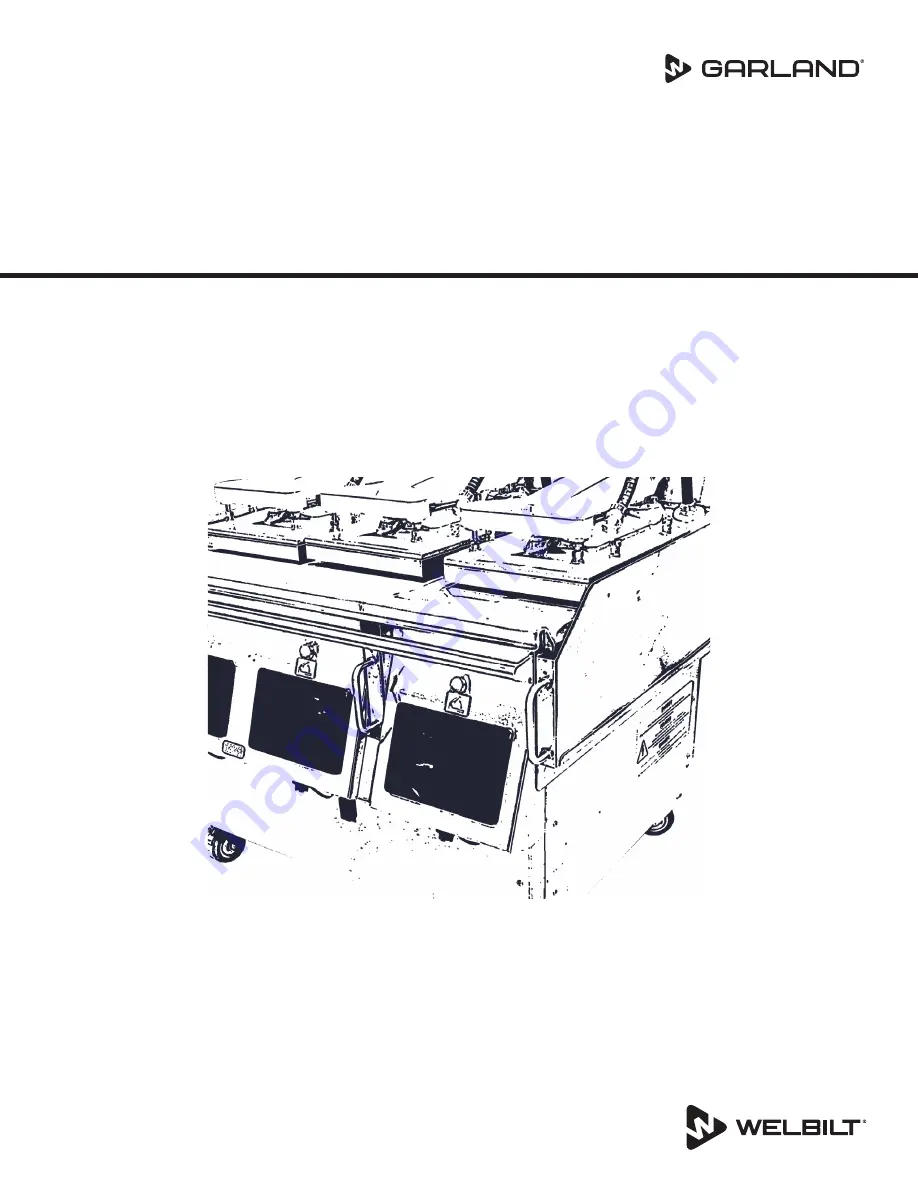
M(E/G)-1P, M(E/G)-2P, M(E/G)-3PX
Next Generation Grill Troubleshooting Guide
Page 1: ...Part Number 4604223 Rev 0 Gas Electric Clamshell Grill M E G 1P M E G 2P M E G 3PX Next Generation Grill Troubleshooting Guide ...
Page 2: ...ormance and trouble free operation of your equipment Visit our website https clamshell garland group com for manual updates translations or contact information for service agents in your area nWarning Do Not Store Or Use Gasoline Or Other Flammable Vapors Or Liquids In The Vicinity Of This Or Any Other Appliance Never use flammable oil soaked cloths or combustible cleaning solutions for cleaning n...
Page 3: ...ry terminals before operation Connections can become loose during shipment and installation DANGER Do not operate any appliance with a damaged pinched cord or plug All repairs must be performed by a qualified service company DANGER Failure to disconnect the power at the main power supply could result in serious injury or death The power switch DOES NOT disconnect all incoming power DANGER Copper w...
Page 4: ...dly move at any time Turn Grill Off at main switch when cleaning platens as there can be an unexpected movement of the platens CLEARANCE Caution Do not block the supply and return air vents or the air space around the air vents Keep plastic wrappings paper labels etc from being airborne and lodging in the vents Failure to keep the air vents clear will result in unsatisfactory operation of the syst...
Page 5: ...properly secured before operating this equipment nWarning Do not spray aerosols in the vicinity of this appliance while it is in operation nWarning Risk of burns from high temperatures You may get burnt if you touch any of the parts during cooking Surfaces close to the cooking surface including side panels may get hot enough to burn skin Use extreme caution to avoid coming in contact with hot surf...
Page 6: ...hes 9 Motor Over current E2 Error 9 SIB Board LED Location 10 Actuator Motion Test 11 SIB Faults 11 UI not powering 11 UI Freezing not booting or going slow 11 UI Recovery procedure 11 UI Touch screen Calibration 12 Power Supply PCB no power 12 Power supply PCB giving low power Below 24Vdc 12 SSRB Issues 12 Not heating 12 SSRB Revision unknown 13 Level Motor Not adjusting 13 Baumer Sensor Faults 1...
Page 7: ...platen drives to 100 mils then the Lower kill switch is incorrectly positioned 5 Readjust the lower switch position and complete steps 3 4 Motor Over current E2 Error Check your SIB version Revision N or higher are newest spec Revision M could cause and issue when fitted with a Norgren Actuator 1 Drive the platen up and down a Whilst doing this check the LED on the SIB that shows over current E2 b...
Page 8: ...ing normal operation 9 Red DEBUG 4 Data Communication Blinks when SIB software updates lights if error between SIB and UI 10 Green Heartbeat Blinks during normal operation 11 Green 5V Power Constant when power supply connected 12 Green 12V Power Constant when power supply connected 14 Blue Green Button Light when green button is pressed The right most LED at location indicated 17 Amber Upper Lift ...
Page 9: ... UI b Check the RJ45 socket on the SIB and ensure all pins are correctly aligned to match the RJ45 plug 3 If everything looks ok plug UI into another lane to test if it works a If it fails to work replace the UI UI Freezing not booting or going slow 1 If the UI has any of the above it is recommended to install the Recovery software in case there is a corrupt file the recovery process has its own i...
Page 10: ... the front lower corner of the board When adjusting ensure you disconnect the output and measure the voltage for accuracy to 24Vdc before reconnecting the output plug 2 If the voltage is now correct then there is an issue on the 24vDC circuit dragging the voltage down a To isolate the faulting circuit you can start by disconnecting each out put jumper Harness on the SIB Follow the below order and ...
Page 11: ...the fault follows then the SSRB is faulty 6 If the fault is still present it could be an issue with the SIB so follow SIB diagnostics process Level Motor Not adjusting 1 From the screen in the gap calibration screen check the line is within the white box and the rear sensor reeds between 160 310 mils 2 Provided the line is in the white range you can press the up or down arrow a To verify the volta...
Page 12: ...there is a connection by the actuator so check this is correctly connected before assuming a new harness is required h If after the test the sensor still did not change the reading then it is the sensor that is at fault and needs replacing Replacing a Baumer sensor 1 Look at the top of the sensor and note how many threads are visible a Remove the 3 wires noting their position b Loosen the locking ...
Page 13: ... provides the world s top chefs and premier chain operators or growing independents with industry leading equipment and solu ons Our cu ng edge designs and lean manufacturing tac cs are powered by deep knowledge operator insights and culinary exper se All of our products are backed by KitchenCare our a ermarket repair and parts service CLEVELAND CONVOTHERM DELFIELD FITKITCHEN FRYMASTER GARLAND KOL...