


Page 20 5-1-GL-GL-SUL-00028 SLS Baseline 8900 Setup and Calibration
Manual
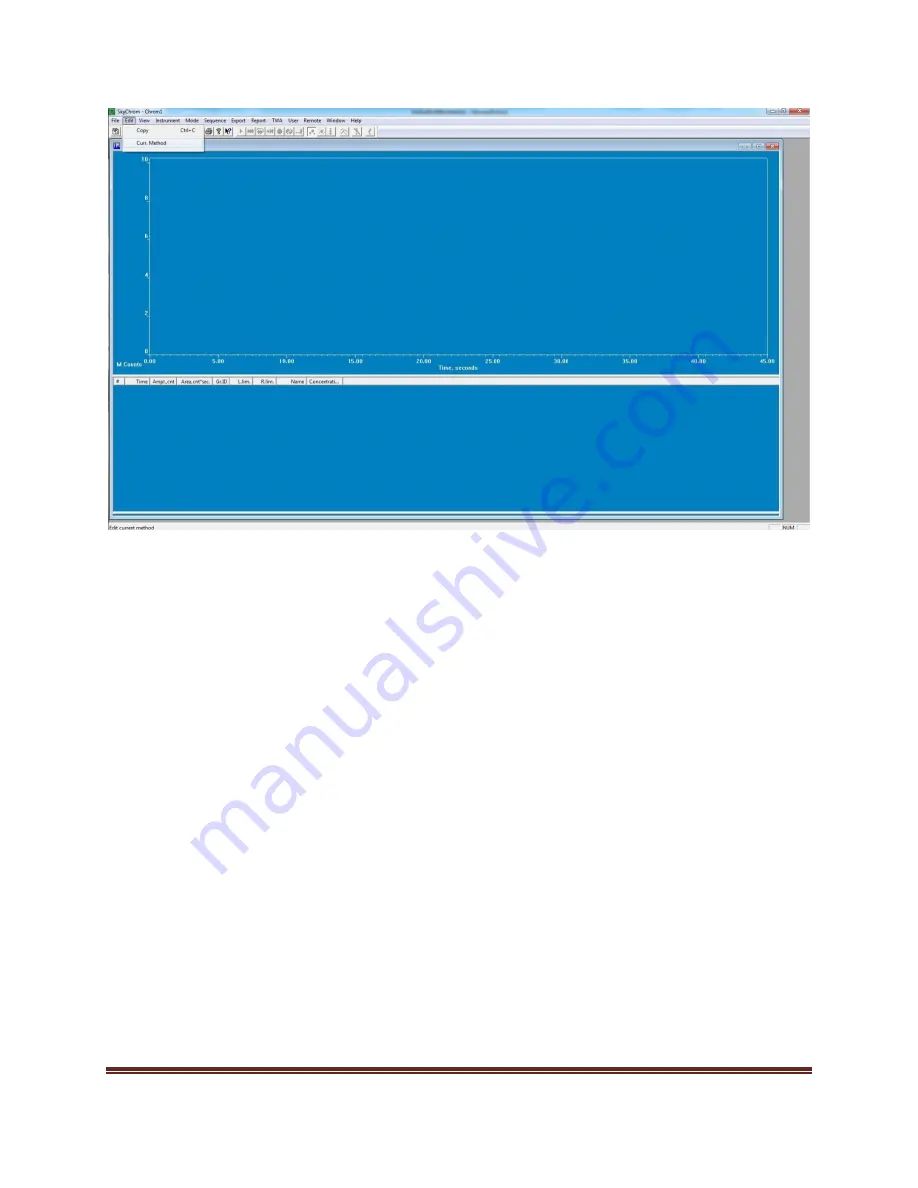
Figure 13: Edit Method
Once the edit method window appears, go to the calibration tab. Figure 14 indicates what the buttons,
texts, and graph do. If all of the gases are already reading, the method, the concentration and area must
be modified for each of the gases. There are two ways to accomplish this:
1)
Click on the “Get Area” button, input the concentration of the calibration gas, and click edit.
Ensure that all other previous calibration points are deleted by using the arrows at the bottom
of the “Calibration Point” box and clicking the “Delete” button on all other calibration points
2)
Click the “Delete” button for all previous calibration points. Click on the “Get Area” button,
input the calibration gas concentration, and click on the “Add” button.
To add multiple calibration points, apply the second concentration of calibration gas, click the “Get
Area” button, input the other calibration gas concentration, and click the “Add” button. Multiple points
should appear on the graph on the right side of the method screen and, using the arrows at the bottom,
both concentrations should be able to be viewed. If a multi-point calibration is used, the Fit should be
set to “Linear 0” using the drop-down menu so that the calibration is consistent throughout the span of
gas concentrations. After one gas is done, move onto the other gases by using the drop down menu on
the right side of the window above the calibration graph until all of the gases are calibrated. Should the
time need to be adjusted, use the “R. Tim” text box to enter the time that the gas appears in the results
of the chromatogram and click the “edit” button to save the change. When creating a method from
scratch, type in the gas that is being added into the “Calibration Substance” box and define the “R. Tim”.


