21
❑
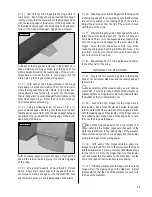
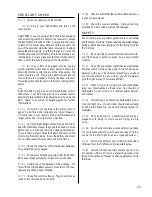
2) If your ESC is equipped with an on/off switch,
you can either mount it to the fuselage side (using the
hardware provided with the switch) or use a short piece
of Dubro Hook & Loop Material to secure it to the top of
the flight battery deck like we show.
INSTALLING THE RECEIVER
❑
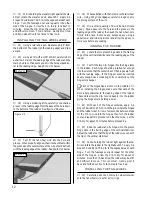
5) Install two servo extensions to the elevator and
the rudder servo leads. Run the extensions up over the
battery deck, then down through the forward bulkhead.
❑
6) Plug the elevator, rudder and ESC leads into their
proper slots in the receiver. Plug an extension lead into
the aileron slot in the receiver.
☛
When you install the wing you will be able to plug
the aileron servo lead into this extension lead. This is
necessary since the receiver will not be accessible once it
is installed in the fuselage.
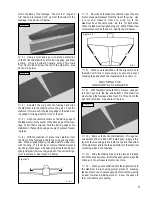
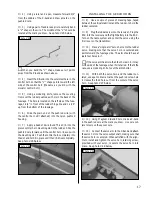
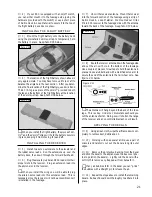
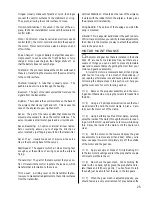
Photo # 37
❑
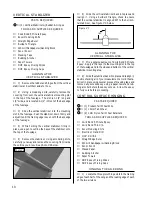
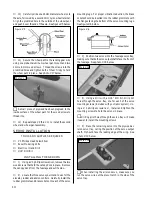
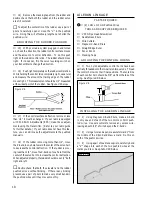
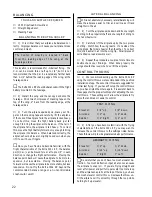
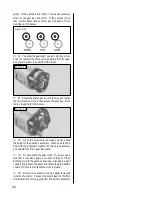
8) Route the receiver antenna down the fuselage side
and out the air-exit hole in the bottom of the fuselage.
Use a couple of pieces of clear tape to hold the antenna in
place and use a rubber band with a modified servo arm to
secure the end of the antenna to the tail wheel wire.
See
figure # 11 below.
INSTALLING THE FLIGHT BATTERY
❑
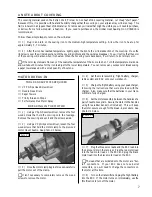
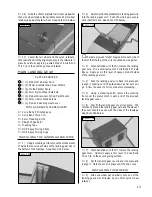
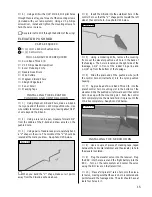
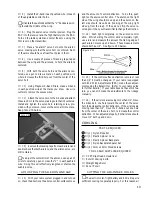
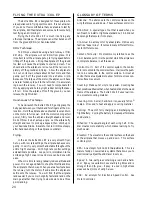
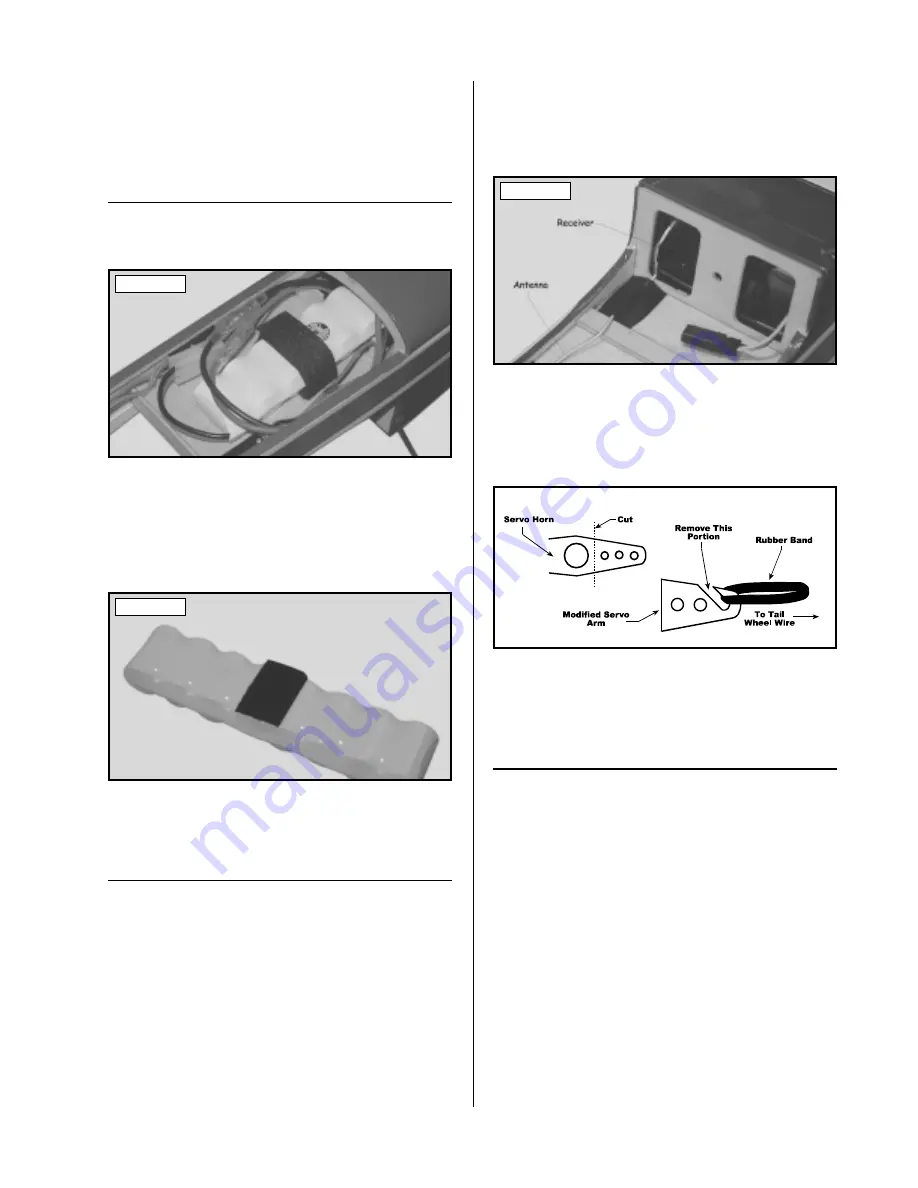
3) Mount the flight battery onto the battery deck
using the preinstalled Velcro
®
strap to temporarily hold
the battery in place.
See photo # 35 below.
Photo # 35
❑
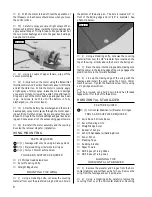
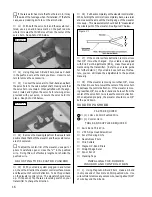
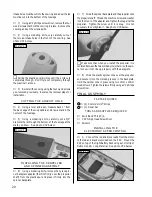
4) The location of the flight battery shown above is
only approximate. You may have to move it fore or aft to
balance the airplane in the next section. After you deter-
mine the final location of the flight battery, use Kwik Bond
Thick C/A to glue a piece of the Velcro
®
provided to both
the top and the bottom of the flight battery at the location
of the Velcro
®
strap.
See photo # 36 below.
Photo # 36
☛
When you install the flight battery, the pieces of Vel-
cro
®
and the Velcro
®
strap will hold the battery securely
in place, keeping it from moving fore and aft.
❑
7) Uncoil the receiver antenna. Mount the receiver
into the forward section of the fuselage using a strip of
Dubro Hook & Loop Material. We mounted our Hitec
Micro 555 receiver to the fuselage side with the antenna
toward the back of the fuselage.
See photo # 37 below.
APPLYING THE DECALS
❑
9) Using a clean cloth, wipe the airframe down com-
pletely to remove dust, debris and oil.
❑
10) Working with one decal at a time, use a pair of
scissors and carefully cut out the decal along its outer
edges.
❑
11) Remove the protective backing from the decal
and stick the decal to the airplane (use the box cover pho-
tos to position the decals). Lightly rub the decal with a
soft cloth to remove any trapped air from beneath it.
☛
If any air bubbles form in the decal you can "prick"
the bubbles with a straight pin to release the air.
❑
12) Repeat the steps above to install the remaining
decals. Rub each decal down thoroughly to adhere it into
place.
Figure # 11
☛
The antenna will hang beyond the back of the fuse-
lage. This is okay. Under no circumstances should you
cut the antenna shorter. Doing so will shorten the range
of the receiver and an uncontrollable crash could result.

