


59
Note:
It is important that you set up the super user
name and password. The super user is different
from the administrator and has access to only
the video. Use the More Users field to change
the authorities of Internet users.
Use the keyboard or mouse (recommended) to complete all the fields and
click
OK
to save changes.
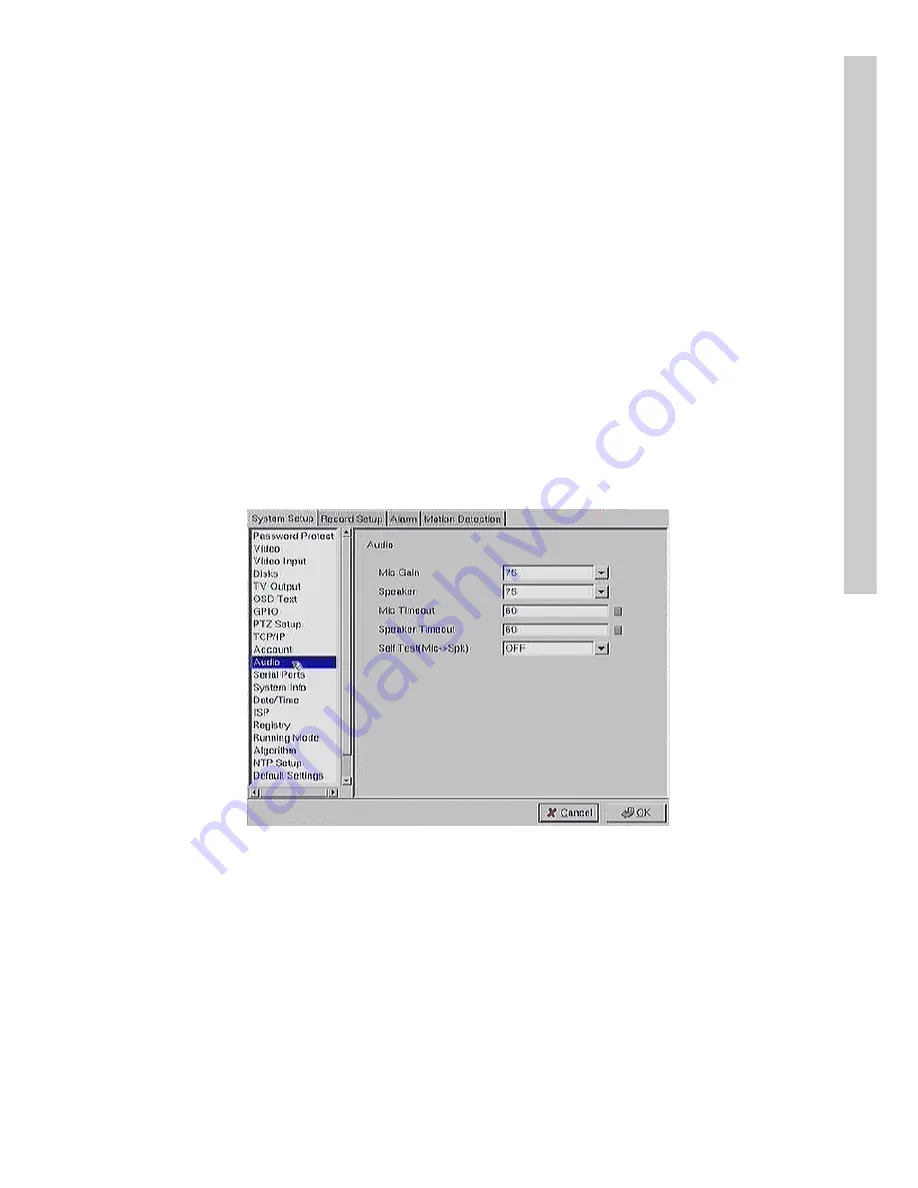
Audio
Use the Audio menu to set parameters such as
Mic Gain
,
Speaker
,
Mic
Timeout
, and
Speaker Timeout
. You can also perform a self test to test if
the microphone and speaker are working correctly. Refer to
Audio
on page
24 for more information.
Use the keyboard or mouse (recommended) to set the audio properties.
Click
OK
to save changes.
Setup


