


68
4 APPliCATion - UsER inTERFACE - DoCUMEnTATion
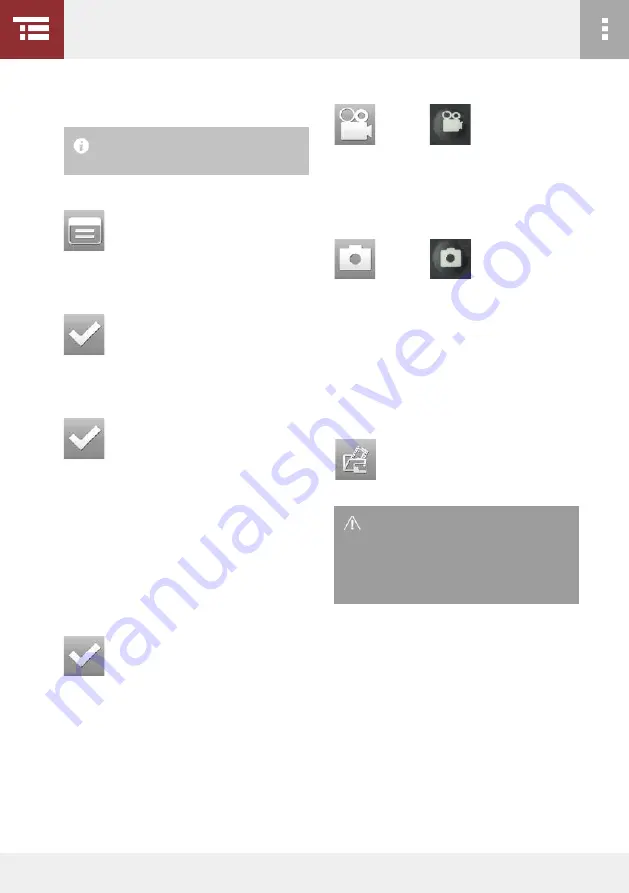
In order to start video recording, press
to stop your recording, press the respective button
again.
In order to record an image, press twice
More information on how to record images or vi-
deos:
l
3.4 iMAgE AnD viDEo RECoRDing, page 34
16. this buttons is red as long as your VucaM
®
uplo-
ads your media to an FtP server:
9. remove the Sd card from your Pc/Laptop and in-
sert it into your VucaM
®
+.
10. open the setup on your VucaM
®
by pressing
11. Select "system settings" using the arrow keys and
confirm your selection by pressing
12. now choose "configuration data" using the arrow
keys and confirm your selection by pressing
13. You now find two files in the menu. the first one
is
"Custom_Netw_dyn.cfg"
which you have already
loaded earlier on. If not, please read the chapter
4.7.4.
14. Select the file
"Custom_fTPUpl_test-vizaar.cfg"
using the arrow keys and confirm your selection by
pressing
Your VucaM
®
+ will now reboot. after approximately
30 seconds, the network file is successfully loaded
and you will find yourself again in the operation
menu.
15. Files will be now uploaded to the FtP server as
soon as you now start recording an image or video.
in order to use "Push to FTP, a sD card
has to be inserted in your vUCAM
®
.
when using our test server, please
note that the uploaded data is deleted
every day with an odd number at 1
AM. Make sure you back up your data
and do not upload sensitive data!
or
touchscreen
VucaM handle
or
touchscreen
VucaM handle


