25
2. Accessing the 201ER
Follow these instructions to open a connection to the 201ER.
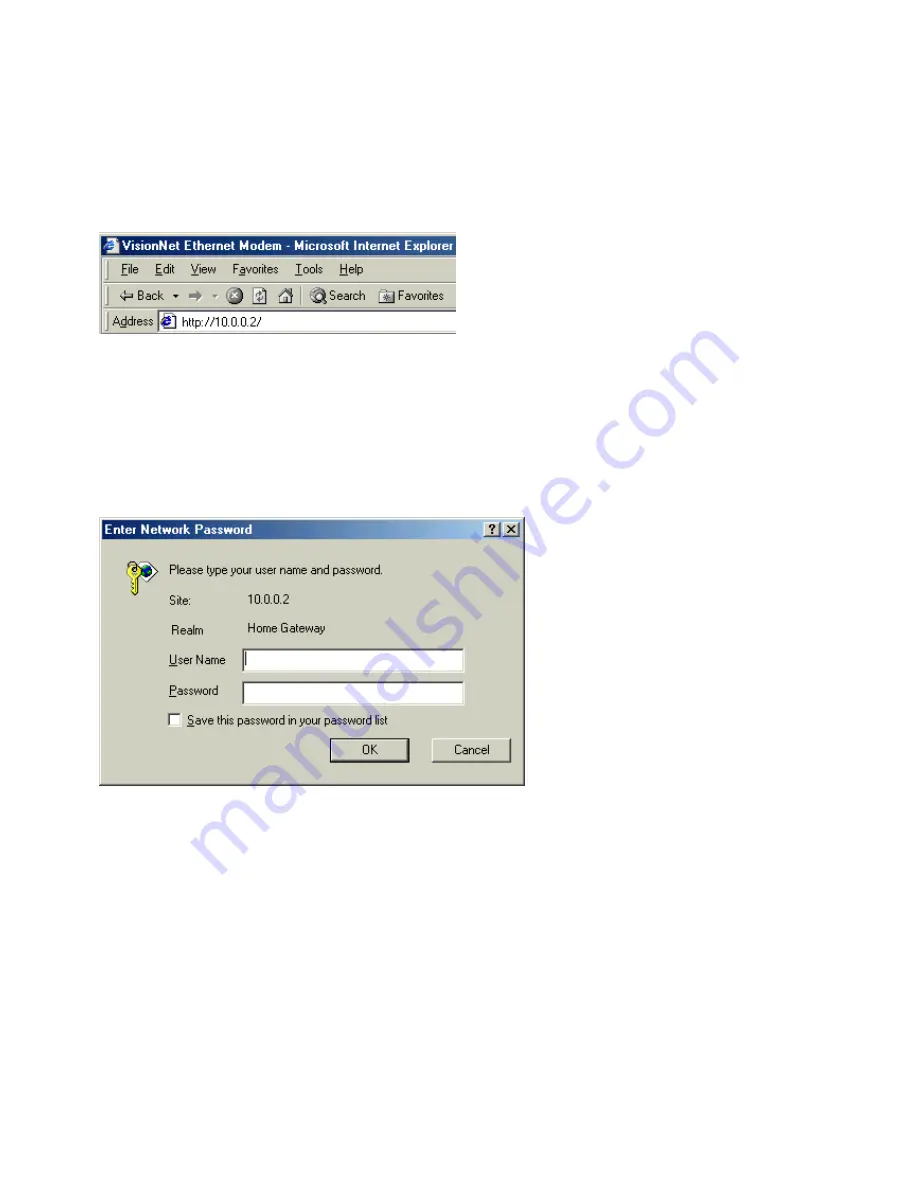
A. Start your web browser (i.e. Internet Explorer or Netscape) and enter
10.0.0.2
in the browsers
address field.
10.0.0.2
is the factory default for the 201ER LAN IP address. If you change the
LAN IP address, you must enter your new IP address in the browser
’
s address field.
B. The
Enter Network Password
window appears. Type your user name and password to access the
main page of the 201ER. The 201ER provides two levels of access:
User
and
Administration
.
For User level access, the
Username
is
“
user
”
and the
Password
is
“
password
”
. If you choose
to login as a User, you can only view settings.
For Administration level access, the
Username
is
“
admin
”
and the
Password
is
“
visionnet
”
. If
you choose to login as an Administrator, you have full access to the 201ER.
If you cannot access the 201ER menu, check the following:
★
Your PC has not received an IP address from the 201ER. Your PC should have received a 10.0.0.X
address.Try to release and renew your IP address on your PC.
★
You have not received an IP address from the 201ER. If you are using WIN95/98, click on Start -
Run and type "winipcfg" and click on the release button and then the renew button. If you are using
WIN2000/NT/XP, click on Start - Run and type "cmd". This will open a dos window and type "ipconfig
/renew". In both cases, the Default Gateway should be the address of your 201ER.
★
Hit the Reset button located on the back of the unit. This will set your 201ER back to factory defaults,
and then try the step mentioned above.
C. The Main Page appears first when you use a web browser to access the 201ER. The menu on the left
contains four menu items:
Quick Setup, Configuration, Status and Maintenance
.
Summary of Contents for ADSL 201ER
Page 1: ...TM ADSL 201ER User s Manual ...
Page 46: ...46 WAN Page Click the WAN option in the Status menu to see the following WAN information ...
Page 48: ...48 PPP Page Click the PPP option in the Status menu to see PPP status ...
Page 49: ...49 ATM Page Click the ATM option in the Status menu to see the ATM status ...
Page 50: ...50 TCP Page Click the TCP option in the Status menu to see TCP status ...


