Vision Phoenix 1212 S5 User Manual
48
© 2018 Vision Engraving & Routing Systems
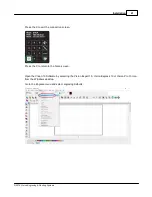
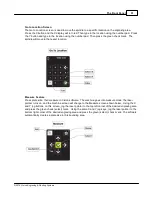
Set Offset
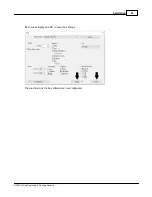
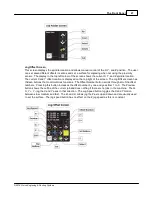
To set an offset location press the offset number button until you reach the desired number. Offset
number 1 is always reserved for the machine home (upper left corner 0,0,0) and can not be overwritten.
Offset number 9 is reserved for the vise offset and can only be changed using the vise button on the tools
screen as described later in this section. After selecting the desired offset number press the X and Y
jog buttons to move the spindle to the desired location. With the spindle at the desired offset location,
press the blue plus Set button to save this location under the offset number displayed on the screen.
Pressing the green check button will always move the spindle to the offset location corresponding to the
offset number displayed on the screen.
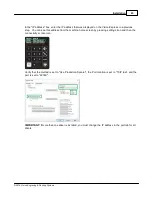
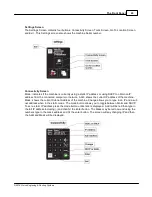
Set Surface
Press the Z+ and Z- buttons and jog the spindle/cutter to the surface. Press the set surface button.
Surface will now display the current Z axis location above the surface.
Summary of Contents for Phoenix 1212 S5
Page 1: ... 2018 Vision Engraving Routing Systems Vision Phoenix 1212 S5 User Manual Revised 12 7 2018 ...
Page 16: ...Vision Phoenix 1212 S5 User Manual 16 2018 Vision Engraving Routing Systems ...
Page 44: ...Vision Phoenix 1212 S5 User Manual 44 2018 Vision Engraving Routing Systems ...
Page 113: ...Step by Step Operation 113 2018 Vision Engraving Routing Systems ...
Page 121: ...Step by Step Operation 121 2018 Vision Engraving Routing Systems ...
Page 123: ...Step by Step Operation 123 2018 Vision Engraving Routing Systems ...
Page 147: ...Optional Accessories 147 2018 Vision Engraving Routing Systems ...
Page 148: ......


