Installation
35
© 2018 Vision Engraving & Routing Systems
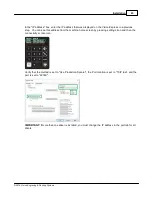
The Mask value will be blank. Press the green check mark a second time and the mask will change to
255.255.255.0.
If the Mask does not change to this value, enter it with the numbers on the LCD.
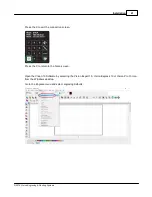
The LCD should now look like below:
Press the X to exit the connection screen.
Press the X to return to the home screen.
NOTE - This follow section is shown on a Windows 10 PC. For Windows 7 or Windows 8, the screens
are slightly different.
The IP address of the computer IP address will need to be set to match the machines network settings.
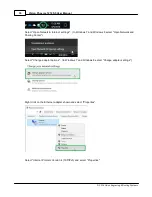
To set the computer's IP address, right click on the network icon in the lower right corner of the Windows
desktop screen.
Summary of Contents for Phoenix 1212 S5
Page 1: ... 2018 Vision Engraving Routing Systems Vision Phoenix 1212 S5 User Manual Revised 12 7 2018 ...
Page 16: ...Vision Phoenix 1212 S5 User Manual 16 2018 Vision Engraving Routing Systems ...
Page 44: ...Vision Phoenix 1212 S5 User Manual 44 2018 Vision Engraving Routing Systems ...
Page 113: ...Step by Step Operation 113 2018 Vision Engraving Routing Systems ...
Page 121: ...Step by Step Operation 121 2018 Vision Engraving Routing Systems ...
Page 123: ...Step by Step Operation 123 2018 Vision Engraving Routing Systems ...
Page 147: ...Optional Accessories 147 2018 Vision Engraving Routing Systems ...
Page 148: ......


