Vision Phoenix 1212 S5 User Manual
30
© 2018 Vision Engraving & Routing Systems
3.3
Machine Connections
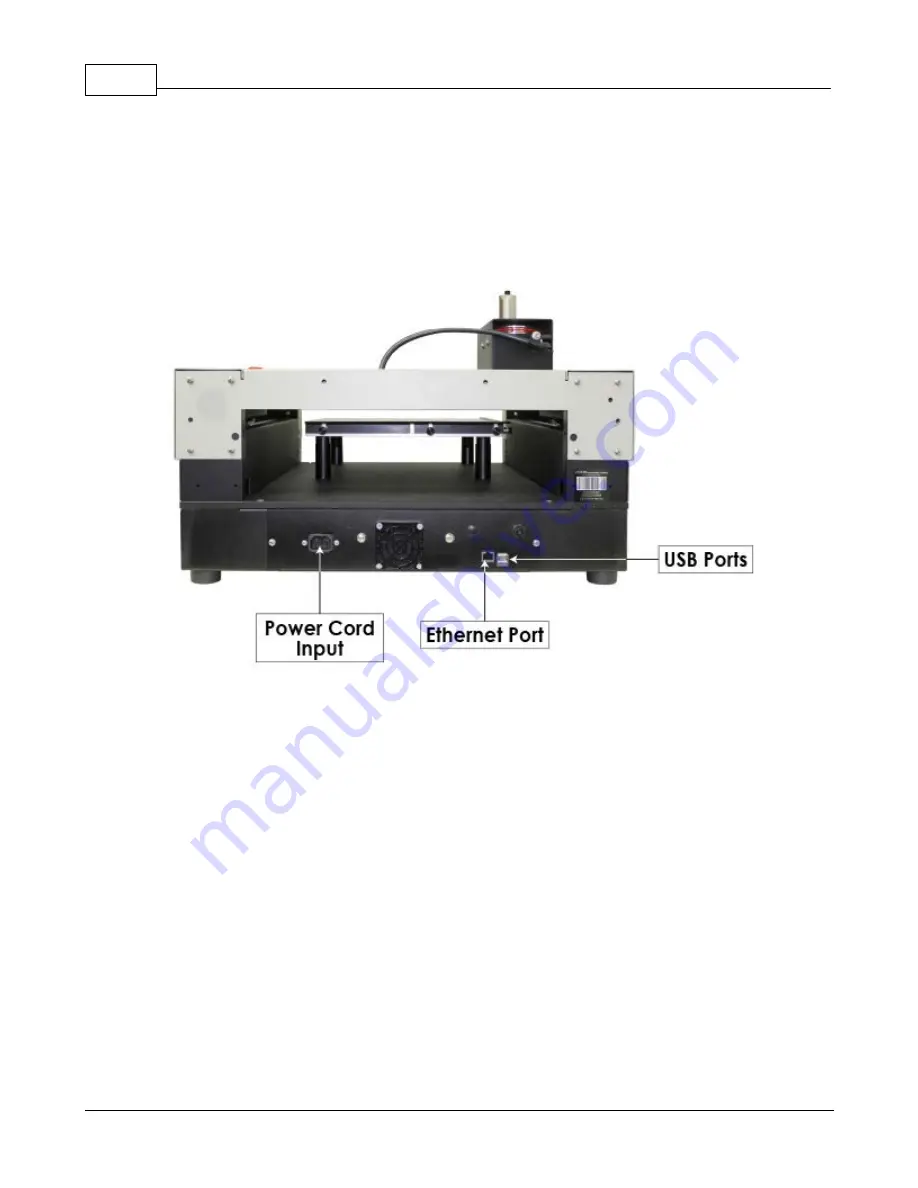
On the rear of the Phoenix 1212, there are three connection ports. The power cord, the USB port, the RJ-
45 ethernet port, and the remote on/off port for optional equipment.
Phoenix 1212 (rear view)
Connect the power cord to a 110 - 220 VAC source, then plug the power cable into the port on the back
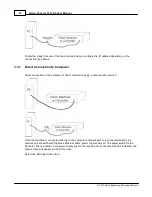
of the machine. Plug in the network cable (or the crossover cable) to the back of the machine and either
plug the network cable into your network, your hub, or using the crossover cable, plug into the network
port on the back of your computer.
NOTE:
The Ethernet crossover cable is gray and should not be needed.
If the emergency stop screen appears on the LCD when the machine is powered on, then the emergency
stop button is pressed in. Release the button twisting it until it "pops up". This will clear the emergency
stop screen.
Summary of Contents for Phoenix 1212 S5
Page 1: ... 2018 Vision Engraving Routing Systems Vision Phoenix 1212 S5 User Manual Revised 12 7 2018 ...
Page 16: ...Vision Phoenix 1212 S5 User Manual 16 2018 Vision Engraving Routing Systems ...
Page 44: ...Vision Phoenix 1212 S5 User Manual 44 2018 Vision Engraving Routing Systems ...
Page 113: ...Step by Step Operation 113 2018 Vision Engraving Routing Systems ...
Page 121: ...Step by Step Operation 121 2018 Vision Engraving Routing Systems ...
Page 123: ...Step by Step Operation 123 2018 Vision Engraving Routing Systems ...
Page 147: ...Optional Accessories 147 2018 Vision Engraving Routing Systems ...
Page 148: ......

