Vision Phoenix 1212 S5 User Manual
112
© 2018 Vision Engraving & Routing Systems
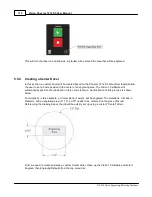
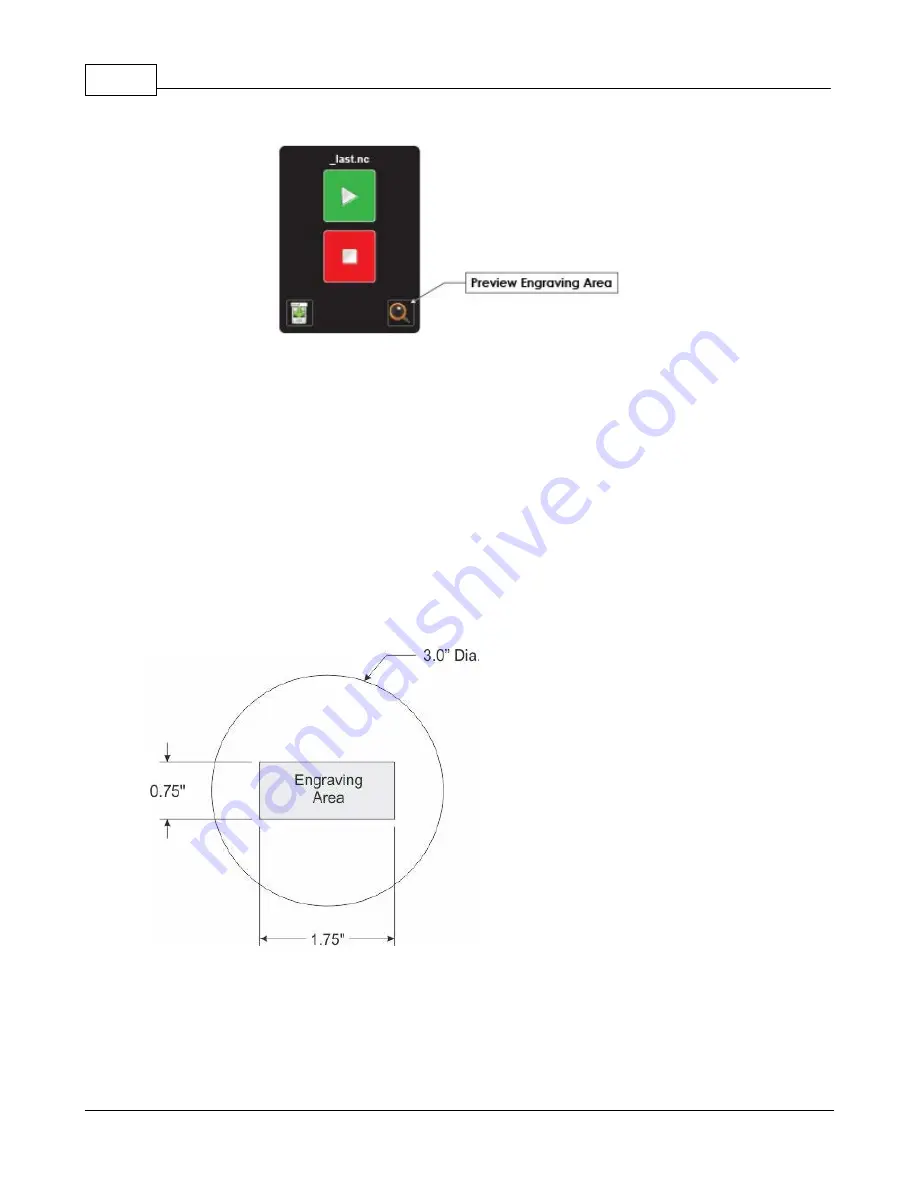
This will turn the laser on and allow us to preview a box around the area that will be engraved.
5.5.4 Creating a Center Driver
In this section, a custom driver will be created based on the Phoenix 1212 S5 Vise driver that will allow
the user to set a home position in the center of an engraving area. The Vision 10 software will
automatically position the job based on this center location. An illustration of this process is shown
below.
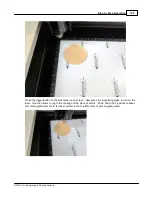
For simplicity in this example, a circular piece of acrylic will be engraved. The material is 3 inches in
diameter, and an engraving area of 1.75" x 0.75" needs to be centered on the piece of acrylic.
Referencing the drawing below, the job will be quickly set up using a custom "Center" driver.
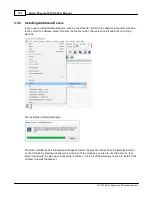
First, we need to create and save a custom Center driver. Open up the Vision 10 software and select
Engrave, then Engraving Defaults from the top menu bar.
Summary of Contents for Phoenix 1212 S5
Page 1: ... 2018 Vision Engraving Routing Systems Vision Phoenix 1212 S5 User Manual Revised 12 7 2018 ...
Page 16: ...Vision Phoenix 1212 S5 User Manual 16 2018 Vision Engraving Routing Systems ...
Page 44: ...Vision Phoenix 1212 S5 User Manual 44 2018 Vision Engraving Routing Systems ...
Page 113: ...Step by Step Operation 113 2018 Vision Engraving Routing Systems ...
Page 121: ...Step by Step Operation 121 2018 Vision Engraving Routing Systems ...
Page 123: ...Step by Step Operation 123 2018 Vision Engraving Routing Systems ...
Page 147: ...Optional Accessories 147 2018 Vision Engraving Routing Systems ...
Page 148: ......


