Page 10 of 85
viasis 3003 user manual
via
traffic
controlling
gmbh
6.2 Viasis 3003 data connections
The viasis 3003 is always equipped with a serial RS232 and a Bluetooth interface. Depending
on the viasis variant other interface options vary. It is possible to equip the viasis additionally
with USB host interface for computer connections and USB client interface for memory
sticks. Further a GSM/GPRS radio modem interface with GPS function can be installed.
Attention: At the same time only one data connection shall be active. Oth-
erwise an existing connection might be interrupted and the new connection
may not work properly.
6.2.1 Data connection with serial cable
Connect the delivered RS232 interface cable to a serial RS232 socket of your computer and to
the viasis RS232 interface socket on the control panel in the battery box, see also illustration 7.
Connect the battery to the viasis and power it by the On/Off switch, if not done already.
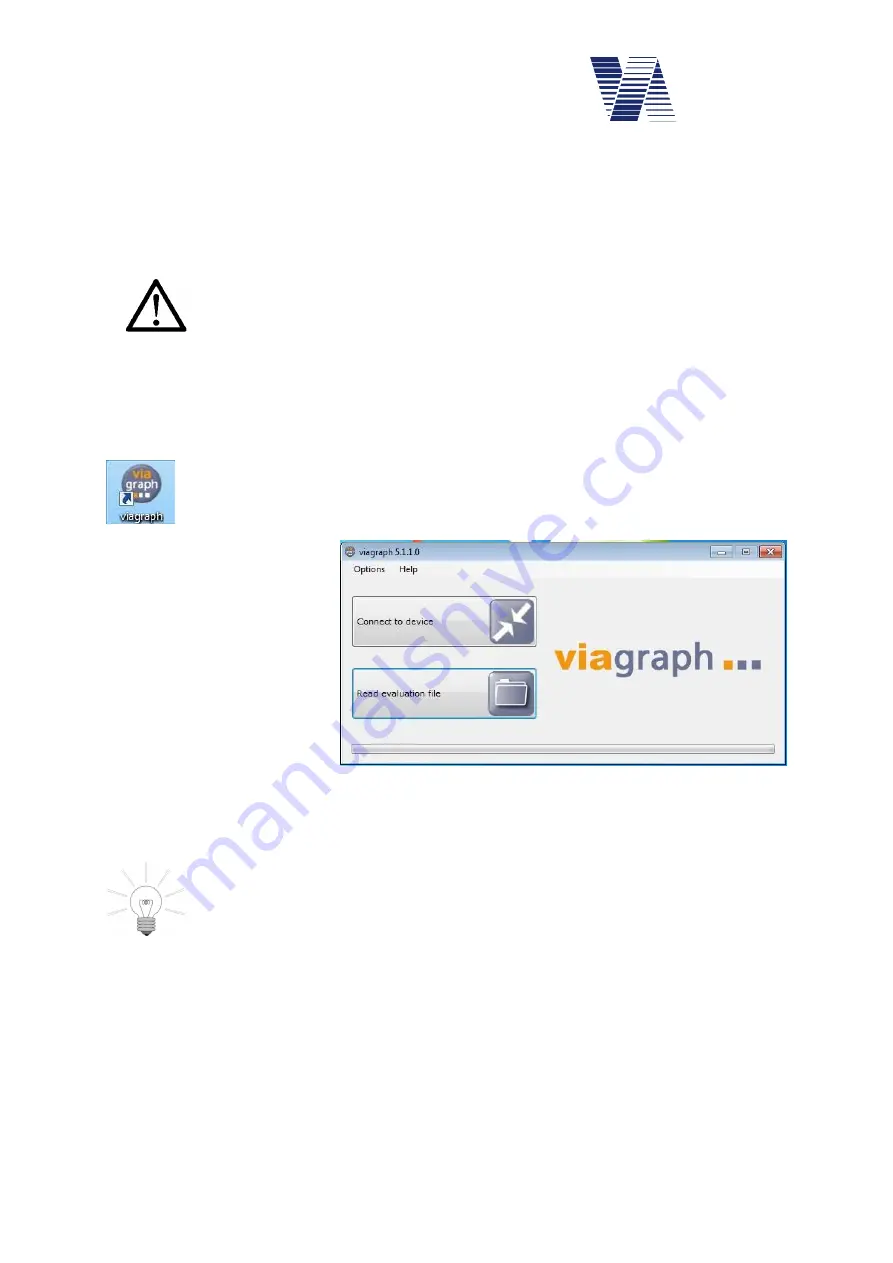
Start the
viagraph
program with a mouse double click on the
viagraph
icon placed
on your Windows desktop after installation. After
viagraph
has started you may
choose the preferred program language version from the offered list in the menu
Options – Language
.
In the following dialogue click
the on
Connect to device
, see
The empty
viagraph
main
window appears, see illustra-
tion 11.
The program scans all serial interface ports of the computer for known devices and modems.
and will choose automatically the first serial port with a connected via device.
In case of several connected via devices or modems by different serial interface
ports (Bluetooth, USB or GSM) it may happen that
viagraph
does not select the
device or modem to which you wish to connect. In this case please refer to chap-
ter 6.2.7.
Illustration 10: Program selection


