Section
3
Display Systems
3-17
CONV
MOVE
3.5.1 Green
Interpolated
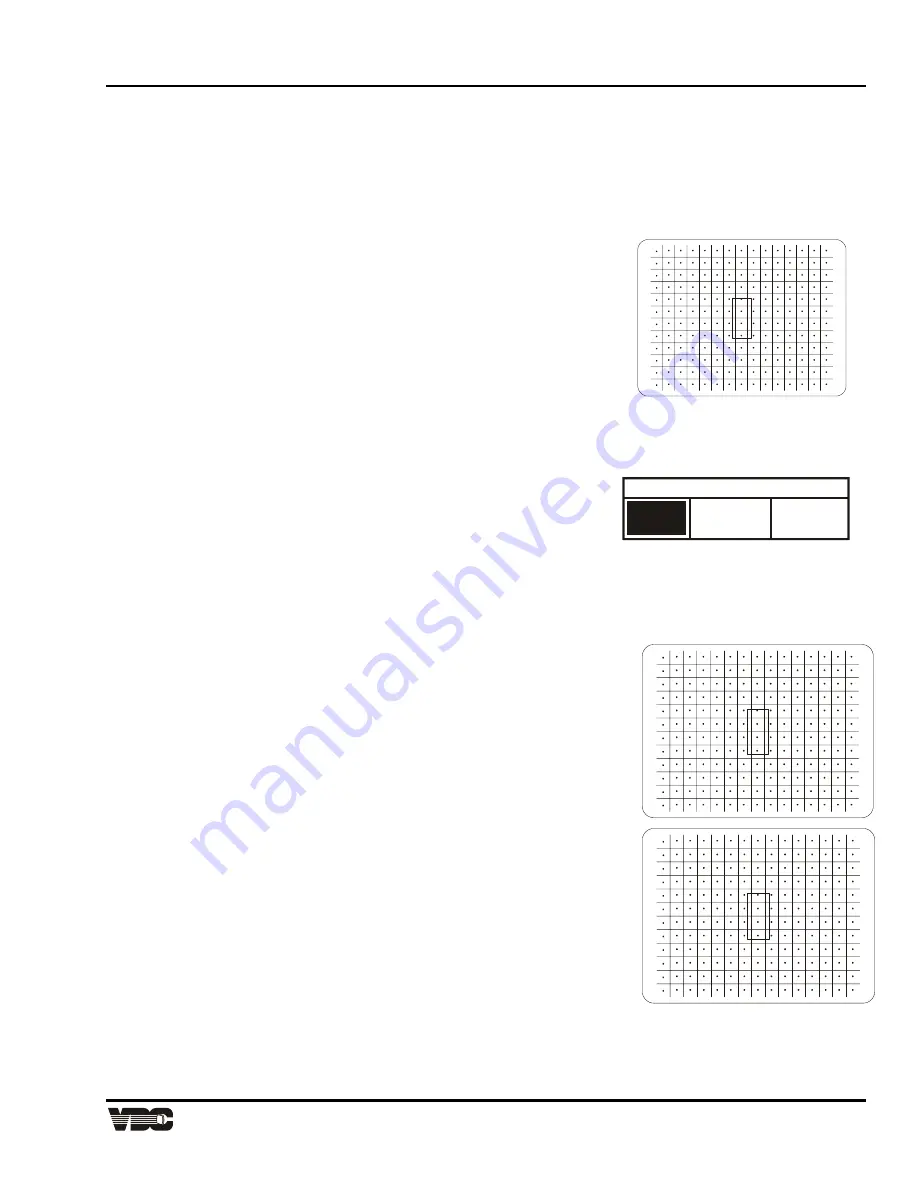
The Green Interpolated adjustment allows you to quickly and easily adjust the geometry of the green raster at 45
zones in the image. Zones are accessed in a predetermined order, and like Interpolated Convergence,
adjustments affect more than one zone. To begin Green Interpolated adjustment, press
[1]
from the
Convergence Service menu. An internally generated green crosshatch is displayed for the alignment. If you
prefer to use the external input, press
[#]
repeatedly to cycle to the external image.
Initially, a rectangular box surrounds the center zone. When the box is at the center zone, adjustments are
"static" and move the entire raster. Use
[
▲
], [
▼
], [
◄
]
or
[
►
]
to adjust the
position of the image on the screen. Press
[ENTER]
to move the box to the
next zone and begin dynamic adjustments. After each adjustment press
[ENTER]
to move to the next zone. If you need to go back to a previous
zone, press
[
]
. Also, the following reset functions are available:
•
Press
[0]
to reset static and dynamic values.
•
Press
[1]
to reset static values only.
•
Press
[2]
to reset dynamic values only.
Once all 45 zones have been set up, or
[EXIT]
is pressed, an Exit dialog box is displayed. When first displayed,
the cursor is positioned on "Save". Press
[ENTER]
or
[EXIT]
to save the new settings; returns to the Service
menu and returns to presentation level. To continue, move the cursor to "Continue Adjust" then press
[ENTER]
or
[EXIT]
. To discard your changes, move the cursor to "No Save" then
press
[ENTER]
or
[EXIT]
.
3.5.2 Green
Random
Access
The Green Random function lets you access and adjust the green geometry at any one of the 45
zones individually in any order. To begin Green Random Access adjustment, press
[2]
from the
Convergence Service menu. An internally generated green crosshatch is displayed for the
alignment. If you prefer to use the external input, press
[#]
repeatedly to cycle to the external image.
Initially, a rectangular box surrounds the center zone. When the box is at the center zone,
adjustments are "static" and move the entire raster. Above the
box, "CONV" indicates that the zone is ready for adjustment.
Use
[
▲
], [
▼
], [
◄
]
or
[
►
]
to adjust the position of the image on
the screen.
To move to another control point, press
[ENTER]
. The caption
above the box changes to "MOVE". Use the arrow keys to
move to another zone for convergence. Press
[ENTER]
again
to change the caption to "CONV" and adjust the raster within the
zone using the arrow keys. As with the Green Interpolated
function, the following reset functions are available:
•
Press
[0]
to reset static and dynamic values.
•
Press
[1]
to reset static values only.
•
Press
[2]
to reset dynamic values only.
When adjustment is complete, press
[EXIT]
to display the Exit
dialog box. Press
[ENTER]
or
[EXIT]
to save the new settings;
returns to the Service menu and returns to presentation level.
To continue adjustment from where you left off upon exit, move
the cursor to "Continue Adjust" then press
[ENTER]
or
[EXIT]
.
To discard your changes, select "No Save".
Note:
For large scale adjustments to the green raster,
use Green Interpolated first then use Green Random Access to fine tune if required.
Exit Convergence
Save
No
Save
Continue
Adjust
Artisan Technology Group - Quality Instrumentation ... Guaranteed | (888) 88-SOURCE | www.artisantg.com


