PaX-i3D Green (PHT-60CFO) User Manual
115
8 Acquiring CT Images
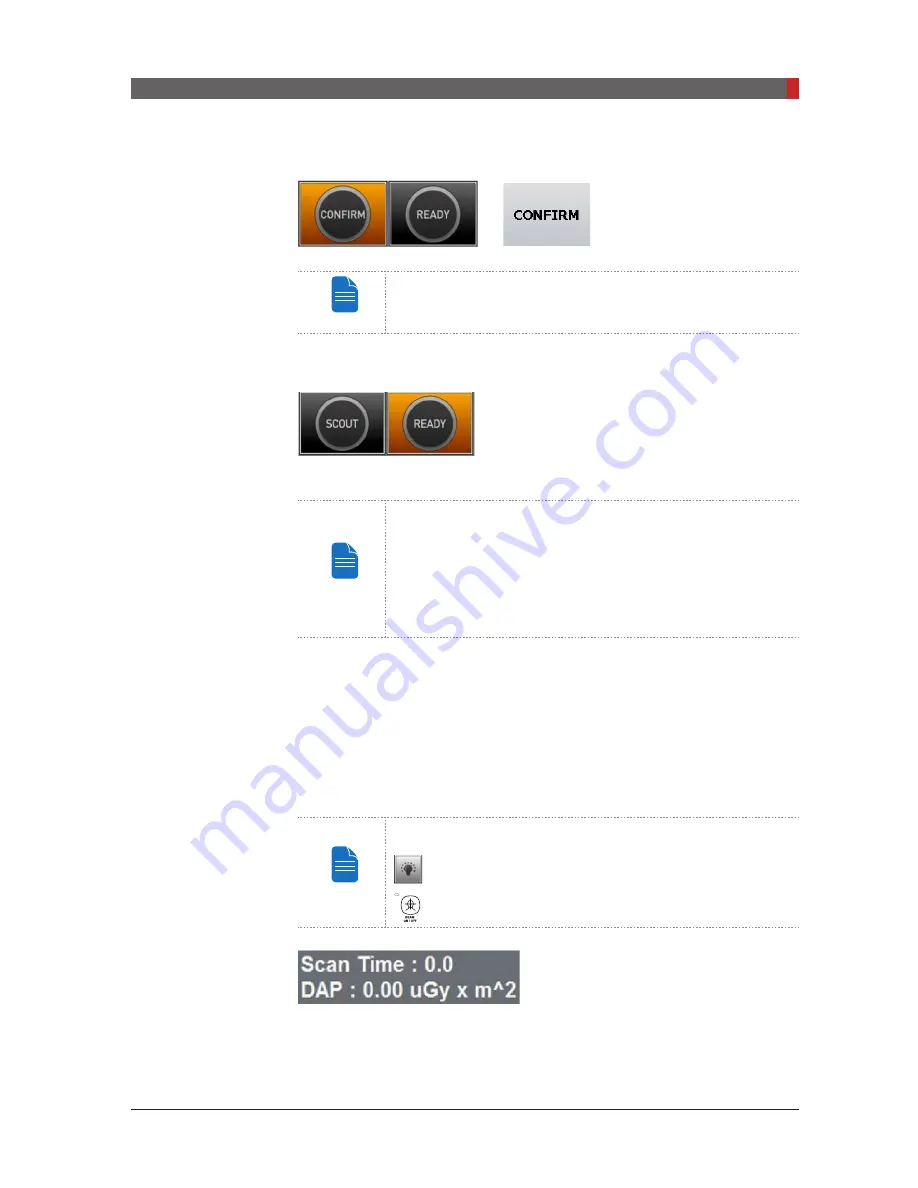
I. Click
CONFIRM
to accept these parameters.
NOTE
Please wait for a moment, while the rotating unit moves to
its initial scanning position.
When you click
CONFIRM
button:
■
The
CONFIRM
button turns to the
SCOUT
and then the
READY
button is enabled and
flashes. This means that the equipment is
ready for X-ray exposure.
NOTE
SCOUT capture is featured in FOV size 50 X 50 and 80 X
50. In case of abnormal patient’s arch, the chinrest height
adjustment through the SCOUT feature enables the user
to acquire better image. When the SCOUT image needs to
be acquired, position the patient first, followed by clicking
the SCOUT button. For details about imaging in the SCOUT
mode, refer to the section “8.3 Acquiring a Scout image”.
■
The Rotating unit will move to its initial scanning position.
■
The Chinrest will adjust itself according to the mode selected.
■
Three laser beams (
CT horizontal (X), Mid-sagittal (Y) and CT vertical (Z)
)
will activate to facilitate patient alignment. These beams will disappear after
20 minutes or if the
READY
button is clicked.
NOTE
Laser beam On / Off buttons
: Imaging Program
: Control Panel
■
The scan time and DAP (Dose Area
Product) value are shown on the main
display for the intended exposure.
J. Guide the patient to the equipment. Position the patient. Refer to section
8.2
Positioning the Patient.
[PI3DG_130U_44A_en]User Guide.indd 115
2016-05-24 오후 4:19:10
Summary of Contents for PaX-i3D Smart
Page 1: ...Version 1 5 0 PHT 60CFO User Manual E n g l i s h...
Page 2: ......
Page 3: ......
Page 4: ......
Page 10: ......
Page 14: ......
Page 42: ...This page is left intentionally blank...
Page 110: ......
Page 126: ......
Page 127: ...Troubleshooting 9...
Page 133: ...Disposing of the Unit 11...
Page 146: ......
Page 167: ...13 Samsung 1 ro 2 gil Hwaseong si Gyeonggi do Korea Postal Code 18449...


