


RAID
12.2
Maintenance Wizard
To access and maintain RAID:
1.
Access the IDENTIKEY Appliance Configuration Tool
2.
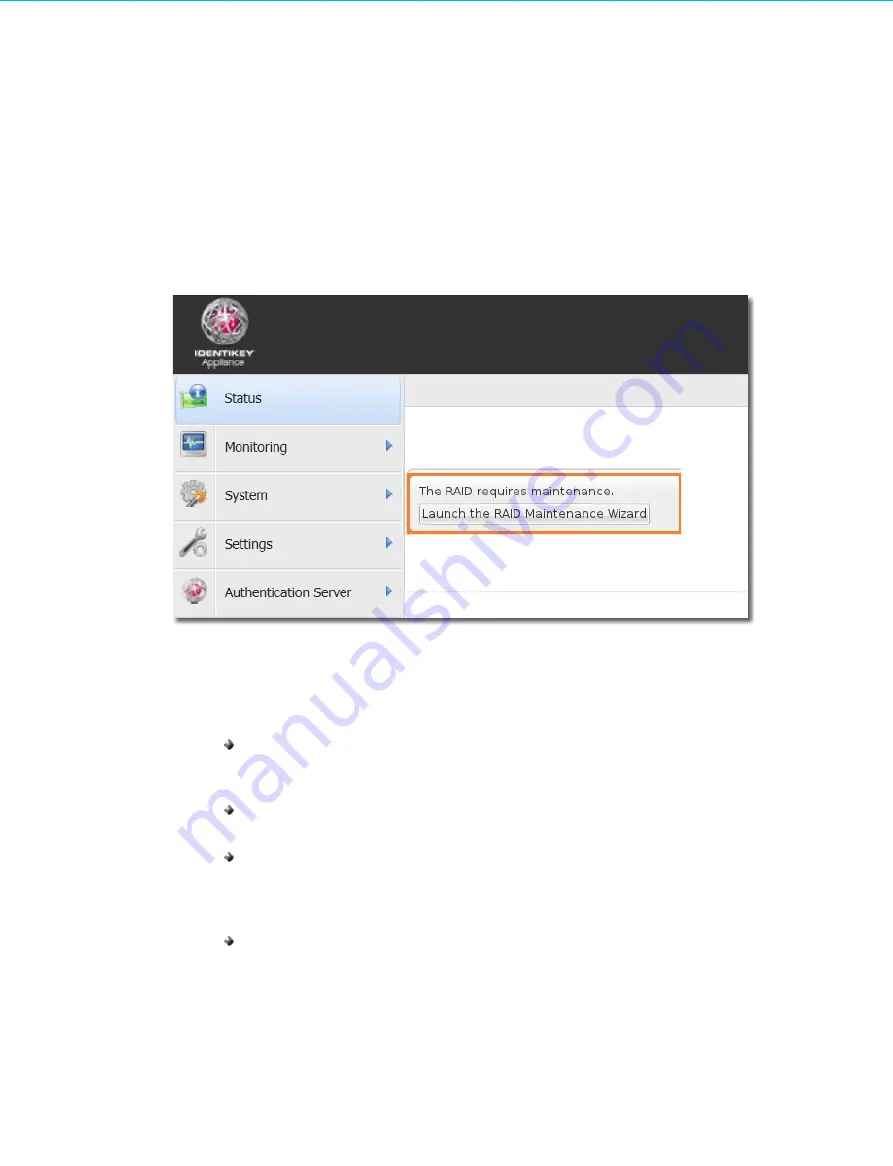
When there is a status message advising that the RAID configuration requires an action, click on the link
provided to launch the maintenance wizard.
3.
A welcome screen is presented. Click on
Next
on the
Welcome
screen, and the status of your RAID
configuration will be advised, and possible actions presented for selection.
One of four actions may be possible:
Insert
: a new hard disk needs to be physically inserted into an available slot in the IDENTIKEY
Appliance AG-7XXX. (Insertion is not the same as adding the disk to the RAID configuration for
synchronization; see next bullet point.)
Add
: a new hard disk already inserted into a slot in the IDENTIKEY Appliance AG-7XXX will be
added by the IDENTIKEY Appliance to the RAID configuration for synchronization.
Replace
: synchronization of a disk to the RAID configuration will be stopped by the IDENTIKEY
Appliance, the disk needs to be physically removed from a slot in the IDENTIKEY Appliance AG-
7XXX, and a new hard disk needs to be physically inserted. (The wizard will then offer the option to
add the new hard disk to the RAID configuration for synchronization; see previous bullet point).
Re-add:
this option is only offered for a disk which is physically present and recognized as having
been synced previously, but which is not currently added for synchronization and is therefore
considered as faulty. A present disk which is not synchronized might have been physically removed
and reinserted while the system was running to mimic hardware failure and test fail-over. The
Re-
add
option can then be used to add the disk to the RAID configuration for synchronization again.
IDENTIKEY Appliance Installation and Maintenance
98
Image 65: RAID Status and link to Maintenance Wizard


