11 Inspection and maintenance
24
Installation and maintenance instructions HOME 0020224355_00
A
C
D
B
6
7.
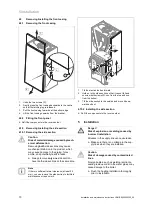
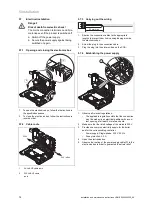
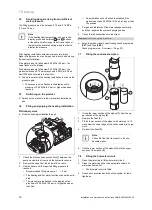
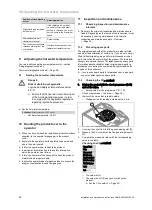
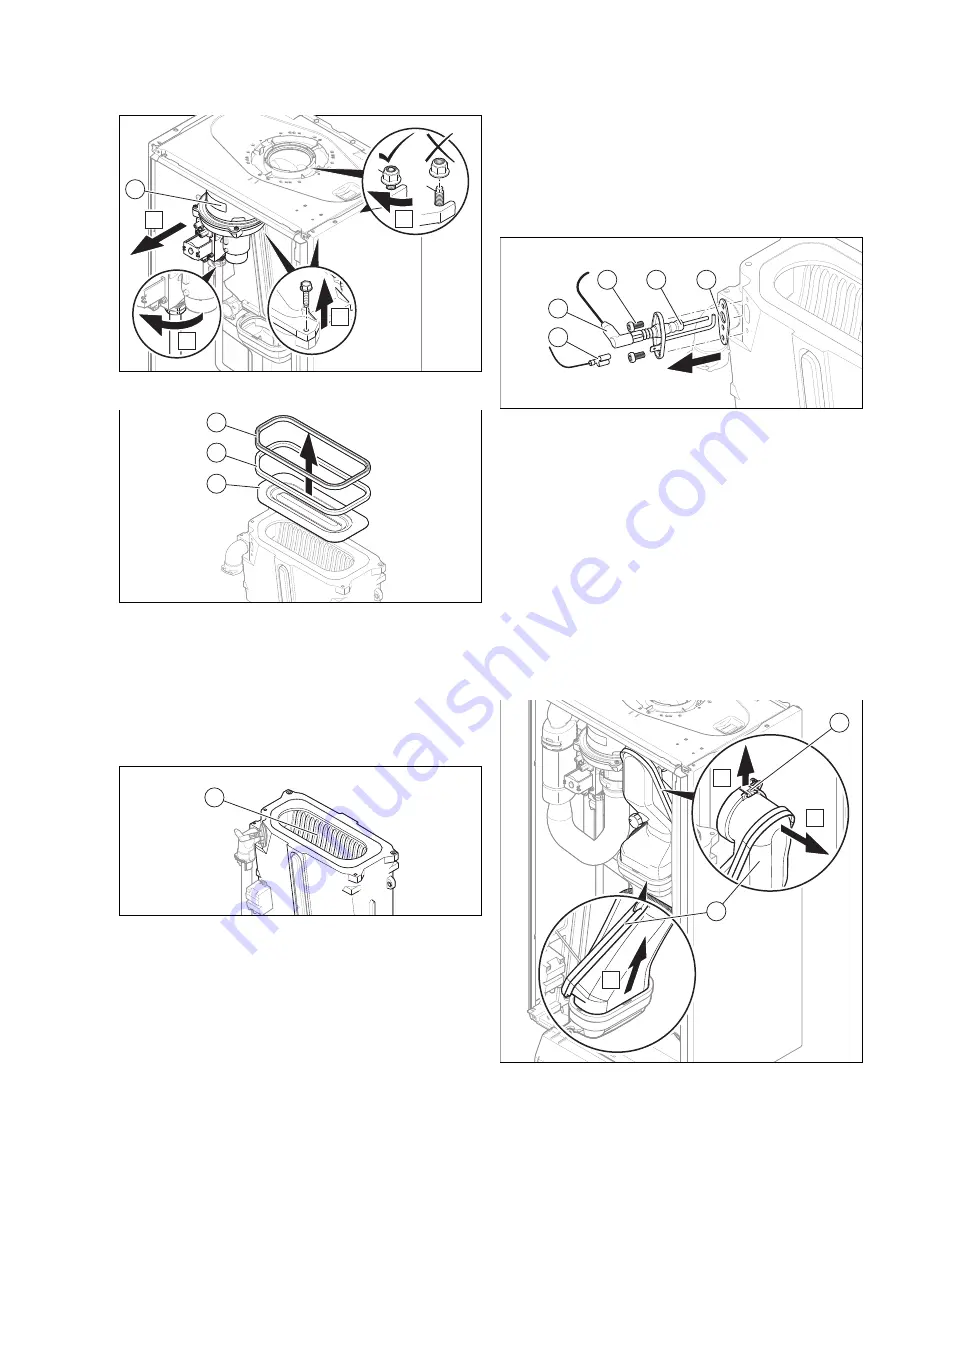
Remove the gas-air mixture unit
(6)
.
7
7
8
8.
Remove the burner seals
(7)
and the burner
(8)
.
9.
Check the burner and the heat exchanger for damage
and dirt.
10. If necessary, clean or replace the components accord-
ing to the following sections.
11. Install the two new burner seals.
11.6
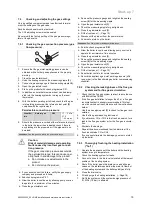
Cleaning the heat exchanger
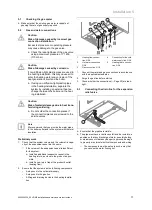
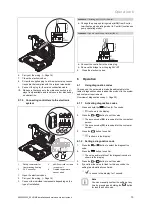
1
1.
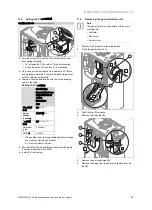
Protect the folded down electronics box against sprayed
water.
2.
Clean the ribs of the heat exchanger
(1)
with water.
◁
The water runs out into the condensate tray.
11.7
Checking the burner
1.
Search the surface of the burner for possible damage. If
you see any damage, replace the burner.
2.
Install the two new burner seals.
11.8
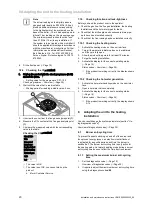
Checking the ignition electrode
1
2
3
4
5
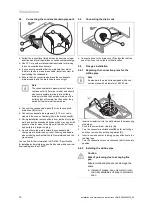
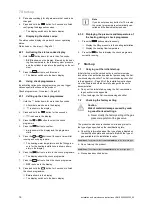
1.
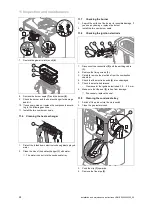
Disconnect the connection
(2)
and the earthing cable
(1)
.
2.
Remove the fixing screws
(3)
.
3.
Carefully remove the electrode from the combustion
chamber.
4.
Check that the electrode ends
(4)
are undamaged.
5.
Check the electrode distance.
–
Clearance for the ignition electrodes: 3.5 … 4.5 mm
6.
Make sure that the seal
(5)
is free from damage.
▽
If necessary, replace the seal.
11.9
Cleaning the condensate tray
1.
Switch off the product via the main switch.
2.
Close the gas isolator cock.
B
A
1
C
2
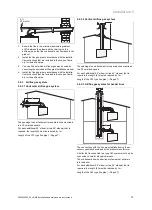
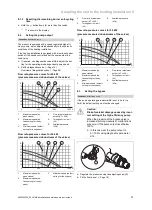
3.
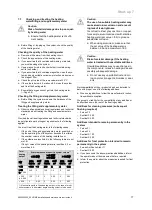
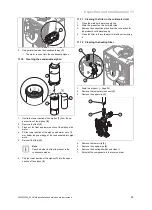
Push the clip
(1)
upwards.
4.
Remove the flue pipe
(2)
.
Summary of Contents for home combi
Page 51: ......

