Inspection and maintenance 9
0020233500_01 auroCOMPACT Installation and maintenance instructions
35
9.12
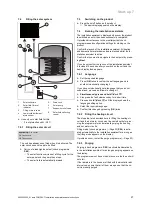
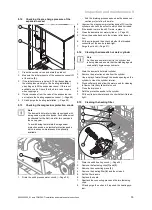
Checking the pre-charge pressure of the
expansion vessel
1
2
1.
Close the service valves and drain the product.
2.
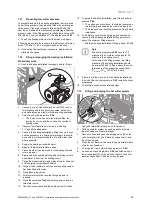
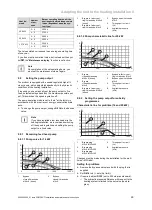
Measure the initial pressure of the expansion vessel
(1)
at the valve
(2)
.
3.
If the initial pressure is below 0.75 bar (depending on
the static pressure height of the heating installation),
use nitrogen to fill the expansion vessel. If this is not
available, use air. Check that the drain valve is open
when topping up.
4.
If water escapes from the valve of the expansion ves-
sel, replace the heating expansion vessel. (
→
Page 40)
5.
Fill and purge the heating installation. (
→
Page 25)
9.13
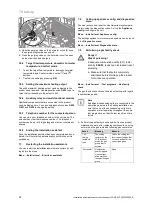
Checking the magnesium protection anode
Note
The domestic hot water cylinder is equipped with
a magnesium protection anode. Its condition must
be checked for the first time after two years and
then every year.
To avoid having to maintain the magnesium
protection anode, an electrical protection anode
which requires no maintenance is optionally
available.
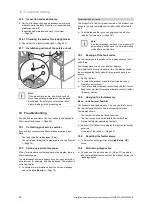
1
1.
Drain the unit's process water circuit. (
→
Page 34)
–
End the draining process as soon as the anode con-
nection projects from the water.
2.
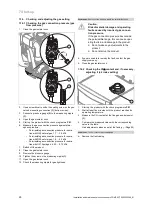
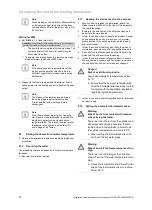
Unscrew the magnesium protection anode
(1)
from the
cylinder and check the extent to which it has corroded.
3.
If the anode is more than 60% worn, replace it.
4.
Clean the domestic hot water cylinder. (
→
Page 35)
5.
Screw the anode back onto the cylinder after inspec-
tion.
6.
Fill the cylinder and then check whether the threaded
connection of the anode is leak-tight.
7.
Purge the circuit (
→
Page 21).
9.14
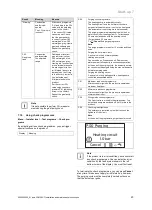
Cleaning the domestic hot water cylinder
Note
As the process water circuit in the cylinder tank
is being cleaned, ensure that the cleaning agents
used satisfy hygiene requirements.
1.
Drain the domestic hot water cylinder.
2.
Remove the protection anode from the cylinder.
3.
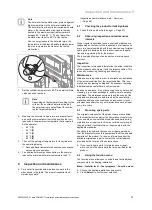
Use a spray of water through the anode opening on the
cylinder to clean the cylinder interior.
4.
Rinse sufficiently and allow the water used for cleaning
to flow out via the cylinder drain cock.
5.
Close the drain cock.
6.
Refit the protection anode to the cylinder.
7.
Fill the cylinder with water and check whether it is leak-
tight.
9.15
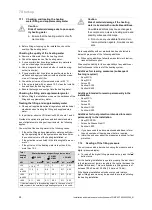
Cleaning the heating filter
1
2
3
4
1.
Drain the unit's heating circuit. (
→
Page 34)
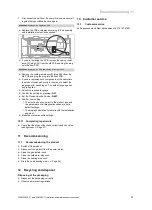
2.
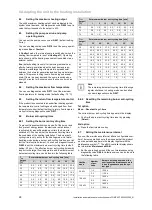
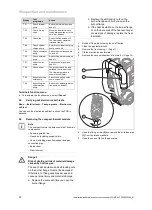
Remove the fastening clips
(1)
and
(3)
.
3.
Remove the connecting piece
(2)
.
4.
Remove the heating filter
(4)
and then clean it.
5.
Put the filter back in.
6.
Replace the seals.
7.
Reattach the connecting piece and the two fastening
clips.
8.
Fill and purge the unit and, if required, the heating sys-
tem.

