Adapting the unit to the heating installation 8
0020233500_01 auroCOMPACT Installation and maintenance instructions
27
1
2
▶
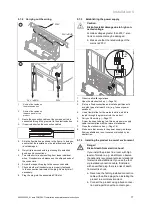
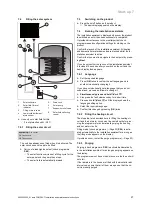
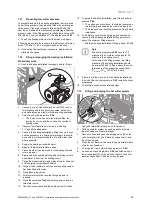
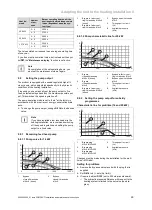
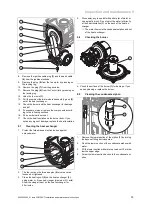
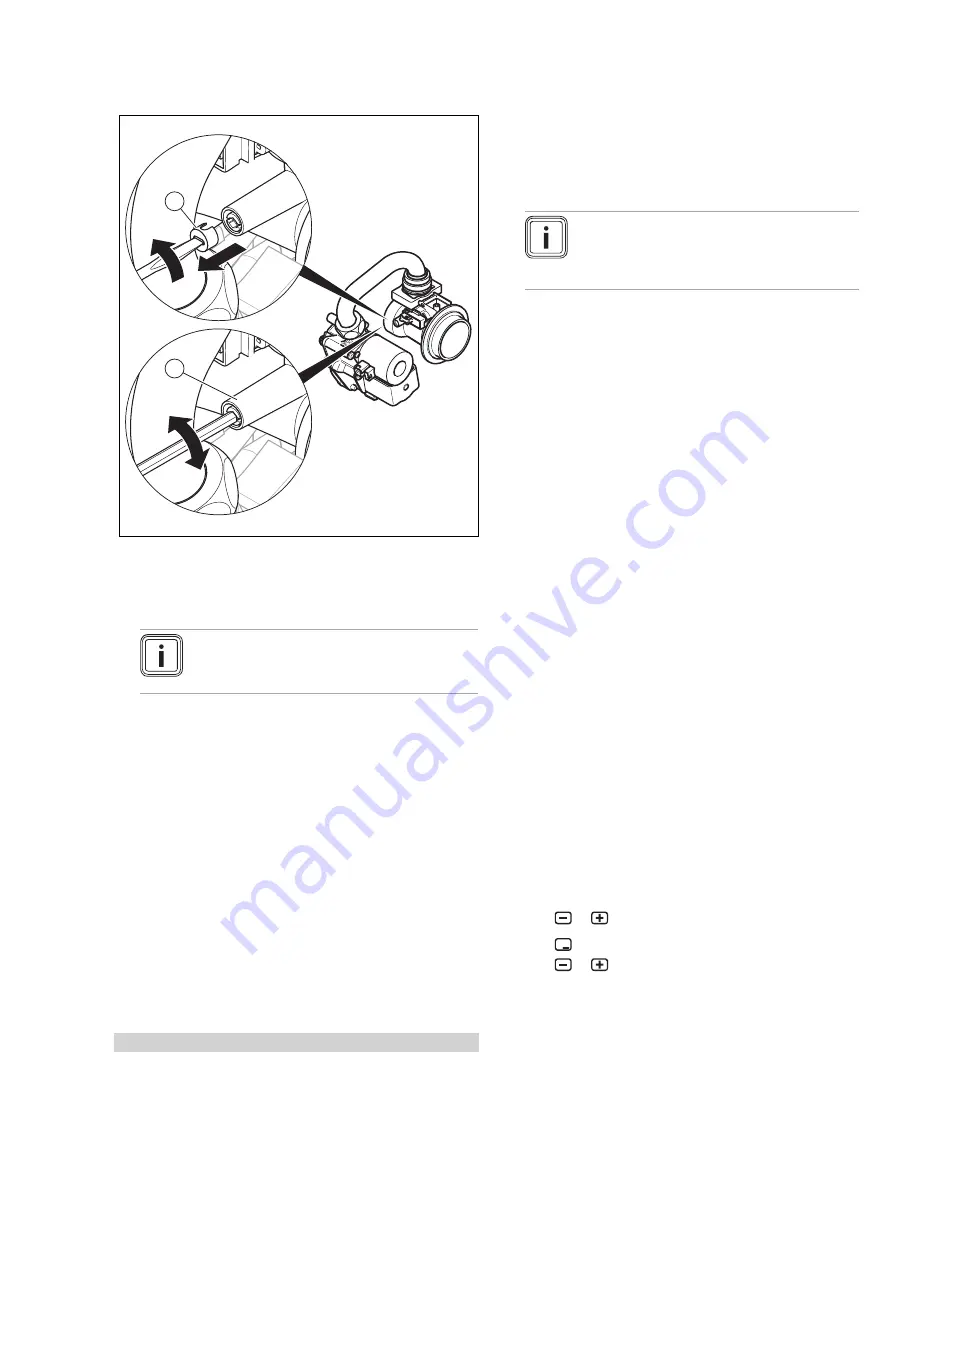
Pierce the covering cap
(1)
at the mark using a small
flat-blade screwdriver and unscrew it.
▶
Set the CO
₂
content (value with front casing removed)
by turning the screw
(2)
.
Note
Turn to the left: Higher CO
₂
content
Turn to the right: Lower CO
₂
content
▶
For natural gas only: Adjust the value in increments of
1 turn and wait approx. 1 minute after each adjustment
until the value stabilises.
▶
For liquid gas only: Adjust the value in small increments
of 1/2 turn and wait approx. 1 minute after each adjust-
ment until the value stabilises.
▶
Once the setting is finished, lock the check programme.
▶
If an adjustment is not possible in the specified adjust-
ment range, you must not start up the product.
▶
If this is the case, inform Vaillant Customer Service.
▶
Screw the covering cap back in.
▶
Refit the front casing.
7.17
Checking leak-tightness
▶
Check the gas pipe, the heating circuit and the hot water
circuit for leak-tightness.
▶
Check that the air/flue pipe has been installed correctly.
Conditions
: Room-sealed operation
▶
Check whether the vacuum chamber has been closed
tightly.
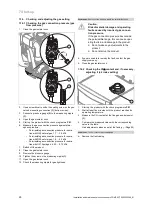
7.17.1 Checking the heating mode
1.
Make sure that there is a heat requirement.
–
E.g. using settings on the system control or cooling
the buffer cylinder.
Note
Alternatively, you can use the service soft-
ware to make a target flow value specifica-
tion.
2.
Call up the
Live Monitor
.
–
Menu
→
Live Monitor
◁
If the product is working correctly, the display shows
S.04
.
7.17.2 Checking the hot water generation
1.
Open a hot water valve all the way.
2.
Call up the
Live Monitor
.
–
Menu
→
Live Monitor
◁
If the hot water generation is working correctly, the
display shows
S.24
after a few minutes.
8
Adapting the unit to the heating
installation
To reset the most important system parameters, use the
Appliance config.
menu item.
Menu
→
Installer level Appliance config.
Or manually relaunch the installation assistant.
Menu
→
Installer level
→
Start inst. assistant
8.1
Calling up diagnostics codes
The settings options for more complex systems can be found
in the
Diagnostics menu
.
Menu
→
Installer level Diagnostics menu
Overview of diagnostics codes (
→
Page 44)
You can use the parameters that are marked as adjustable
in the overview of diagnostics codes to adapt the product to
the heating installation and the needs of the customer.
▶
Press
or
to change the diagnostics code.
▶
Press
(
Select
) to select the parameter to change.
▶
Press
or
to change the current setting.
▶
Press (
OK
) to confirm your selection.


