5 Installation
18
Installation and maintenance instructions auroCOMPACT 0020233500_01
ing of at least 3 mm (e.g. fuses or power
switches).
▶
Use a flexible line for the mains connec-
tion line, which is routed through the cable
duct into the product.
▶
Observe all valid regulations.
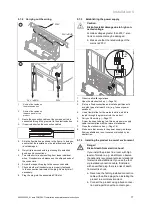
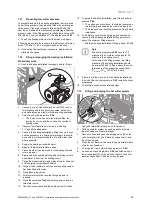
1.
Open the electronics box. (
→
Page 16)
2.
Detach the ProE plug from the PCB slot for the mains
connection (X1).
3.
Unscrew the ProE plug for the factory-installed mains
connection cable, if installed.
4.
Instead of the factory-installed mains connection cable,
if installed, use a suitable three-core mains connection
cable which complies with the relevant standards.
5.
Carry out the wiring. (
→
Page 17)
6.
Close the electronics box. (
→
Page 16)
5.7.5
Connecting the solar sensor
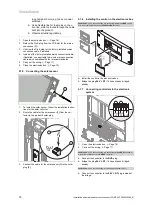
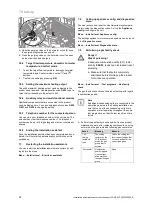
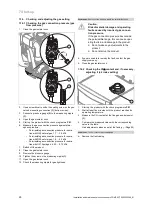
1
1.
To install the solar sensor, follow the installation instruc-
tions for the solar collector.
2.
Route the cable for the solar sensor
(1)
from the col-
lector to the product's solar plug.
1
2
3.
Connect the cable for the solar sensor
(1)
to the solar
plug
(2)
.
5.7.6
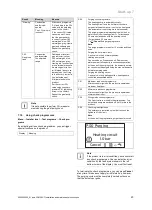
Installing the control in the electronics box
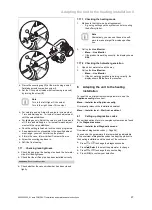
Conditions
: If you are connecting a weather-compensated
eBUS
control
or a room-temperature-controlled
Vaillant eBUS
control:
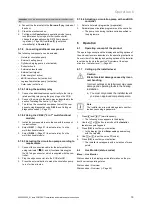
B
A
C
▶
Install the control in the electronics box.
▶
Bridge the plug
24 V = RT
if it has not been bridged
already.
5.7.7
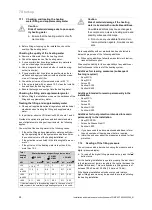
Connecting controllers to the electronic
system
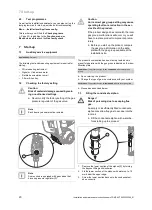
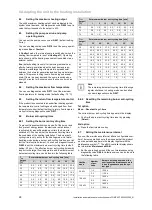
– +
24V=
RT BUS
Burner
off
1.
Open the electronics box. (
→
Page 16)
2.
Carry out the wiring. (
→
Page 17)
Conditions
: If you are connecting a weather-controlled
eBUS
controller or
a room-temperature-controlled
eBUS
controller:
▶
Connect the controller to the
BUS
plug.
▶
Bridge the plug
24 V = RT
if it has not been bridged
already.
Conditions
: If you are connecting a low-voltage controller (24 V):
▶
Connect the controller to the
24 V = RT
plug instead of
the bridge.


