5 Installation
12
Installation and maintenance instructions auroCOMPACT 0020233500_01
A
B
B
1
1.
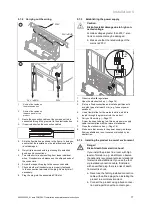
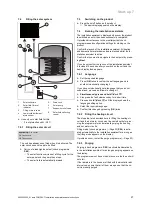
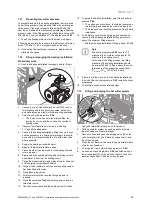
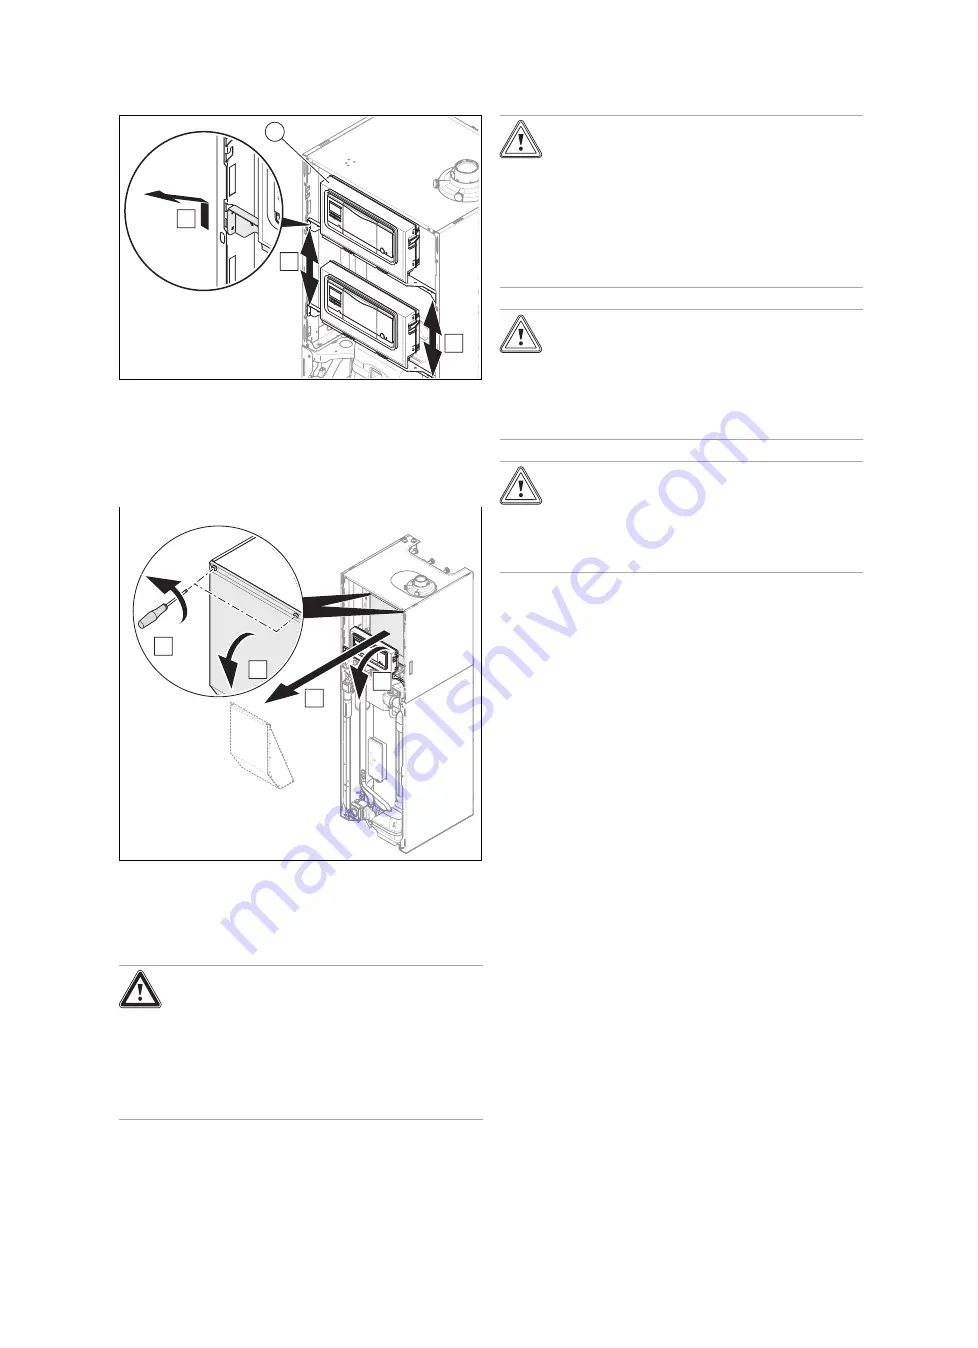
Push the electronics box
(1)
upwards and pull it up to-
wards you.
2.
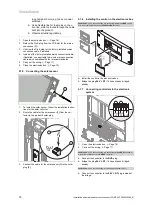
Move the electronics box into the required position.
4.13
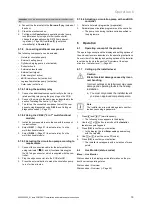
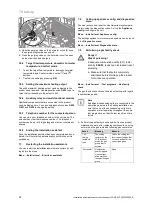
Removing/installing the vacuum chamber's
front wall
C
B
D
A
▶
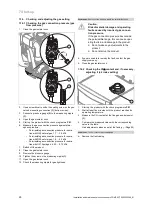
Refit the components in the reverse order.
5
Installation
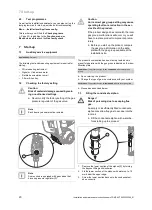
Danger!
Risk of scalding and/or risk of material
damage due to incorrect installation lead-
ing to escaping water.
Mechanical stresses in connection cables
can cause leaks.
▶
Install the connection cables voltage-free.
Caution.
Risk of material damage caused by
residues in the pipelines.
Welding remnants, sealing residues, dirt or
other residues in the pipelines may damage
the product.
▶
Flush the heating installation thoroughly
before installing the product.
Caution.
Risk of material damage caused by
changes to the pipes that have already
been connected.
▶
Only bend connection pipes if they have
not yet been connected to the product.
Caution.
Risk of material damage due to heat trans-
fer during soldering.
▶
Only solder connectors if the connectors
are not yet screwed to the service valves.
5.1
Information on liquid gas operation
In the as-supplied condition, the product is preset for opera-
tion with the gas group indicated on the data plate.
If you have a product that has been preset for operation with
natural gas, you must convert it to run on liquid gas. You will
need a conversion set for this. The conversion procedure
is described in the instructions supplied with the conversion
set.
5.1.1
Purging the liquid gas tank
If the liquid gas tank is not purged properly, this may result in
ignition problems.
▶
Ensure that the liquid gas tank has been purged properly
before installing the product.
▶
If required, contact the filler or the liquid gas supplier.
5.1.2
Using the correct gas type
Using the incorrect gas type may cause fault shutdowns in
the product. Ignition and combustion noise may occur in the
product.
▶
Only use the gas type listed on the data plate.


