


Section 7 COPIER MANAGEMENT FUNCTIONS
7-80
●
Erased border width
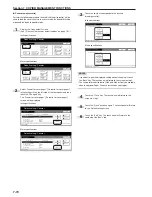
Perform the following procedure to determine the default value for the
width of the border to be erased in the two border erase modes.
1
Display the “Copy default” screen.
(See “(5) Accessing the copy default settings” on page 7-61.)
Inch specifications
Default setting
Copy
default
Machine
default
Language
Management
End
BOX
Management
Bypass
setting
Document
Management
Register
orig. size
Print
report
Counter
check
User
Adjustment
Default setting / Counter
Metric specifications
Default setting
Copy
default
Machine
default
Language
Management
End
Hard Disk
Management
Bypass
setting
Document
Management
Register
orig. size
Print
report
Counter
check
User
Adjustment
Default setting / Counter
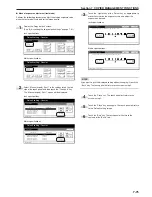
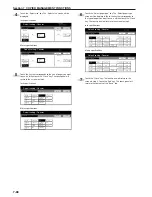
2
Select “Default erase width” in the settings list on the left side
of the touch panel and then touch the “Change #” key.
The “Default erase width” screen will be displayed.
Inch specifications
Default setting / Counter
Copy default
Change #
Default setting
Sort
Auto Rotation
Default margin width
Default erase width
Preset limit
Sort : On
Rotate
Left
1
/
4
" 0"
Border
1
/
4
" Center
1
/
4
"
999 Set
Default menu
Down
Setting mode
Up
Close
Metric specifications
Default setting / Counter
Copy default
Sort
Auto Rotation
Default margin width
Default erase width
Preset limit
Sort : On
Rotate
Left 6mm 0mm
Border 6mm Center 6mm
999 Set
Up
Down
Change #
Close
Default setting
Default menu
Setting mode
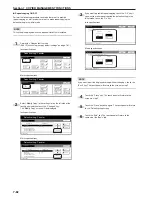
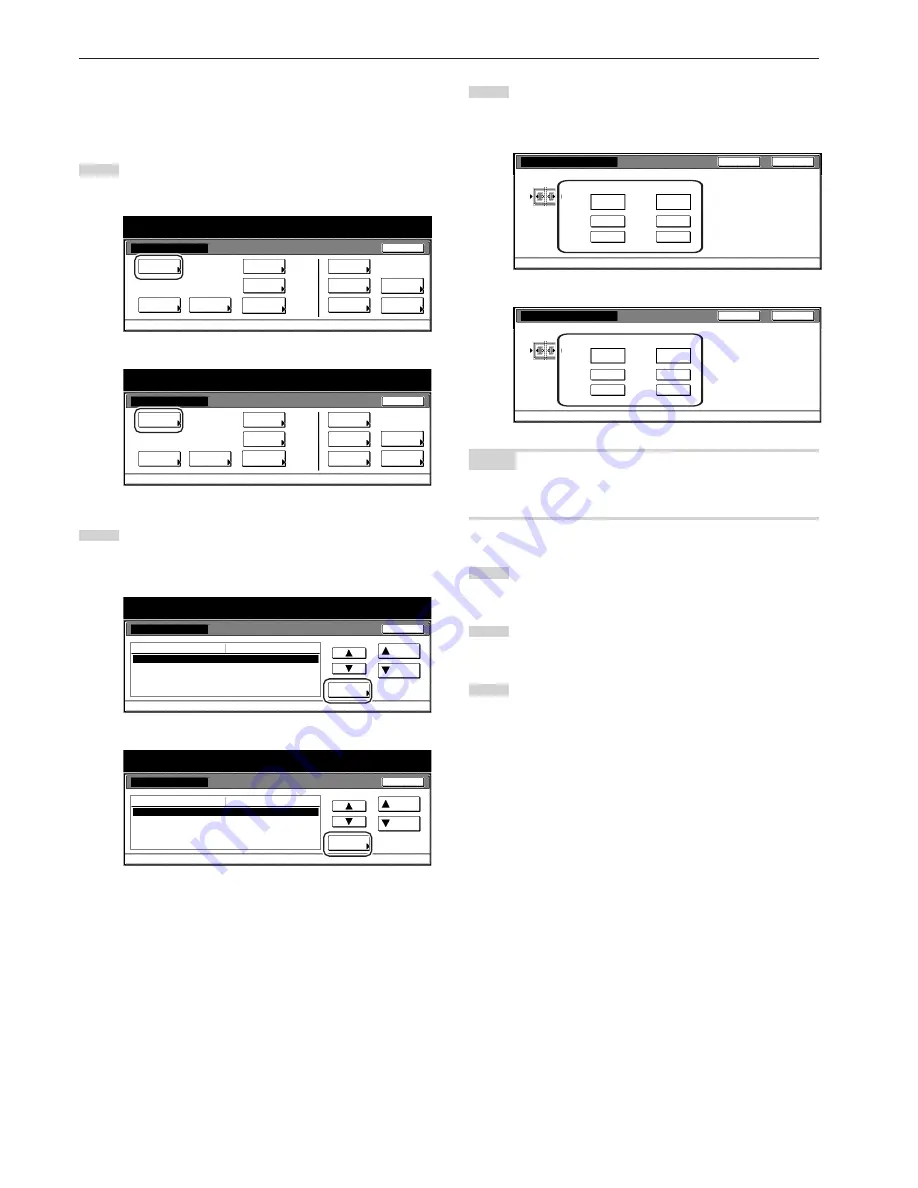
3
Touch the “+” key or the “-” key under the “Border” and
“Center” fields to change the displayed widths to those
desired.
Inch specifications
B o r d e r
C e n t e r
"
"
A d j u s t d e fa u l t s e t t i n g o f e ra s e w i d t h .
D e fa u l t s e t t i n g - C o py d e fa u l t
1
/
4
1
/
4
+
+
–
–
(0~
3
/
4
)
(0~1
1
/
2
)
Default erase width
Close
Back
Metric specifications
Default erase width
Back
Close
Border
Center
mm
mm
(0~18) (0~36)
Adjust default setting of erase width.
Default setting - Copy default
6
12
+
+
–
–
NOTE
If you want to quit the displayed setting without changing it, touch the
“Back” key. The touch panel will return to the screen in step 2.
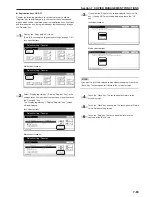
4
Touch the “Close” key. The touch panel will return to the
screen in step 2.
5
Touch the “Close” key once again. The touch panel will return
to the “Default setting”screen.
6
Touch the “End” key. The touch panel will return to the
contents of the “Basic” tab.
Summary of Contents for CD 1030
Page 1: ...INSTRUCTION HANDBOOK DIGITAL MULTIFUNCTIONAL SYSTEM CD 1030 1040 1050 ...
Page 9: ...vii Printer Kit Page 8 12 Printer scanner Kit Page 8 12 Fax Kit Page 8 12 ...
Page 12: ...x ...
Page 20: ...1 8 ...
Page 28: ...Section 2 NAMES OF PARTS 2 8 ...
Page 44: ...Section 4 BASIC OPERATION 4 12 ...
Page 114: ...Section 5 OTHER CONVENIENT FUNCTIONS 5 70 ...
Page 242: ...Section 7 COPIER MANAGEMENT FUNCTIONS 7 106 ...
Page 282: ...10 14 ...
Page 285: ...W Warm up 4 1 Waste Toner Box 10 3 When paper misfeeds 9 4 X XY zoom mode 4 8 Z Zoom mode 4 6 ...
Page 286: ...E1 ...
Page 288: ...UTAX GmbH Ohechaussee 235 22848 Norderstedt Germany ...


