3-1
Section 3
PREPARATIONS
Paper can be loaded into the copier via the drawer or multi-bypass
tray.
Note when adding paper
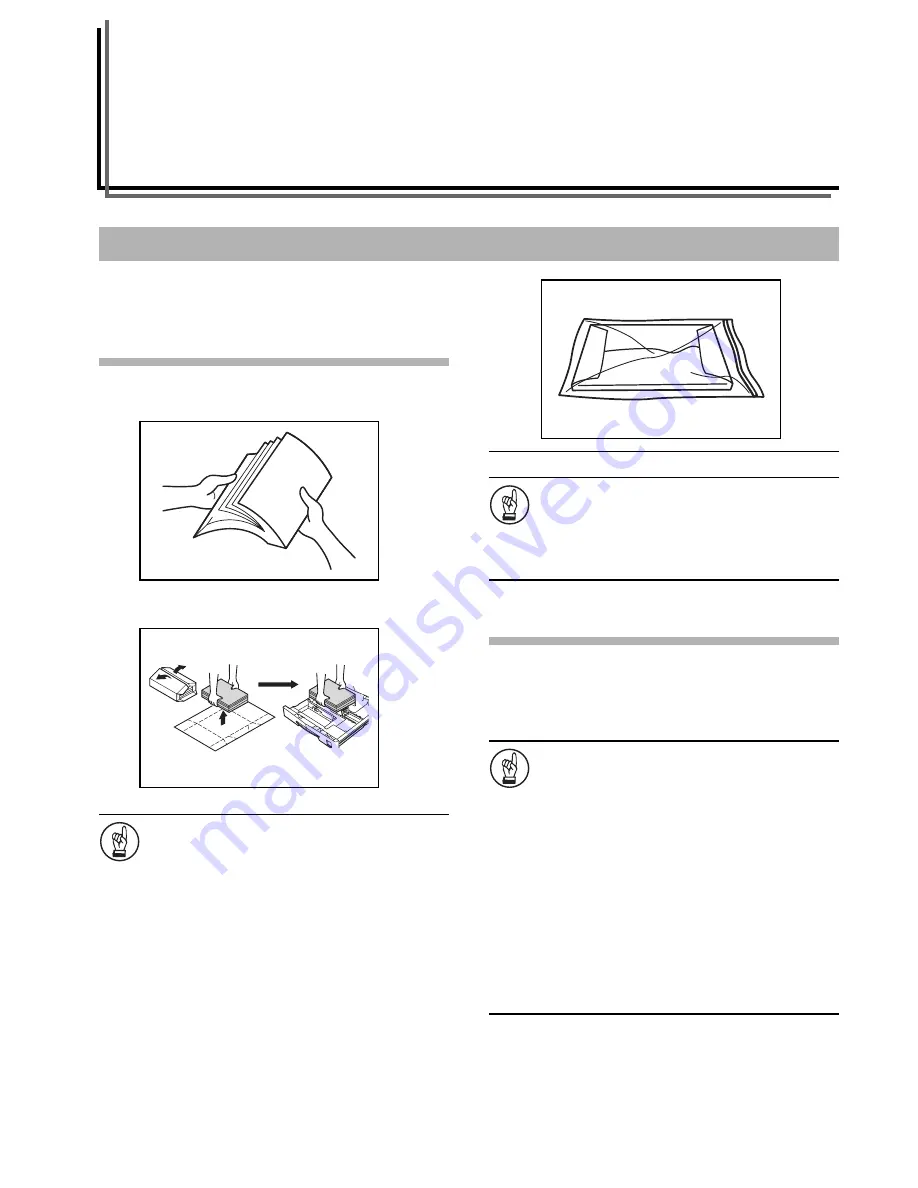
Fan through the stack of paper a few times after taking it out of its
package before loading it into the drawer or multi-bypass tray.
Set the paper in the drawer with the side which faced the top of its
packaging facing up.
IMPORTANT!
• When using paper that has been run through a copier
before, check it to make sure that all staples and paper
clips have been removed. Attempting to copy paper
that has fasteners attached may result in poor images
or malfunctions.
• Straighten out any creases or curls in the paper before
loading it into the drawer. Failure to straighten out
creases and curls may lead to paper misfeeds.
• Leaving paper out of its package under high
temperature and high humidity conditions may lead to
problems caused by ambient moisture. After loading
paper into drawers, store the remaining paper sealed
in the paper storage bag. Also, before leaving the
copier in disuse for a prolonged period of time, remove
the paper from the drawer(s) and seal it in the paper
storage bag to protect it from moisture.
IMPORTANT!
Special Types of Paper
The size of the paper to be accommodated by the drawer
or multi-bypass tray can be set. (Refer to P.3-5
"Multi-bypass Tray Size Input"
and P.3-6
"Inputting
Custom Sizes"
.)
Loading into a Drawer
Regular paper, recycled paper and colored paper can be loaded into
the drawer. Up to 300 sheets of regular paper (80 g/m
2
) or 100
sheets of thick paper (90 - 105 g/m
2
) can be set. Sizes which can be
loaded are: 11" × 17" to 5
1/2
" × 8
1/2
", Oficio II, A3 - A5R and Folio.
IMPORTANT!
• When loading paper for the first time or when
changing paper sizes, use the operation panel to
indicate the drawer size. (Refer to P.3-3
"Drawer Size
Detection"
.) This can also be set in the Default
Settings Mode. (Refer to P.6-21
"Drawer Paper Size
(Drawers 1 to 4)"
.)
[Inch specifications]
• When using sizes that are Oficio II, A3 to A5R, set the
size. (Refer to P.3-6
"Inputting Custom Sizes"
.) This
can also be set in the Default Settings Mode. (Refer to
P.6-23
"Custom Size (1 to 2)"
.)
[Metric specifications]
• When using sizes that are Oficio II, 11" × 17" to 5
1/2
" ×
8
1/2
", set the size. (Refer to P.3-6
"Inputting Custom
Sizes"
.) This can also be set in the Default Settings
Mode. (Refer to P.6-23
"Custom Size (1 to 2)"
.)
Loading Paper
Summary of Contents for CD 1016
Page 16: ...Section 1 IMPORTANT PLEASE READ FIRST 1 8 ...
Page 22: ...Section 2 NAMES OF PARTS 2 6 ...
Page 30: ...Section 3 PREPARATIONS 3 8 ...
Page 104: ...Section 8 TROUBLESHOOTING 8 10 ...
Page 118: ...Section 9 MAINTENANCE AND OPERATION INFORMATION 9 14 ...
Page 121: ...MEMO ...
Page 122: ...MEMO E1 ...


