background image

Unisight Digital Technologies

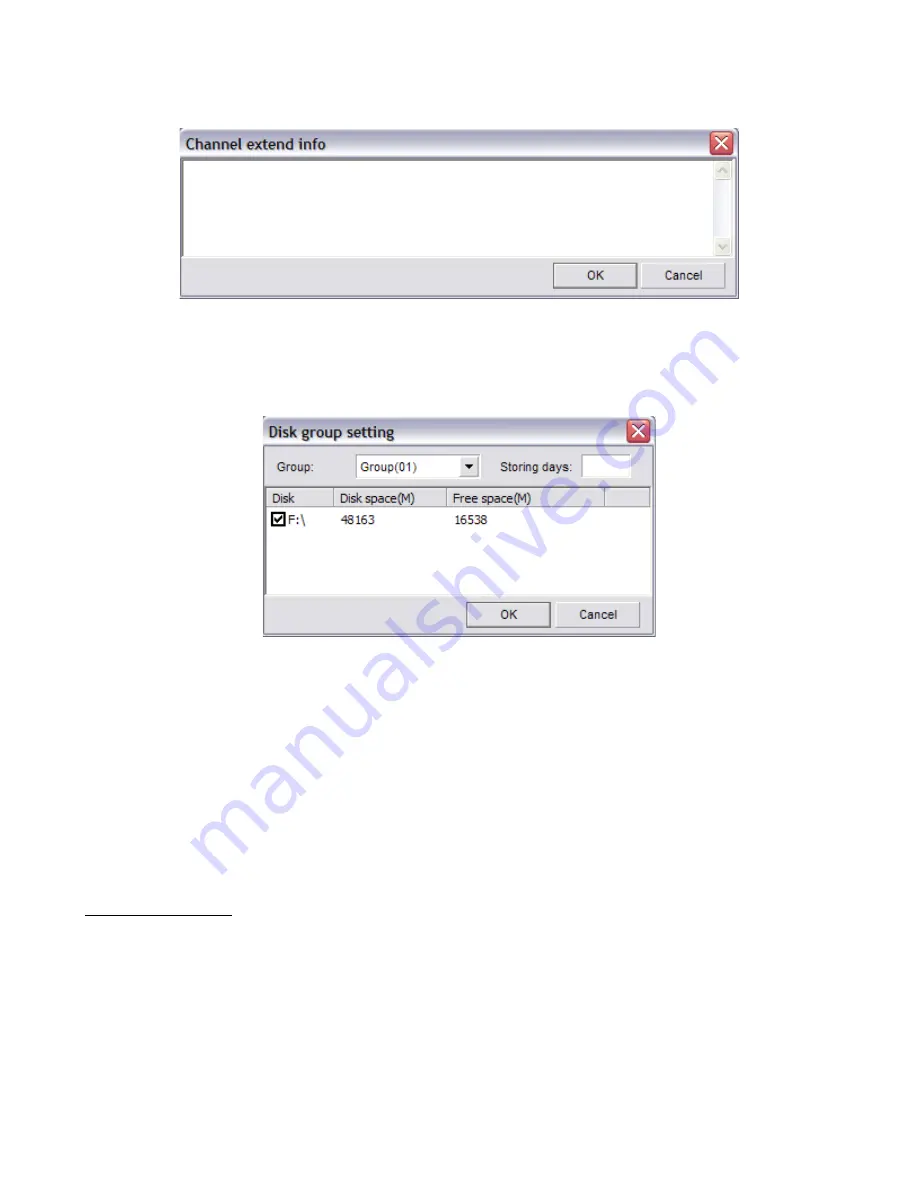
(Fig. 2-20)

To configure the storage locations select the 

Disk Group Setup

 button. (Fig. 2-21) 

Select a disk group from the Group drop down box.  All available partitions will be displayed. 
Check/un-check the box next to each partition to add/remove it from the disk group.  You can 
assign different disk groups to different video channels using the Camera Tab.

(Fig. 2-21)

The 

Import Config

 and 

Export Config

 buttons will appear on all tabs.  You can 

choose to import or export your Unisight DVR Server configuration.  This allows you to copy 
your configuration to another Unisight DVR Server to quickly setup multiple DVR Servers or to 
backup your settings in case of emergency.  To export your configuration select the 

Export 

Config

 button.  The standard Windows Save dialog box appears where you will be able to 

choose the name and location to save your configuration file to.  To Import a configuration file 
select the 

Import Config

 button.  The standard Windows Open dialog box appears where 

you will be able to select a configuration file to import.  Once you import a configuration file, 
the settings will be automatically applied.  For some settings to take effect, you may need to 
restart the Unisight DVR Server application.

Environment Tab

 (Fig. 2-22)

System Startup: To have the Unisight DVR Server application automatically log into 

Windows XP/2000 on startup check the Auto Administrator Login When Windows Is Started 
check box.  Be sure to use the 

Password

 button to input the Windows XP/2000 login 

information.  To have the Unisight DVR Server application start when Windows XP/2000 loads 
check the Auto Startup This Program check box.  The Auto Reindex Recording Files check 
box will reindex all recorded video files after the Unisight DVR Server has finished loading.

25

Summary of Contents for TZHC Series

Page 1: ...Unisight Digital Technologies Unisight DVR Manual TZHC Series Server 1...

Page 2: ...13 Alarm Actions Tab 16 Relation Tab 19 Guard Schedule Tab 20 PTZ Tab 21 Advanced Tab 23 Environment Tab 25 User Button 28 E Map Button 30 Log Button 32 Extra Button 33 Extra Functions 33 Snapshot 33...

Page 3: ...on For All 42 Channel Extend Info 42 Reindex Recording Files 42 All Channels Stop Auto Pan 42 PTZ Button 43 Playback Mode 44 Playback Information Window 45 Channel Grid 45 Grid Layout 45 Calendar 45 F...

Page 4: ...sented with a log in screen The default selected username is Supervisor The password for this user is left blank for the initial setup To log in select the Ok button Fig 1 0 Fig 1 0 The first time the...

Page 5: ...Unisight DVR Server application you will be looking at the main DVR screen Live Preview Mode Fig 1 2 This screen contains the DVR Information Window the Camera Status LEDs the Channel Grid the Grid L...

Page 6: ...quares This is the Available Storage display For each partition configured as a storage location a gray square will light up blue If the Unisight DVR Server application is currently writing video foot...

Page 7: ...Fig 1 5 Hover your mouse cursor over these buttons for a description of each of the layout button functions Fig 1 5 The Reset Screen Status button allows you to quickly set the Channel Grid to the or...

Page 8: ...abled on all channels The Record button toggles manual recording for the currently selected video channel The Motion button toggles motion based recording for the currently selected video channel The...

Page 9: ...utton when the system is already locked brings up the Unlock System dialog box Fig 1 12 Select your username from the Username drop down box type your password in the Password field and select the Ok...

Page 10: ...s Server Setup Setup Button Selecting the Setup button will open the Setup dialog box Fig 2 0 The Setup dialog box is divided into nine different tabs These tabs allow for the configuration of the Uni...

Page 11: ...r video recording only or video recording with associated audio channels The Change On Alarm feature allows a separate Video Scheme to be used during an alarm condition Use the Setup button next to th...

Page 12: ...ag a box around the desired area and set the desired sensitivity level Set a higher sensitivity number for objects that appear closer in the field of view and a lower sensitivity number for objects th...

Page 13: ...e Default button will restore the video signal settings back to the factory default for the currently selected scheme Schedule Tab Fig 2 3 You can set separate schedules for Continuous Mode Motion Mod...

Page 14: ...on to the opposite of the currently selected To clear the schedule select the Clear button The Time Schedule button brings up the Setup Time Schedule dialog box Fig 2 5 Here you can change the configu...

Page 15: ...se the Select A Date drop down box to bring up a graphical calendar to select individual dates Click the Add button to add the date to the Holiday Date List Use the Clear button to quickly erase all a...

Page 16: ...Action Priority dialog box Fig 2 10 Here you can raise or lower the priority of individual channels When either the Alarm Trigger Single Screen or Motion Trigger Single Screen feature is enabled the c...

Page 17: ...Unisight Digital Technologies Fig 2 8 Fig 2 9 Fig 2 10 17...

Page 18: ...n will show the video channel with the highest priority based on the Camera Priority The Alarm Trigger Single Screen check box will maximize any video channel associated with an alarm sensor that has...

Page 19: ...ual channel when motion is detected The Error Response tab will allow you to set a single sound file for any error condition that occurs To configure a sound file left click on the desired sensor chan...

Page 20: ...hecking the box in Link To Output Enter a description and select either High or Low for the Trigger You can also select a High Level Pulse or a Low Level Pulse The Pulse will trigger the output for a...

Page 21: ...l Code dialog box Fig 2 15 Locate the supported PTZ camera on the list then select the Ok button Once the protocol is configured assign the correct address to the PTZ camera using the Address Index dr...

Page 22: ...external PTZ control device such as a PTZ joystick select the supported device from the Keyboard drop down box and select the COM Port button to bring up the Communication Port dialog box Fig 2 16 Con...

Page 23: ...nd that the longer the Single File Recording Time is the longer it will take to load before playing back The Minimal Disk Space is the amount of free space needed on a partition to record video to Onc...

Page 24: ...k box toggles the Instant Playback feature Fig 2 18 The Watchdog drop down box allows you to setup a hardware watchdog Use the COM Port button next to the Watchdog drop down box to configure the watch...

Page 25: ...appears where you will be able to choose the name and location to save your configuration file to To Import a configuration file select the Import Config button The standard Windows Open dialog box a...

Page 26: ...automatically check the Auto Shutdown check box and configure the day hour and minute drop down boxes Auto Shutdown will only exit the Unisight DVR Server application which will stop all recording To...

Page 27: ...ecording Files check box will automatically start the reindexing process after the Unisight DVR Server application finishes loading Due to imperfections in hard disk drive technology data corruption m...

Page 28: ...ser Admin dialog box Fig 2 24 Hover the mouse cursor over these buttons to see what each of them are To delete a user from the system select the user from the list and select the Delete button To conf...

Page 29: ...c cameras to be viewed by the user select the Camera Access button The Camera Access dialog box appears Fig 2 26 Check or un check each camera that you want to enable disable To quickly enable all cam...

Page 30: ...e of larger maps Fig 2 28 Select the Define A Root Node button to select the root map this root map is the top level map and can contain embedded maps cameras sensors and alarms The standard Windows O...

Page 31: ...te an icon on the E Map that will act as a shortcut to the associated object To add a camera to the E Map right click on the map image to open the E Map Node dialog box Fig 2 30 Select Camera from the...

Page 32: ...information about how the the Unisight DVR Server was functioning Each log file is organized by date there is one log file per day You can sort by log entry type using the Type drop down box You can a...

Page 33: ...bar in parenthesis after the Extra function text Each Extra Function has a shortcut key associated with it that is displayed before the button name Fig 3 0 Extra Functions F1 This button will bring u...

Page 34: ...ng button The Setting button stores the PTZ orientation to the selected number Now select the Option button This will open the PTZ Preset Point Info dialog box Fig 3 3 To have this PTZ preset position...

Page 35: ...ress LAN IP Server Port 8000 by default and Description using the fields at the bottom of the window Select the text color using the Color button This is the color of the text you type the other users...

Page 36: ...Unisight Digital Technologies Fig 3 4 Fig 3 5 36...

Page 37: ...ullscreen Mode right click the mouse button anywhere on the screen Use the Increase Decrease Speed buttons to make the video play faster or slower You can play as slow as real time speed and as fast a...

Page 38: ...will open the Matrix Control Info dialog box for the currently selected video channel number Fig 3 9 The Description field allows you to rename the video channel The Relation To Public View check box...

Page 39: ...Unisight Digital Technologies Fig 3 8 Fig 3 9 External Command F10 This button will execute any external command that has been configured 39...

Page 40: ...indow will display each connected user their IP address and which video channel they are connected to This list is automatically updated but you can force an update and get the latest list by selectin...

Page 41: ...ill allow you to change the speed at which the PTZ camera moves when using the PTZ Control buttons This is especially useful when panning tilting while zoomed in Pressing Ctrl P on the keyboard will b...

Page 42: ...otion detection based recording on all channels if the Motion Schedule is not already set and activated Channel Extend Info Ctrl E This button will open the Notice dialog box containing the Extend Inf...

Page 43: ...ust lens focus The Iris buttons wil open and close the iris letting in more less light The Zoom buttons will zoom in out The Auto Rotation button will slowly rotate the PTZ camera Not all PTZ function...

Page 44: ...he same as playing back 256 channels at normal speed Playback at 4x speed on all 16 channels would be the same as playing back 64 channels at normal speed The PC system used for playback may not have...

Page 45: ...Grid is easily configured by 9 buttons Hover your mouse cursor over these buttons for a description of each of the layout buttons Fig 5 2 You can also zoom in and out by using the two buttons with the...

Page 46: ...button on the keyboard and select more recorded video files from the list Fig 5 4 Playback Node Tree The Playback Node Tree allows you to switch between playback modes Fig 5 5 When entering into the P...

Page 47: ...d pauses the video playback Increase Speed Increases the playback speed up to 16x real time speed Next File Jumps to the beginning of the next video recording file Multiplay Starts playback of all sel...

Page 48: ...h be displayed To save the clip select the Ok button The Files Backup Manager will appear Fig 5 9 Fig 5 8 Fig 5 9 Type in a name for the clip using the Filename field Input a label for this backup usi...

Page 49: ...Unisight Digital Technologies Fig 5 10 Fig 5 11 49...

Page 50: ...searching range select the Ok button The Setup dialog box will disappear and you will now see a video feed playing in the Search Window You can change the recorded video file playing in the Search Wi...

Page 51: ...on multiple recorded video files Select the Backup button to backup the selected video files You can save a Smart Search and review it at a later time Select the Bookmark button to open the Bookmark...

Page 52: ...Fig 5 16 You can then save this image for later review Fig 5 16 Browse and Print Image File The Browse And Print Image File button will open the Image Viewer Fig 5 17 The Image Viewer allows you to ed...

Page 53: ...5 21 From here you are able to backup multiple cameras from multiple days simultaneously During the last step of the backup process the player software is automatically copied over along with the rec...

Page 54: ...elect the exact opposite of the currently selected cameras Select the Search button to begin the recorded video file search In the results the Start Stop Time Length Channel Mode and Disk will be disp...

Page 55: ...wn box when finishing the backup process Type in a name for the backup in the Label drop down box Select the Backup button The Select Path dialog box will appear Fig 5 23 Select the backup device usin...

Page 56: ...Unisight Digital Technologies Unisight Digital Technologies Phone 303 680 6629 Fax 303 680 6630 E mail info unisight net Web http www unisight net 14824 E Hinsdale Ave Suite A Centennial CO 80112 56...

Reviews: