Unisight Digital Technologies
Select the User level using the top radio buttons. The User Level determines client-
side bandwidth priority. If a user with a higher User Level logs into the system and there is
not enough bandwidth for all users, the user with the highest User Level will be allocated the
required bandwidth. The users with a lower User Level will have their connection interrupted
until other users disconnect from the system. Fill in the Username, Password, Retype
Password, Full Name, and Description fields. You can disable a user by checking the Disable
This User check box. This will not delete the user. To make a user the default user check the
Default User check box. The default user is the user that automatically appears in the
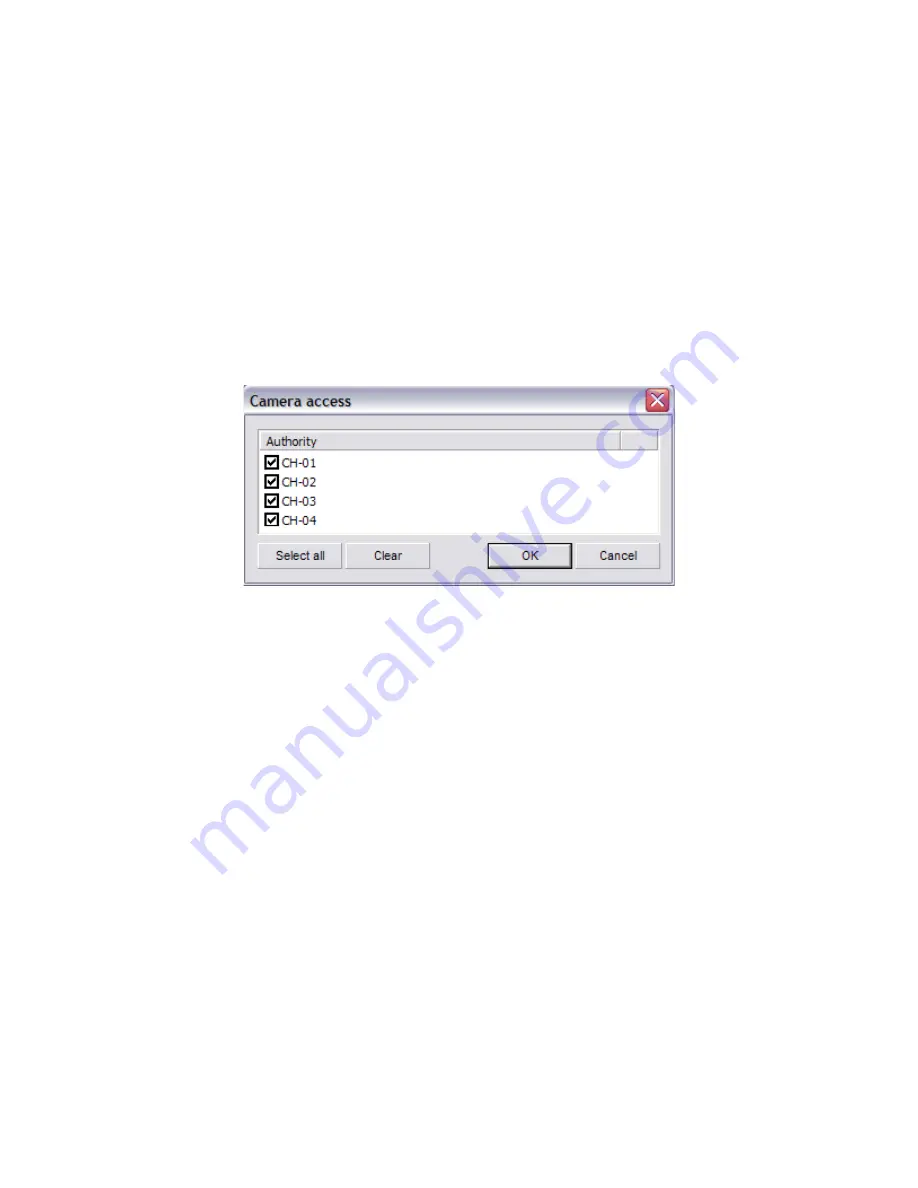
Lock/Exit/Login dialog boxes. To enable specific cameras to be viewed by the user select the
Camera Access
button. The Camera Access dialog box appears. (Fig. 2-26) Check or un-
check each camera that you want to enable/disable. To quickly enable all cameras select the
Select All
button. To quickly disable all of the cameras select the
Clear
button.
(Fig. 2-26)
To assign permissions to be granted to the user select the
Authority
button. The
Assign Authority dialog box will appear. (Fig. 2-27) Check or un-check each of the selectable
permissions for the user. To quickly remove all permissions select the
Clear
button. To
quickly assign all permissions select the
Select All
button.
To create a backup copy of the configured users select File and then Save As. The
standard Windows Save dialog box opens. By default the user backup will save to the Config
Files Backup directory inside the Unisight DVR Server folder. To restore a User Backup File
select File, then Load. The standard Windows Open dialog box will appear. Select the *.usr
file to import.
29


