117
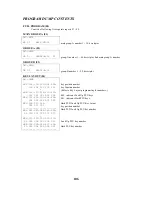
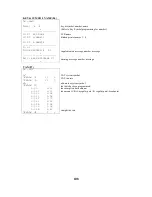
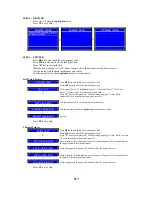
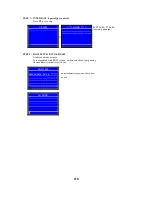
STEP 5: DRAWER
Press 1 key to open the
optional
drawer.
Press
CL
key to skip.
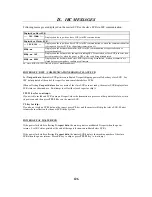
DRAWER CLOSE
DRAWER OPEN
DRAWER CLOSE
Drawer sensor required to display
the drawer condition.
→
→
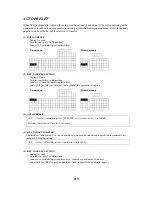
STEP 6: PRINTER
Press
RPF
key and check the receipt paper feed.
Press
JPF
key and check the journal paper feed.
Press
"0"
key to start print test.
While printing, unplug AC cord. Then, connect AC cord and confirm the printer recovers.
Lift the journal roll to check journal near end sensor.
Lift the receipt roll to check
optional
receipt near end sensor.
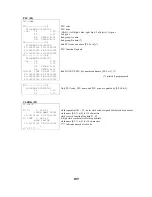
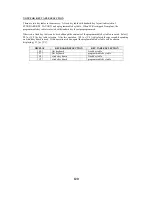
Dot Matrix Printer
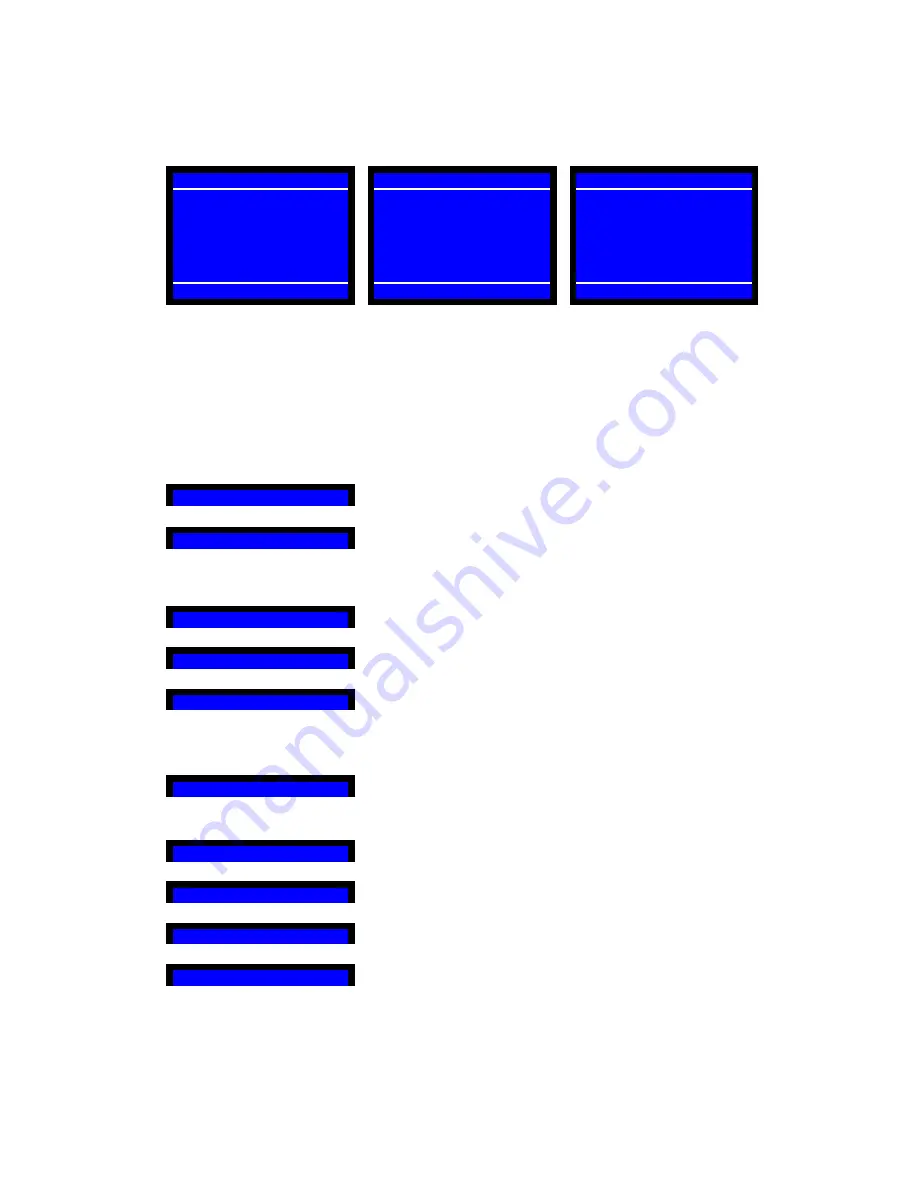
PRINTER TEST
↓
Press
RPF
key and check the receipt paper feed.
Press
JPF
key and check the journal paper feed.
M-0 A-1
↓
M-0 means "Press "0" for Manual cutter." A-1 means "Press "1" for Auto
cutter." (Always press 0 for the dot matrix printer.)
Press
"0"
key to start print test. While printing, unplug AC cord. Then,
connect AC cord and confirm the printer recovers.
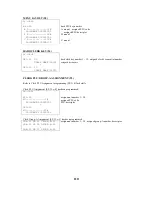
NOT NEAR END
Lift the journal roll to check journal near end sensor.
↓
JOURNAL NEAR END
Lift the receipt roll to check
optional
receipt near end sensor.
↓
RECEIPT NEAR END
option
Press
CL
key to skip.
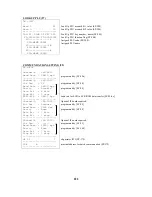
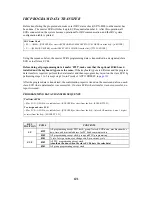
Thermal Printer
PRINT TEST
↓
Press
RPF
key and check the receipt paper feed.
Press
JPF
key and check the journal paper feed.
Press
"0"
key to start print test. While printing, unplug AC cord. Then, connect
AC cord and confirm the printer recovers.
RCT H-DW & P-IN
↓
Receipt printer: Pull the platen open lever, open the paper roll cover and remove
the paper to check receipt end sensor.
RCT H-UP & P-OUT
Place the paper on the paper roll bed and close the paper roll cover.
↓
JNL H-DW & P-IN
↓
Journal printer: Pull the platen open lever, open the paper roll cover and remove
the paper to check journal end sensor.
JNL H-UP & P-OUT
Place the paper on the paper roll bed and close the paper roll cover.
Press
CL
key to skip.

