17
Q u i c k G u i d e
FOUR BUTTONS
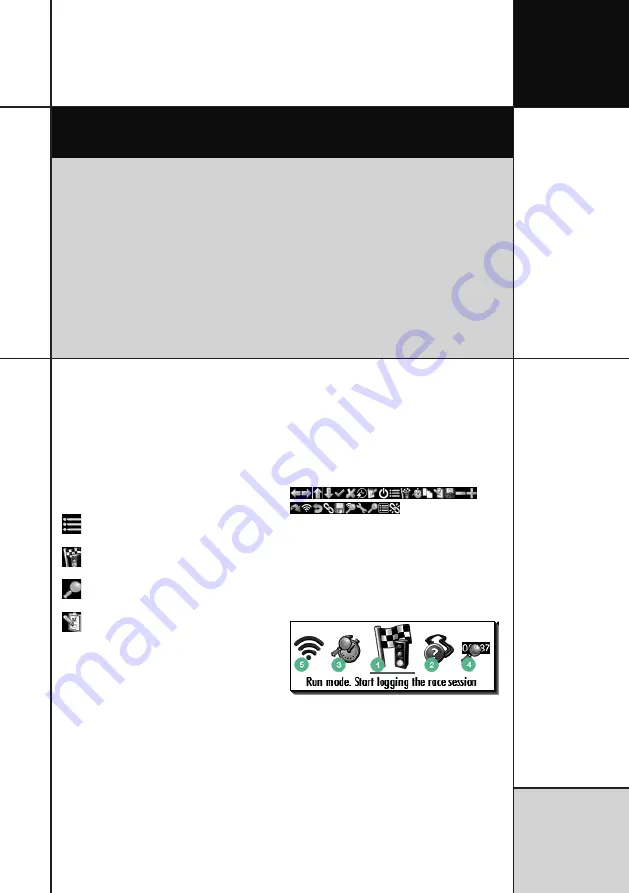
For easy operation we made four software
programmable buttons on UniGo One. If the
button have any function, it will clearly be
shown with a small icon next to the button.
Icons use less space than text and it should be
obvious what each button does. But here are
some examples:
Brings up the rolling menu.
Change to run mode.
Change to the last analyze screen.
Edit the current selected preference.
The buttons are either roll-out or fixed buttons.
If we have space enough on the screen,
they will be fixed, but if there are a lot of
information on the screen, they will roll-out on
the screen when needed. The top right button
is almost
always
a menu button. The three
other buttons might have a specific function
depending on what screen you are on.
If it is roll-out buttons, they will roll in again
after a few seconds. This is to give you the full
screen again for information.
MENU SYSTEM
The typically way of doing an user interface is
with menus and then navigate between them
and select what you want. But with only four
buttons this gets complicated so we designed
a brand new user interface without the classic
menus!
It is important to understand the thoughts
behind it.
Instead of the traditional menus, you will find
an popup icon list. This list is dynamic, and the
content depends on where you are. We call
this the rolling menu.
Rolling menu when activated from the min/
max analyze screen.
The icon list shows 5 icons directly. The one in
the center is priority number 1, meaning it is
most likely the one function you need. To the
right and left for the center icon, you will find
priority 2 and 3, and the next two icons are
priority 4 and 5. You will then be able to scroll
the list to get priority 6 and up. It does not
matter if you scroll right or left. You will find
Read the Quick Guide and learn how to use the basic functions
of the UniGo One:
Turn UniGo One on and off, start logging data, analyze them on
UniGo One and transfer them to a computer with the included
USB cable or Wi-Fi.
You will be ready to go in 5 minutes...
Quick Guide
17
Summary of Contents for UniGo One kit 1
Page 6: ...VI This page was intentionally left blank...
Page 10: ...10 I n t r o d u c t i o n Examples...
Page 34: ...34 Setup mode C o n f i g u r i n g t h e L a p t i m e r...
Page 55: ...55 I n d e x...
Page 56: ...Unipro ApS Viborg Hovedvej 24 DK 7100 Vejle Denmark Tel 45 7585 1182 www uniprolaptimer com...


